Let’s make some music! Maracas are a great tactile activity that can be made with virtually anything, but here’s how we did it:
Easy activities to build young brains
BULLY PROOF CHILDREN WITH A SIMPLE AFTERNOON ACTIVITY.

Afternoons are not a young ones ‘prime time’ and as a result ‘surviving’ the afternoon with tired kids can seem an daunting task. Recently however we made a small change. In the words of Daniel Siegel and Tina Payne Bryson (authors of The Whole Brain Child) we have changed our afternoons from a time of “surviving” to a time of “thriving.”
FREE ONLINE SHORT COURSE ON THE BASICS OF THE EARLY YEARS
This short and simple course is a nice reminder of some of the basic principals that apply to the early years.
It is a free online program run by Open Universities and designed primarily as a short course for people who may eventually want to study further to work with young children in an educational setting.
EASY ACTIVITIES TO BUILD YOUNG BRAINS: FIRE AND MARSHMALLOWS

I grew up in a rather remote area of Tasmania. So did my husband. We could each make and maintain a pretty good fire by about the age that we could tie our laces. Living remotely meant that all our heating, hot water and cooking were reliant on a good fire – fires were simply a daily and essential part of life.
Respect for fire safety is not something that comes naturally to my own children. We live in a city, we don’t have a wood fire at home and we don’t light a campfire as often as we could… But this is going to change!
EASY ACTIVITIES TO BUILD YOUNG BRAINS: BECOME A BUTTERFLY!
In the honor of letter M we’ll be mulling over the Magnificent Monarch Butterfly who migrates to Mexico each year.
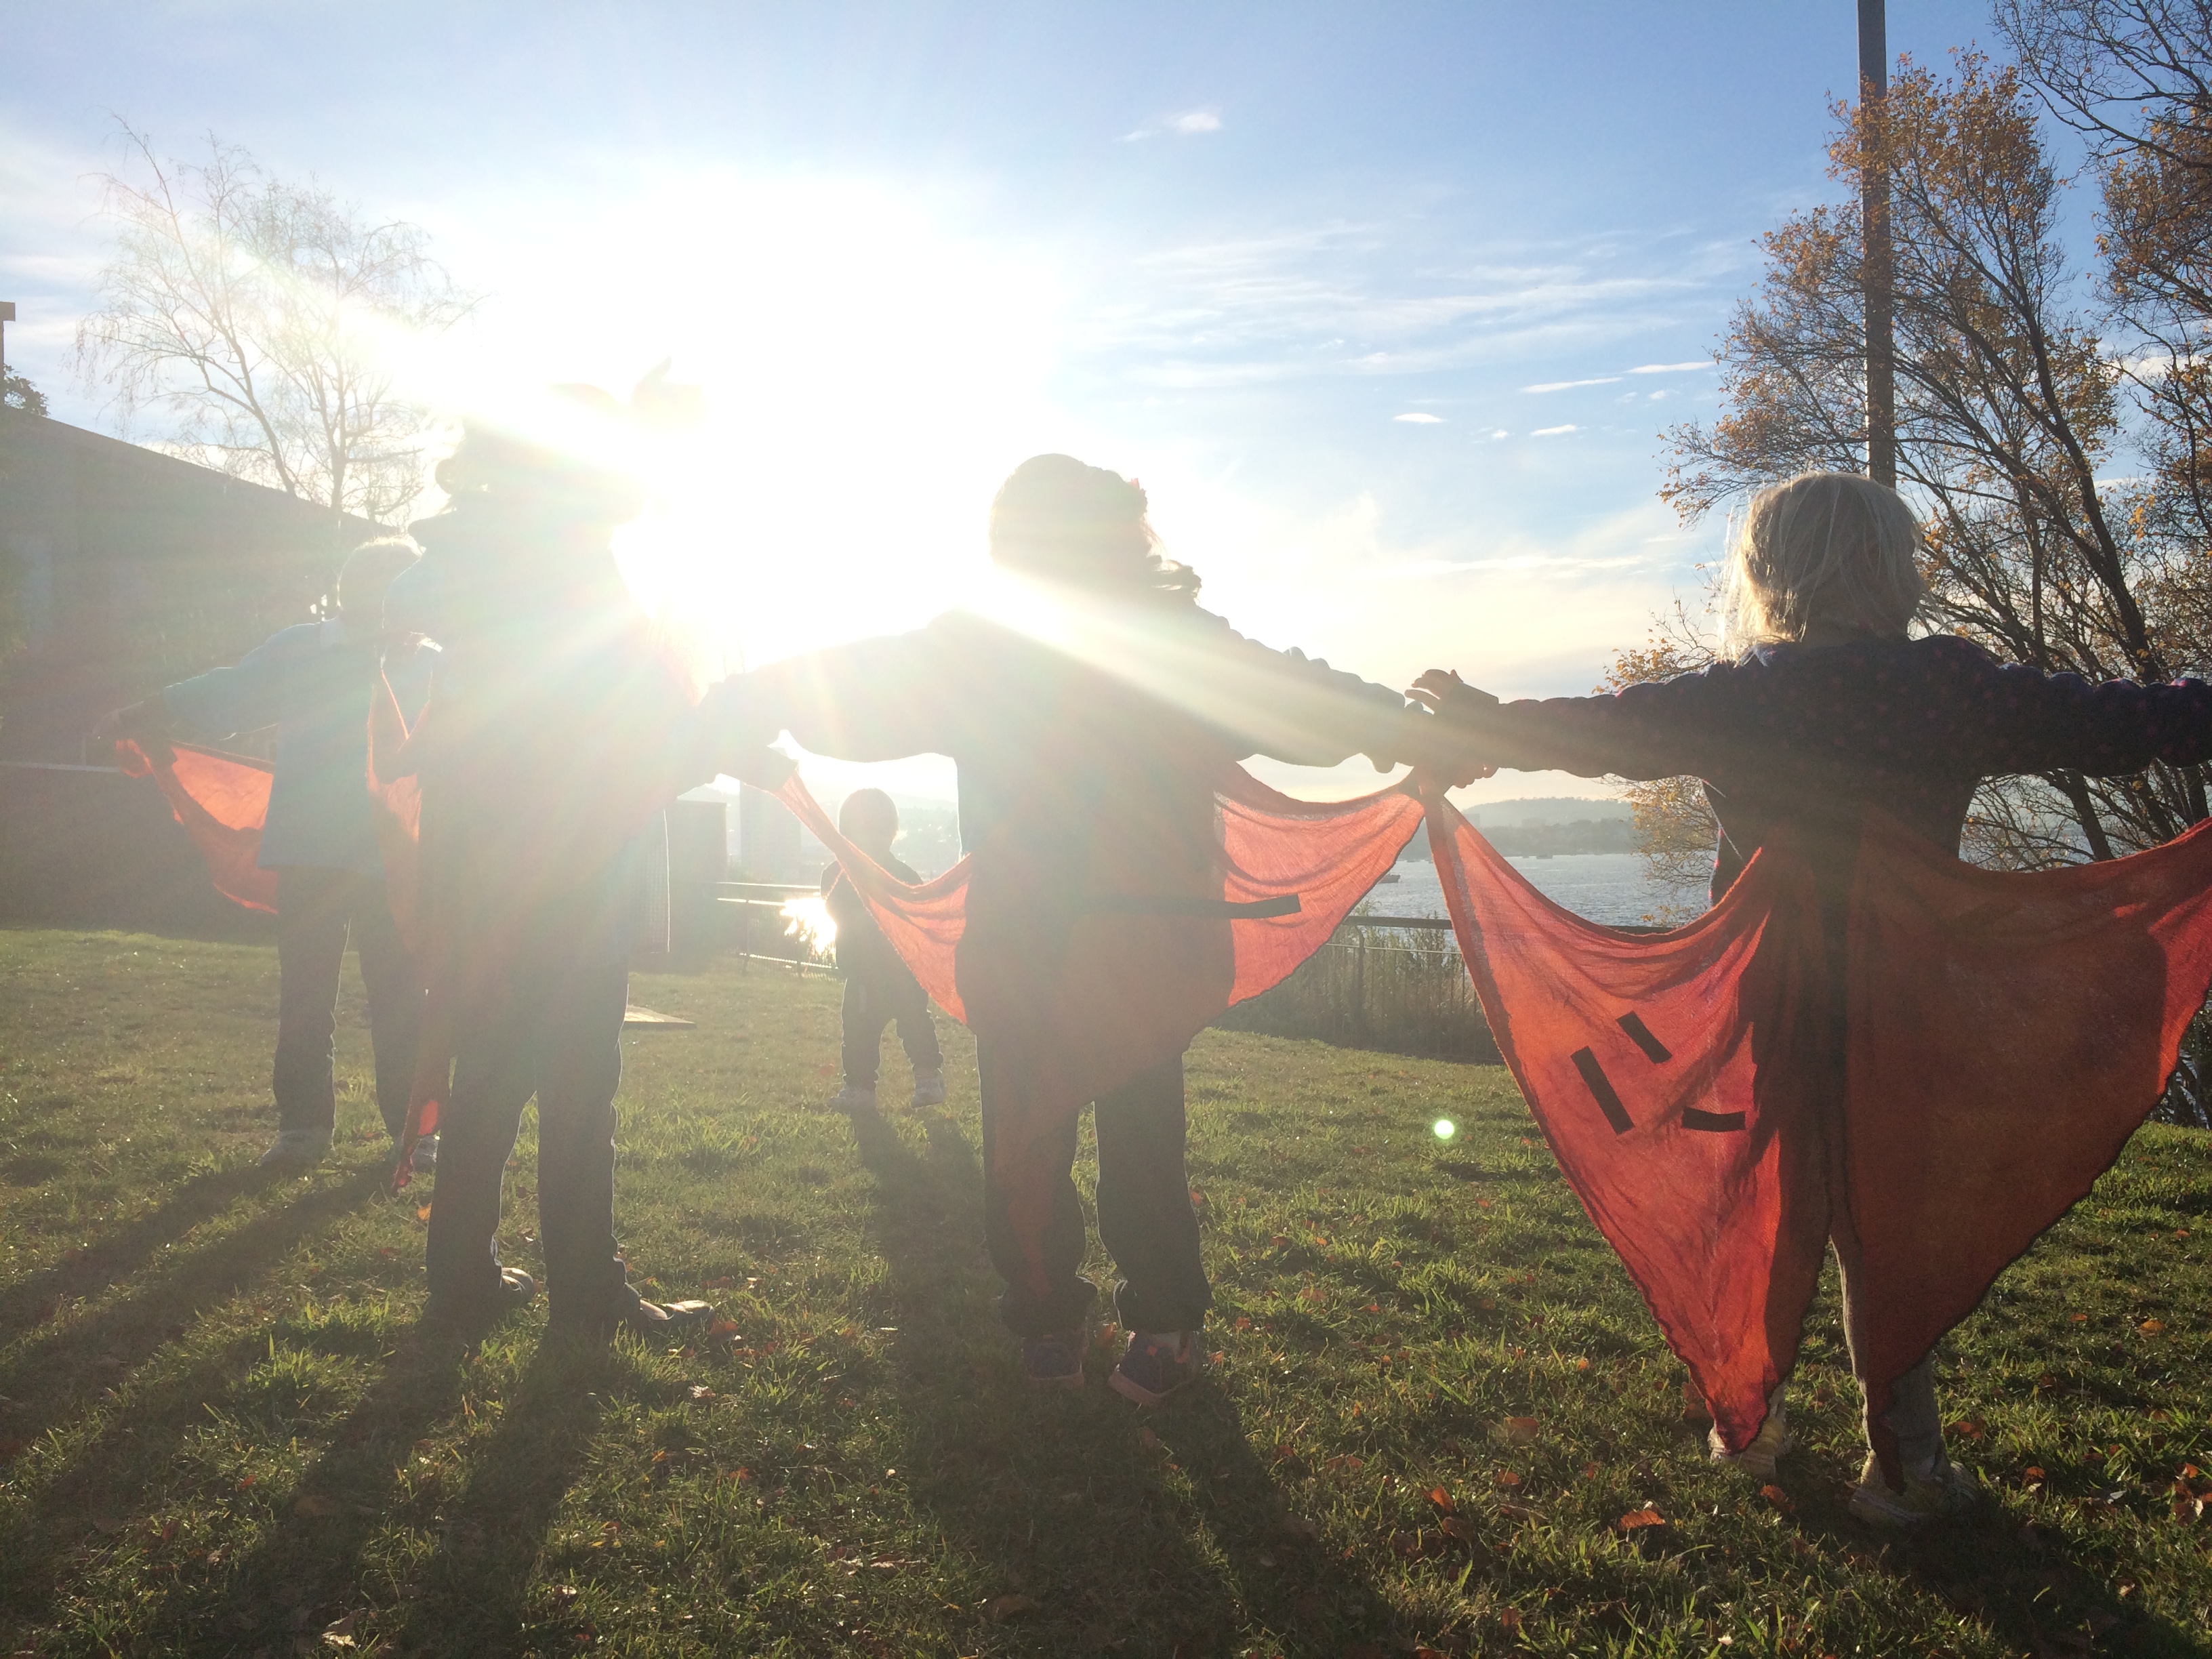
Monarch butterflies go through four stages during one life cycle, and through four generations in one year. Not all the generations migrate, but every year the generation that migrates will fly around 20,000km to find their warmer climate for the winter! (That’s a long way, as our butterflies discovered after they traveled part of it!)
There are lots of cool things to learn about butterflies in general, and the 4 stages of their life cycle is captivating for all ages:
CHILDREN LEARN, EVEN WHEN YOU THINK THEY’RE NOT LISTENING
 Young children are still developing their brains, thus many of the early childhood experiences that we set up for them (while highly valuable for developing their brains) will not be remembered. Basically we put countless hours into an effort that vanishes as the children grow and forget everything we’ve worked so hard to teach them!
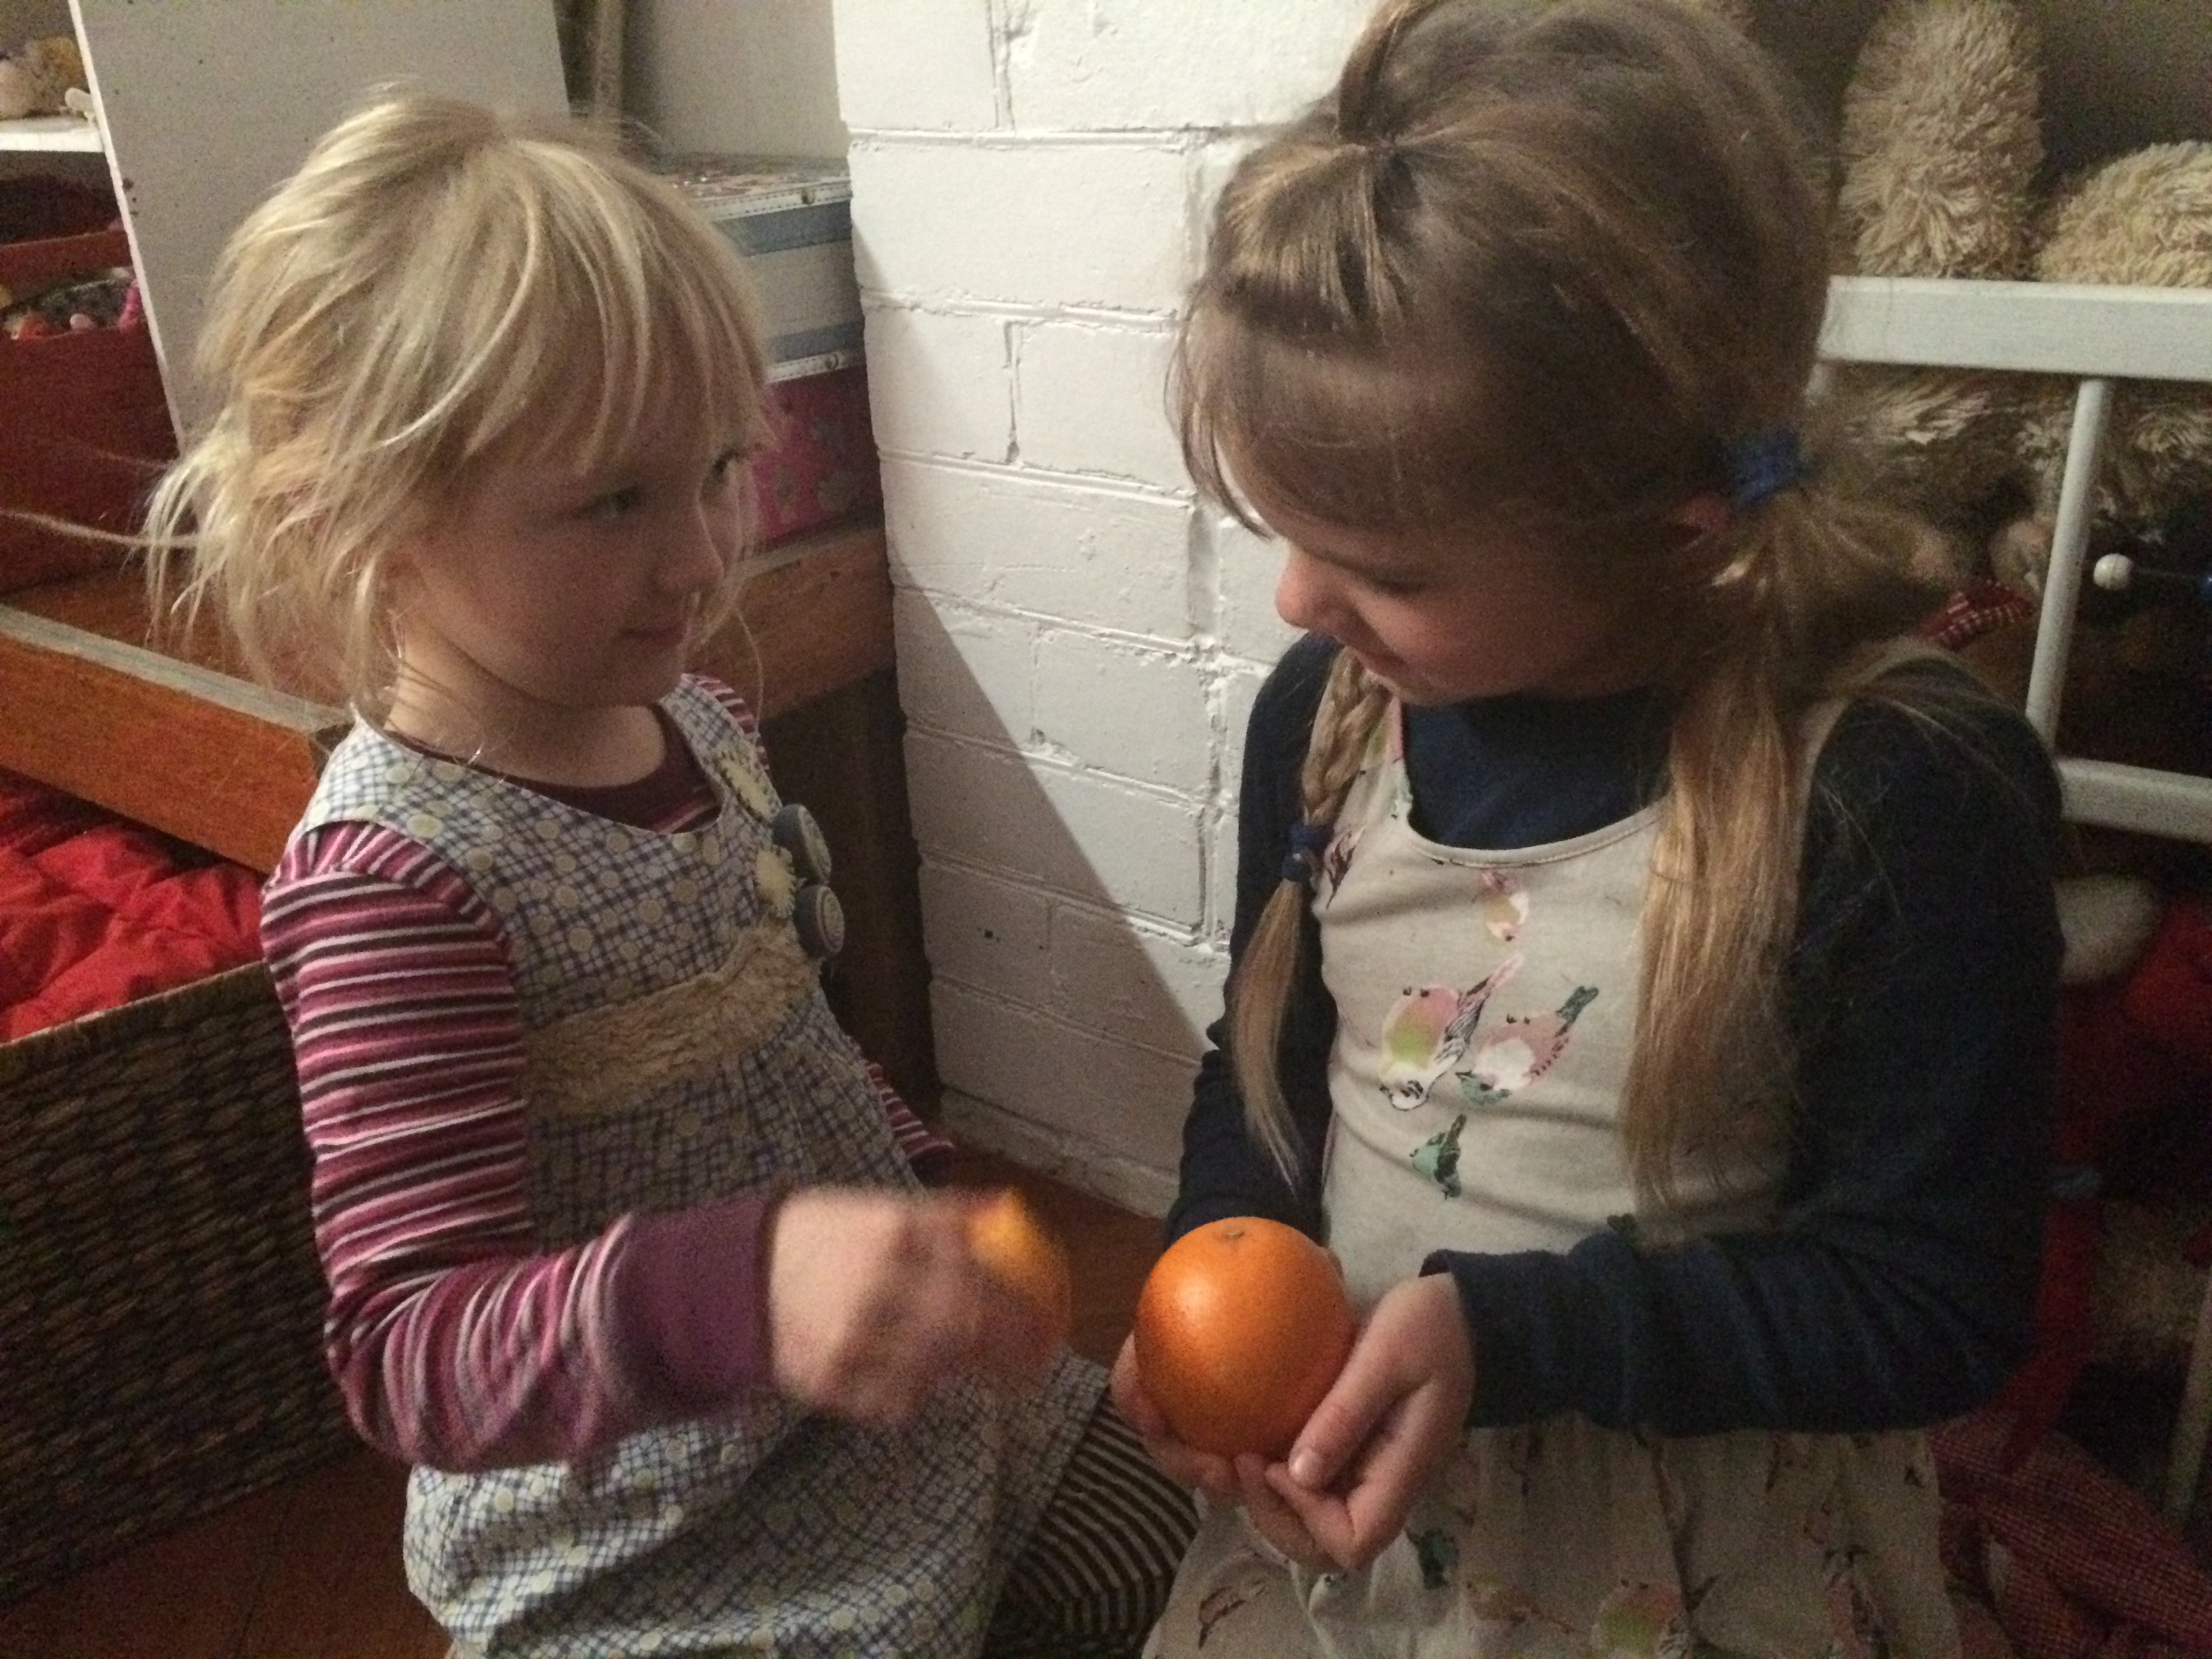
EASY ACTIVITIES TO BUILD YOUNG BRAINS: MUMMIFY AN ANCIENT EGYPTIAN (APPLE)
Mummification is a great science and history lesson if you are willing to venture into the grim topic of death with your tots. Plus, it’s surprising less complicated than you might think:


First pick an apple. We are lucky enough to have a very prolific crabapple tree, however if your apples are full sized you may wish to quarter the apple for a speedier result.
Once your apple is selected, carve a face in the skin (for ease we used toothpicks to carve ours).

Grab the scales and measure some bicarbonate soda. (The exact amount you need will depend on how many apples you are covering, how large the apples are and how small the cups you are placing them are.) we used 140g of bicarbonate soda (as it was an easy number to multiply) and this covered 3 crabapples in coffee shot cups.

Once you know how much bicarbonate soda you have, add twice as much cooking salt (the ratio of 1bicarb:2salt is a good one to work out with the kids – for our 140g of bicarbonate soda we added 280g of salt.)
Mix well. Then place your carved apple in the cup and cover in your powdery mixture.

We also carved a second apple as a control for our experiment. This one will sit in another cup next to the covered apple (and will likely start to rot, while the salted apple dries out.)
Leave on the bench uncovered for about 10 days and then assess what has happened to each apple.

You may wish to visit the real Egyptian mummy at Tasmanian Museum and Art Gallery while you wait for your apple to mummify. (While other little girls love the butterfly’s displayed in the central gallery, my girls stand next to them pointing at the casket in the dark and announce with pride that ‘there is a dead mummy in there!’ We have had a bit of explaining to do when other kids are with us…)
Here’s a brief history you may wish to share with your tots as you go through this process. (As always, if they have questions make a point of finding the more detailed information together, it is better to model the methods for finding out than to always know the answers!)
Back before the time of the pyramids it is believed that the Egyptians berried their dead in the hot desert sands and the bodies would dry out. At the time this was thought to be good because it was important to the Egyptians that the body remained intact… but there was a problem with wild animals eating the dead bodies (yuck!). It was decided to place the dead in cases so the animals couldn’t dig them up and eat them. This stopped the animals, but meant the body decayed in the box, rather than drying out. Because the Egyptians believed it was important to preserve the body after death they began to dry out the bodies – before burying them. Over time this developed into the sacred art of mummification. It was later that the Egyptians built huge pyramids to house the mummified bodies of their rulers.
A fun fact is that the Egyptians discarded the brain, during the mummification process, but kept the heart – thinking the heart was the organ responsible for thought, and like many religions today; only a pure heart would be allowed into the afterlife.
Now, as I have talked about before, (without my promoting) my kids think about far death more than I expect is average, and this is why I am happy to venture into this topic (to normalise something they already think about.) If you feel this kind of information is not beneficial for your young people, or that it will raise issues that they are not ready to process, then simply save it for another age. Otherwise, happy mummifying!
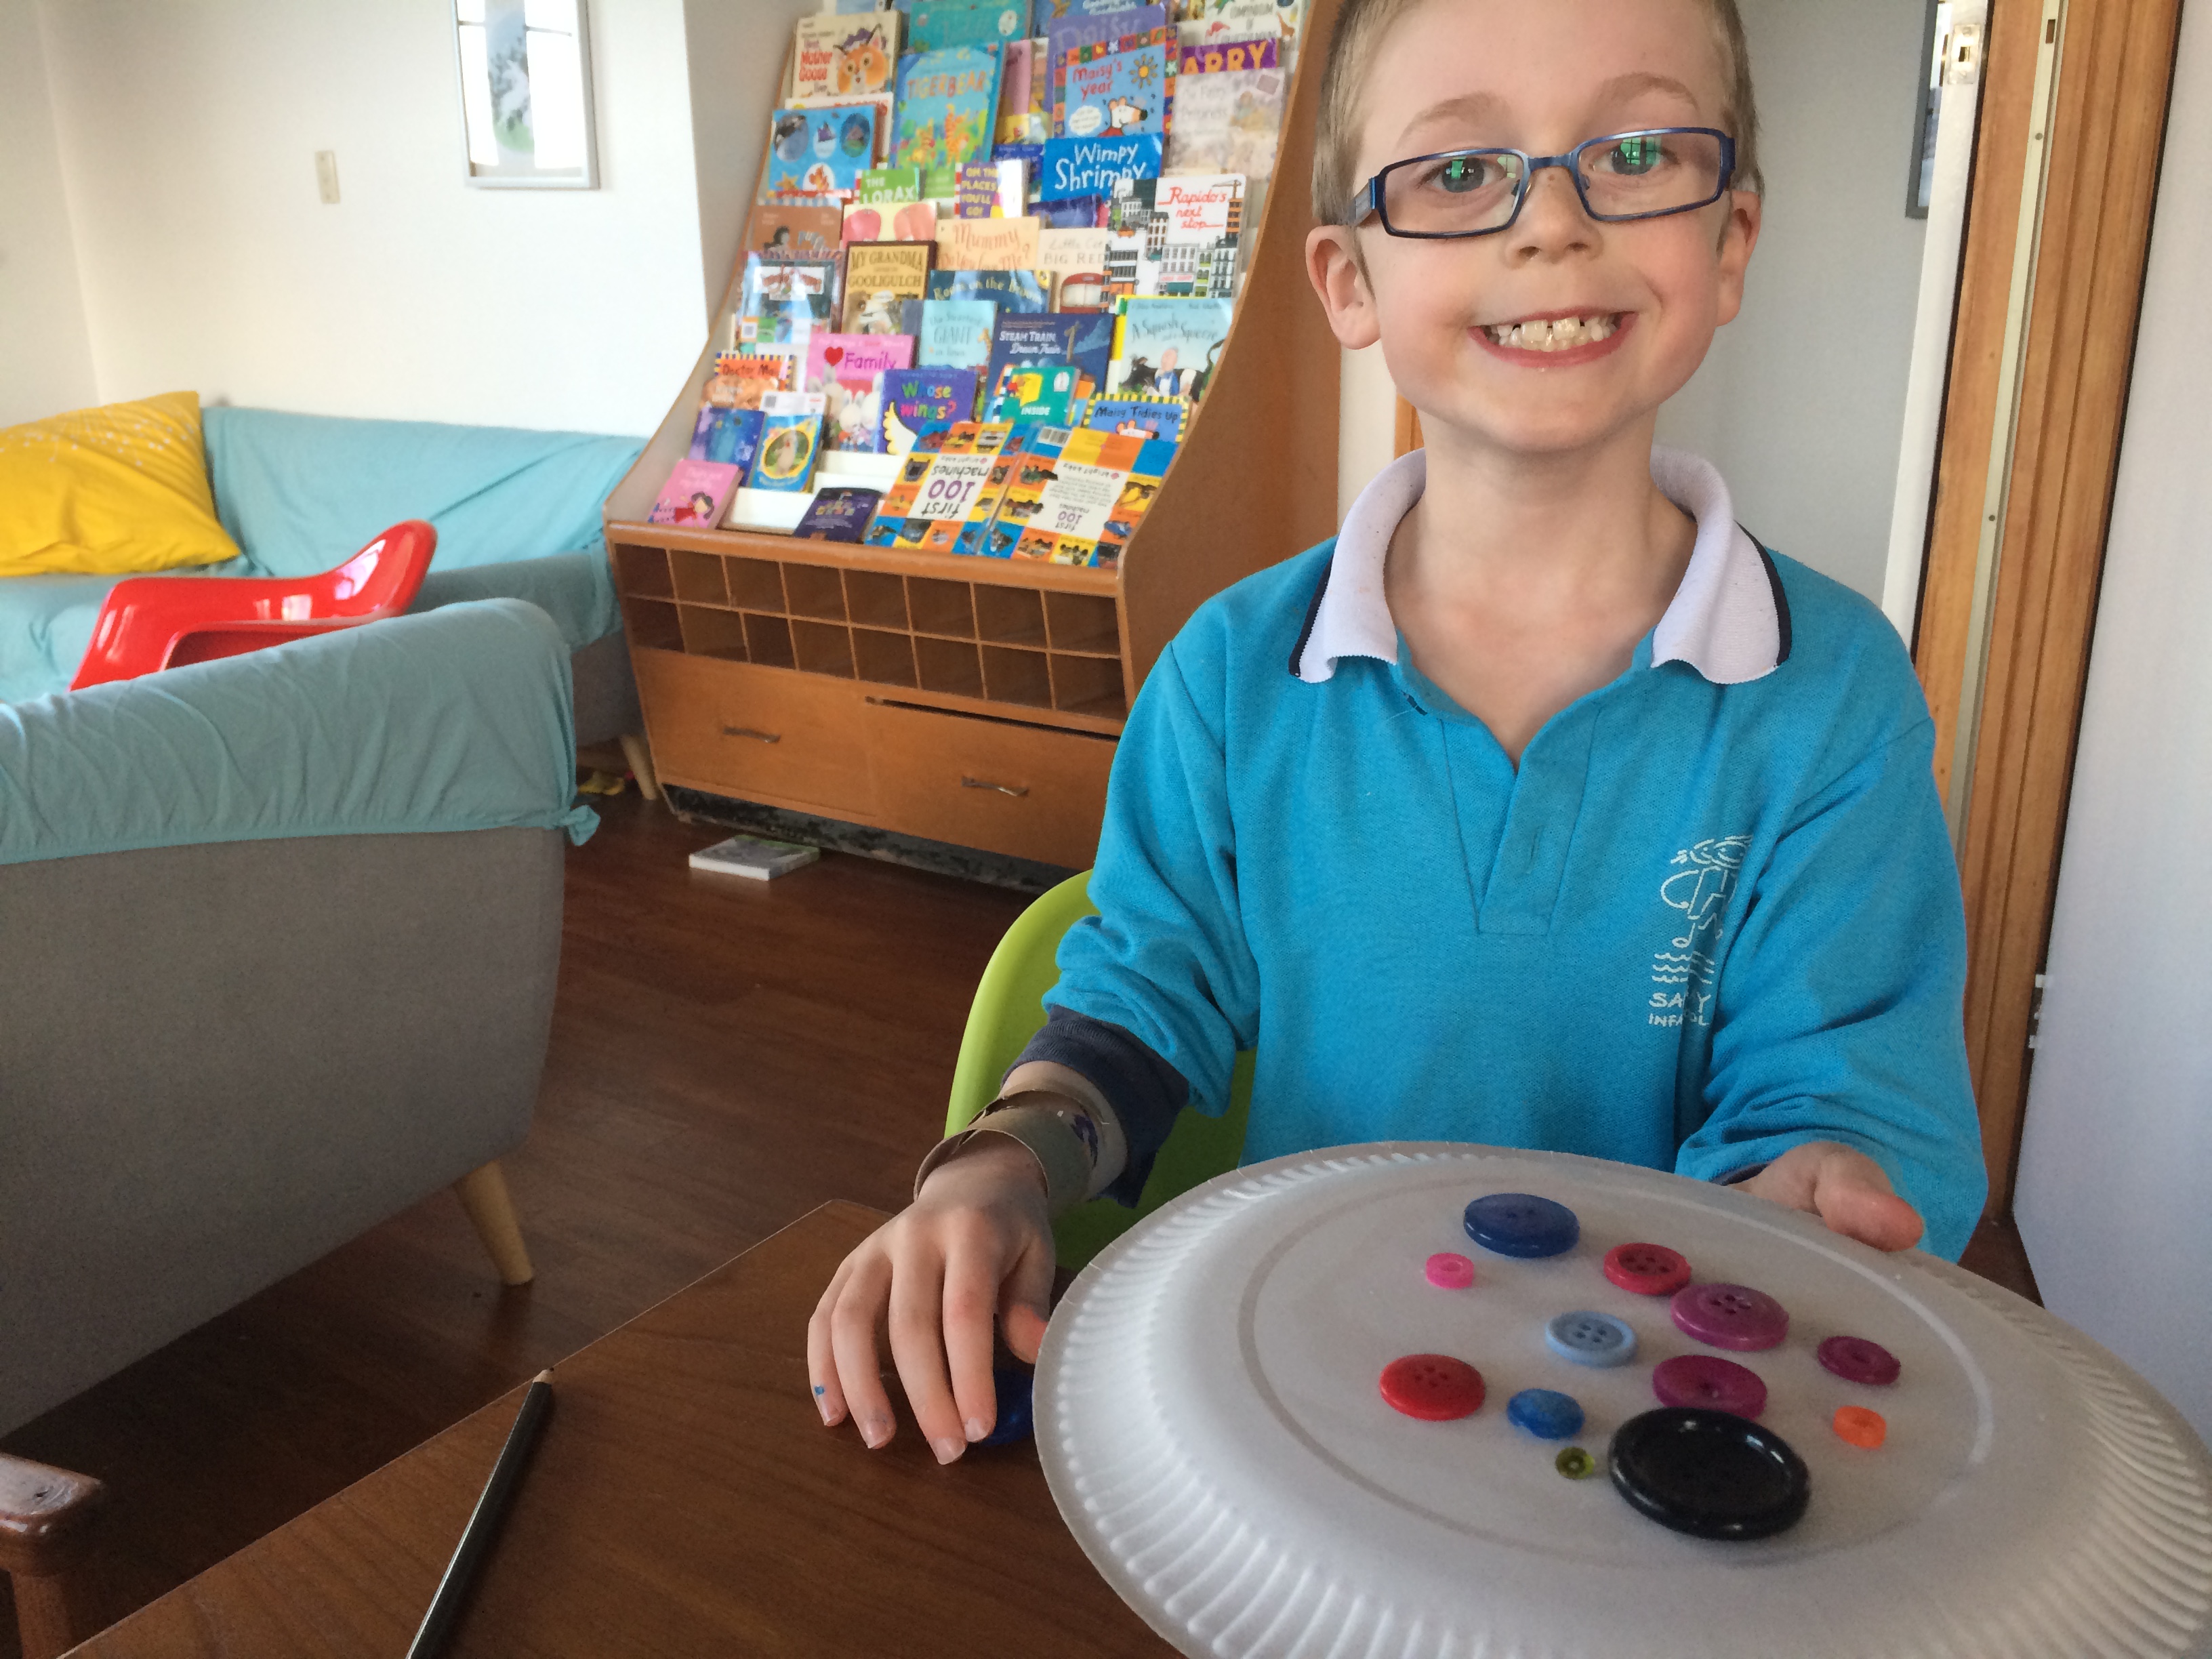
EASY ACTIVITIES TO BUILD YOUNG BRAINS: ANCIENT EGYPTIAN JEWELS WITH BUTTONS

Here’s a little activity to make your children more attractive to the gods!
It is believed that in ancient Egypt both men and women of all classes wore as much jewelry as they could afford. This was to show their wealth and status, but also because they thought it would make them more attractive to the gods.
We’re not quite up for working with real gold in our family (as the upper classes wore) or even copper (as the Middle classes wore) and while we probably could try our hand at a little bead work (as the lower classes wore) we thought we’d shake up history and make some historically inaccurate collars from paper plates, buttons, sequins and glue.
If you are keen to read a very brief overview of Egyptian fashion before you start, I suggest this link.
Then grab your supplies:
- Paper plate
- Any items to be ‘gemstones and jewels’ (Ie buttons, sequins, stickers, glitter, macaroni etc)
- Glue
- Scissors
- (Paints, pencils etc optional)
Cut a ‘neck sized’ off-center hole in your paper plate, with a cut across at the narrowest part. (This cut is the back of the collar, and will allow the collar to open and fit over the head). Test that it fits the young royals neck before you proceed. (This way they will better understand the finished result before they start decorating.)

Sit the plate upside down on the work bench and cover in glue.
Decorate as you wish and allow to dry. Wear your creation with pride.

Of course each child approached this differently; Evie was all about the pattern, Elka was totally into buttons etc. this variation is healthy, and also a good reason to leave any exact ‘how to’ demonstrations out of the picture to avoid mimicry.
You can expand your collection of jewels by creating an arm cuff (toilet tube is perfect) or even a cardboard headdress.

With all these supplies on hand some of your tots might not be keen to make jewelry, and if they are inspired to create something else than that is even better- let them go forth and create! (Roman had many plans of what he could make, and in the end he chose to create an electronic button disk instead of an Egyptian collar – love the way this guy thinks!)
EASY ACTIVITIES TO BUILD YOUNG BRAINS: FREE PRINTABLE FOR A DIY EGG STORY!

We were lucky enough to find a fresh chicken egg in our friends new chicken coup, but chickens aren’t the only ones who lay eggs.
First lets talk a little about the magic of finding an egg: Even as an adult, I am swept with joy if I find a little eggshell left behind by a wren. The whole prep class was mesmerised when a girl bought in a sharks egg that she had found. And, there is nothing quite like collecting chicken eggs. The other day we were introduced to our friends new pets: 3 stunning young chickens who (to our collective delight) had produced an egg! The girls took turns nursing the treasured egg all the way home, and tomorrow morning it will be used to make a small batch of our traditional celebration food: pancakes.
Birds eggs in themselves are a structural marvel. Calcium formed so perfectly that it is strong from the outside (particularly to vertical pressure) and weak from the inside (so that the small and weak new creature can break free with relative ease). Not only this, but all eggs contain everything the little creature needs to develop (regardless of what species – platypus, lizard, frog, shark or chicken!) they are amazing, and a marvel well worth sharing with your young ones.
This is a great free printable for you to create your own ‘Brown Bear’ inspired story. (And if your young literary nuts are anything like mine, you can probably recite ‘Brown Bear, Brown Bear’ backwards, while sleeping – yes, that book it well worn!)
Each page is designed by Mrs Wills Kindergarten so your tot can depict their own creature that starts life as an egg. Obviously the template isn’t necessarily the exact shape of a frogs egg, or a turtle egg etc. but the joy of making a little book with the freedom to decide what will be included (rather than proscribed by the egg shape) makes up for this in my opinion.
If you are up for a full afternoon of craft you may like to layer tissue paper to create your works (Eric Carl style) or alternatively simply hand over a biro and your little artist can complete the book at the kitchen table while dinner is on!
EASY ACTIVITIES TO BUILD YOUNG BRAINS: CARVE YOUR NAME IN ANCIENT EGYPTIAN HIEROGLYPHS
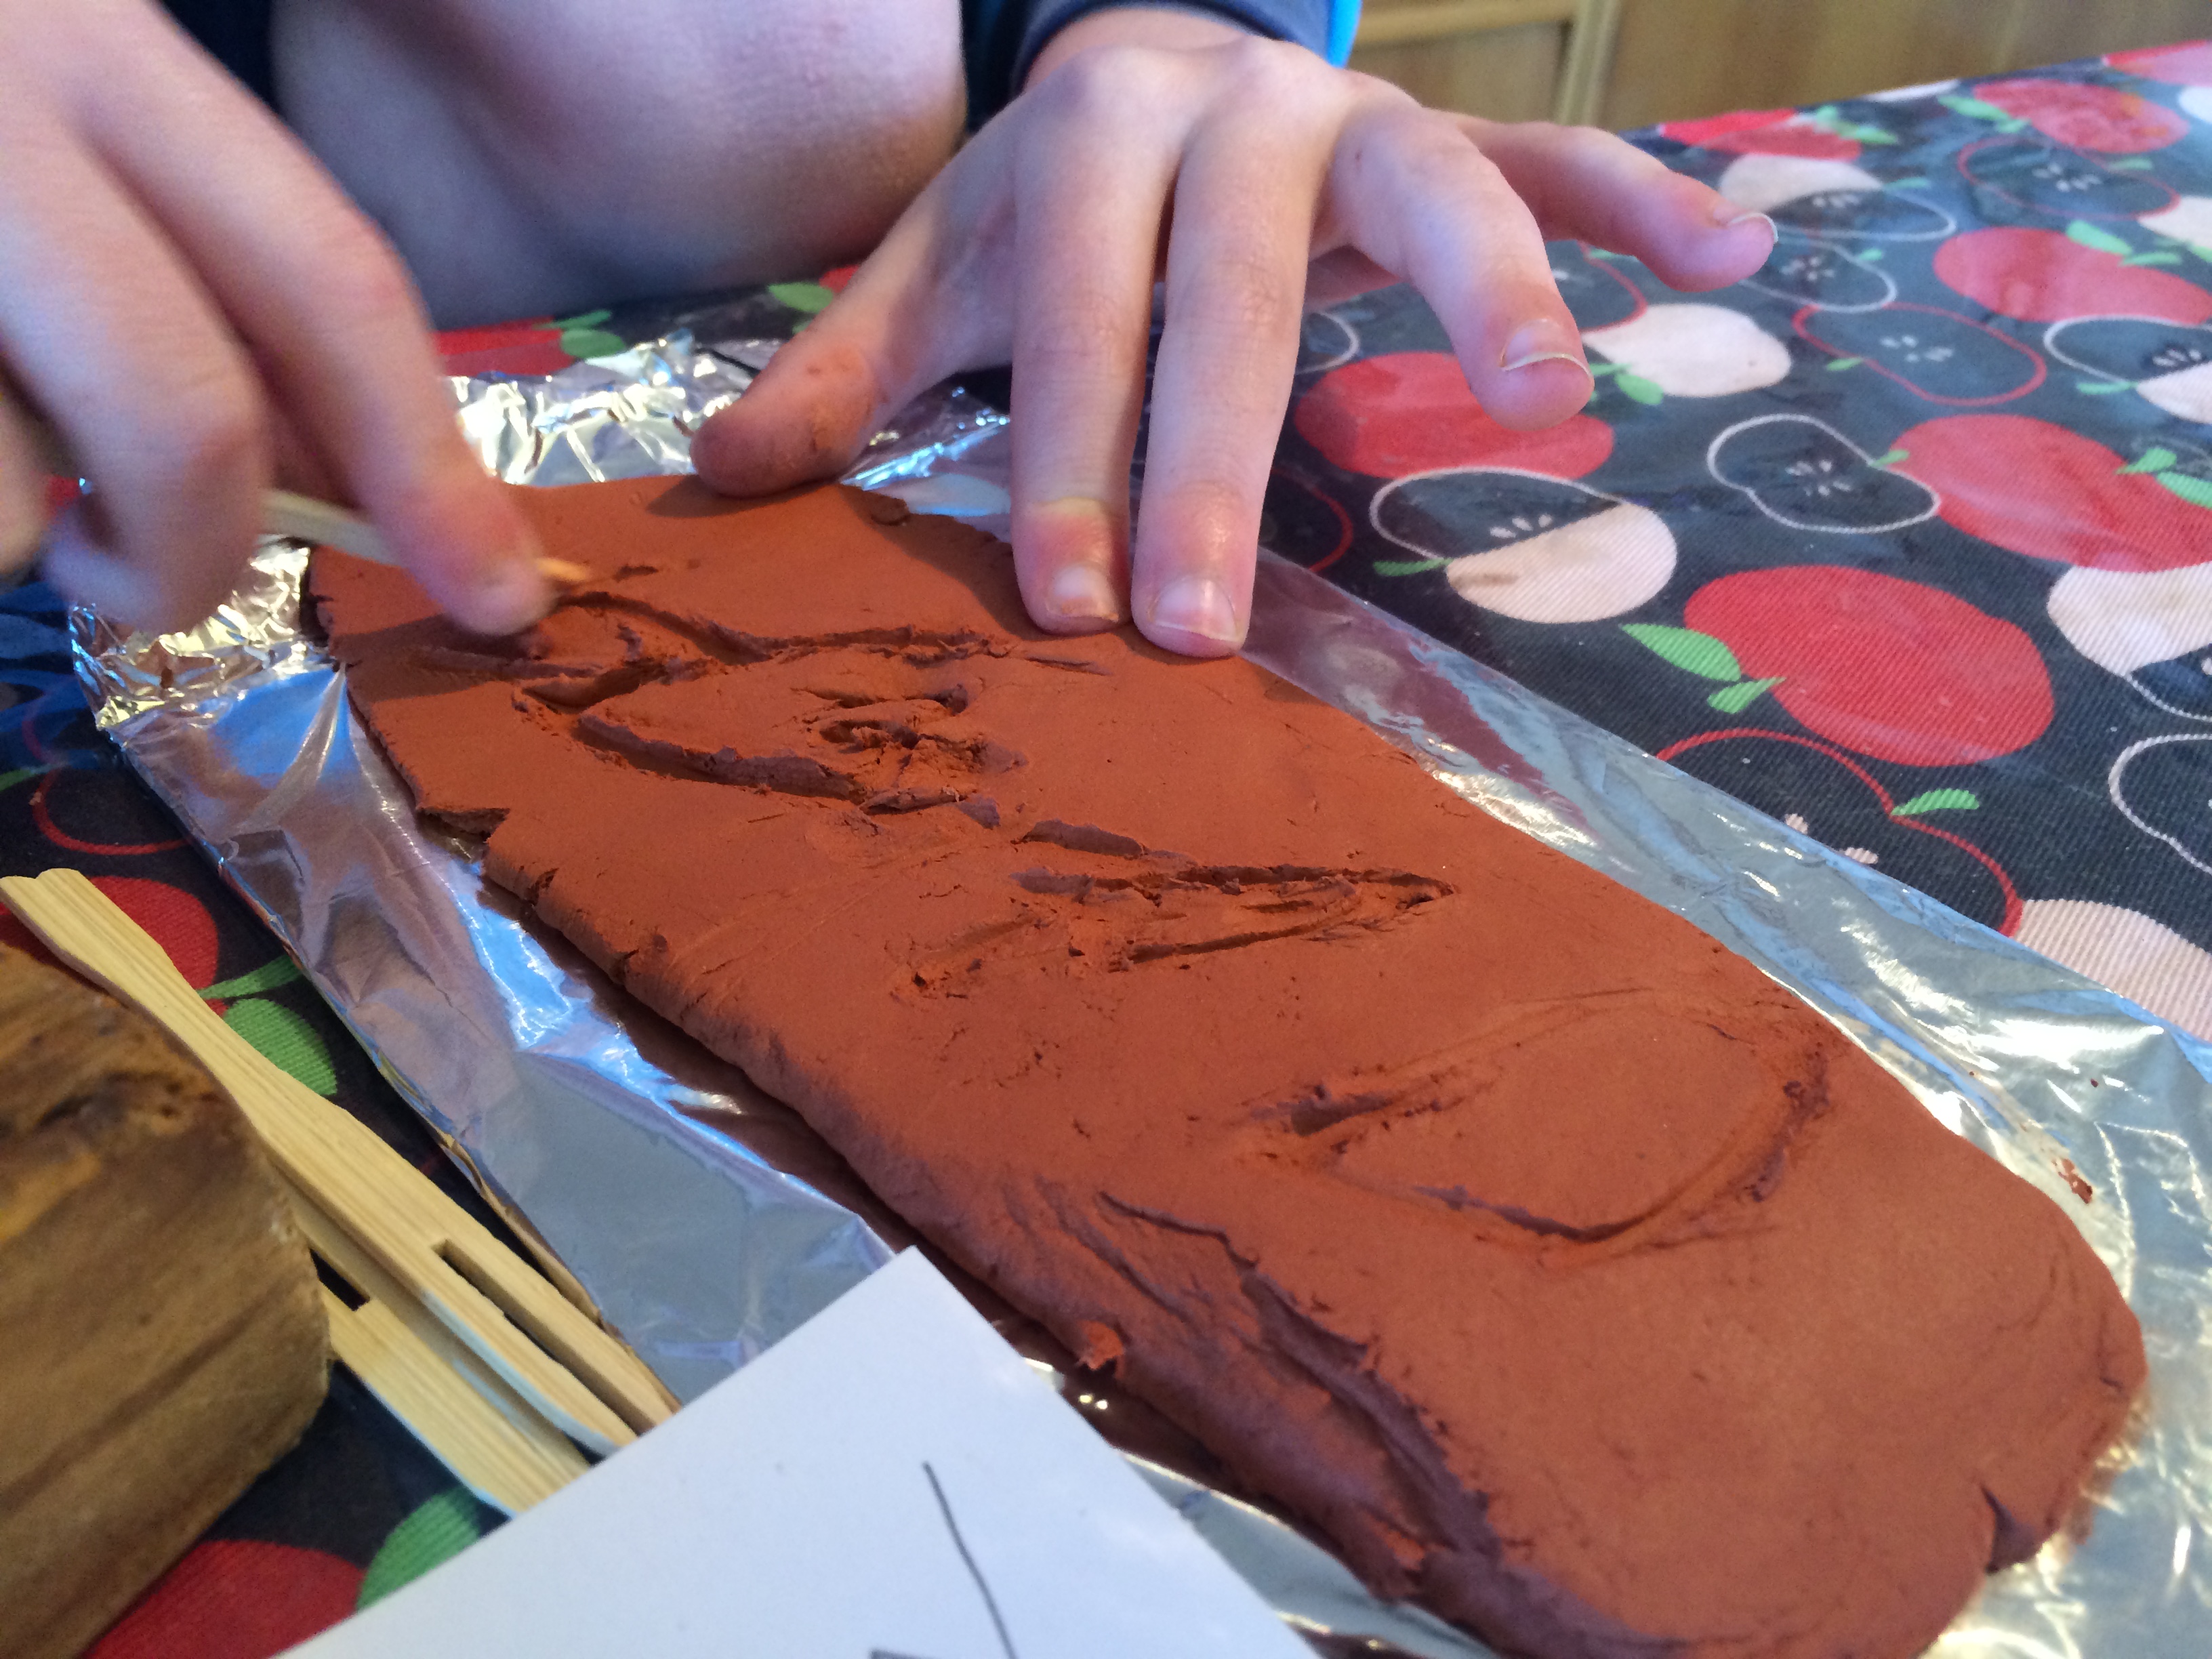
How could you look at Egypt without touching on the captivating subject of hieroglyphics!
While it wouldn’t be entirely accurate to say that hieroglyphics were the first alphabet, they certainly predate our alphabet and it is a great introduction to early literacy (early literacy from a historical sense, rather than a personal sense, great to add to your timeline!)
We (unintentionally) took a backwards approach to learning about early language: First we used the iPhone to find this great website that simplifies the complex system of writing to an easily palatable kid friendly format. We then noted on paper the children’s names (using the website as our guide.) Then we took our paper and transformed it into a more fun (and historically accurate) medium; the clay tablet.


Notice this backwards approach to the evolution of the presentation of information? (iPhone, paper, clay tablet – sure we miss a few stages in between, but we’re just after the basics here!)
Once I finally realised that we had made this organic ‘de-evolution’ we put a bit more focus on this aspect. Imagining a world without touch screens and Google – let alone a world before paper and common writing – is a big concept for anyone. (Talking about how there wasn’t always an alphabet seemed almost treason to my kids!)
Here’s a super simplified history of writing that you can use to guide your conversation with your young writers (for more details, look up the answers together – it’s always good to model the finding of information.)
From a very general sense it is widely believed that improved farming techniques (and thus an increase in yield) allowed early communities to trade goods with one another, and as trade increased there was a need for improved notation of the transactions (so, in a sense, very early writing was basically accounting!) As trade increased so too did the written ‘vocabulary’ until eventually ‘writing’ was used for important things (outside of accounting!) like scriptures and such.
The lack of paper and pen in the final stage of this activity (when the kids transferred their name to clay tablets) was particularly good at drawing attention to how the written language evolved from pictorial representations (that are quite difficult to make as marks in clay with limited tools) to a simplified form that eventually evolved into an alphabetic system that we use today.


Now, I’d love to tell you that we are looking at the industrial revolution (and thus how the printing press brought written language to the masses) shortly, but to be honest my planning hasn’t got quite that far ahead yet!
For now check out the website, write down your tots name together in hieroglyphics. If you’re up for a bit of clay action then simply role yourself a clay tablet and get mark making (sun dry your clay for the authentic Egyptian touch, or cook it in the oven if the current Tasmanian weather won’t allow the sun to reach your clay!)
Come on, you know you want to get those little fingers into some clay!

