In the honor of letter M we’ll be mulling over the Magnificent Monarch Butterfly who migrates to Mexico each year.
Monarch butterflies go through four stages during one life cycle, and through four generations in one year. Not all the generations migrate, but every year the generation that migrates will fly around 20,000km to find their warmer climate for the winter! (That’s a long way, as our butterflies discovered after they traveled part of it!)
There are lots of cool things to learn about butterflies in general, and the 4 stages of their life cycle is captivating for all ages:
Here’s a colouring sheet looking at the life Cycle. You can also turn this into pie style 4 part puzzle when your artist has finished (so that they can re-tell the cycle as they put it back in the correct order)
And this is a fantastic butterfly and cacoon making activity from Millie and Max over at Green Platypus Fardens. (They have all the instructions set out clearly so I won’t mimic it here, just head over and check out the great creation to inspire a good deal of metamorphism play based learning!)
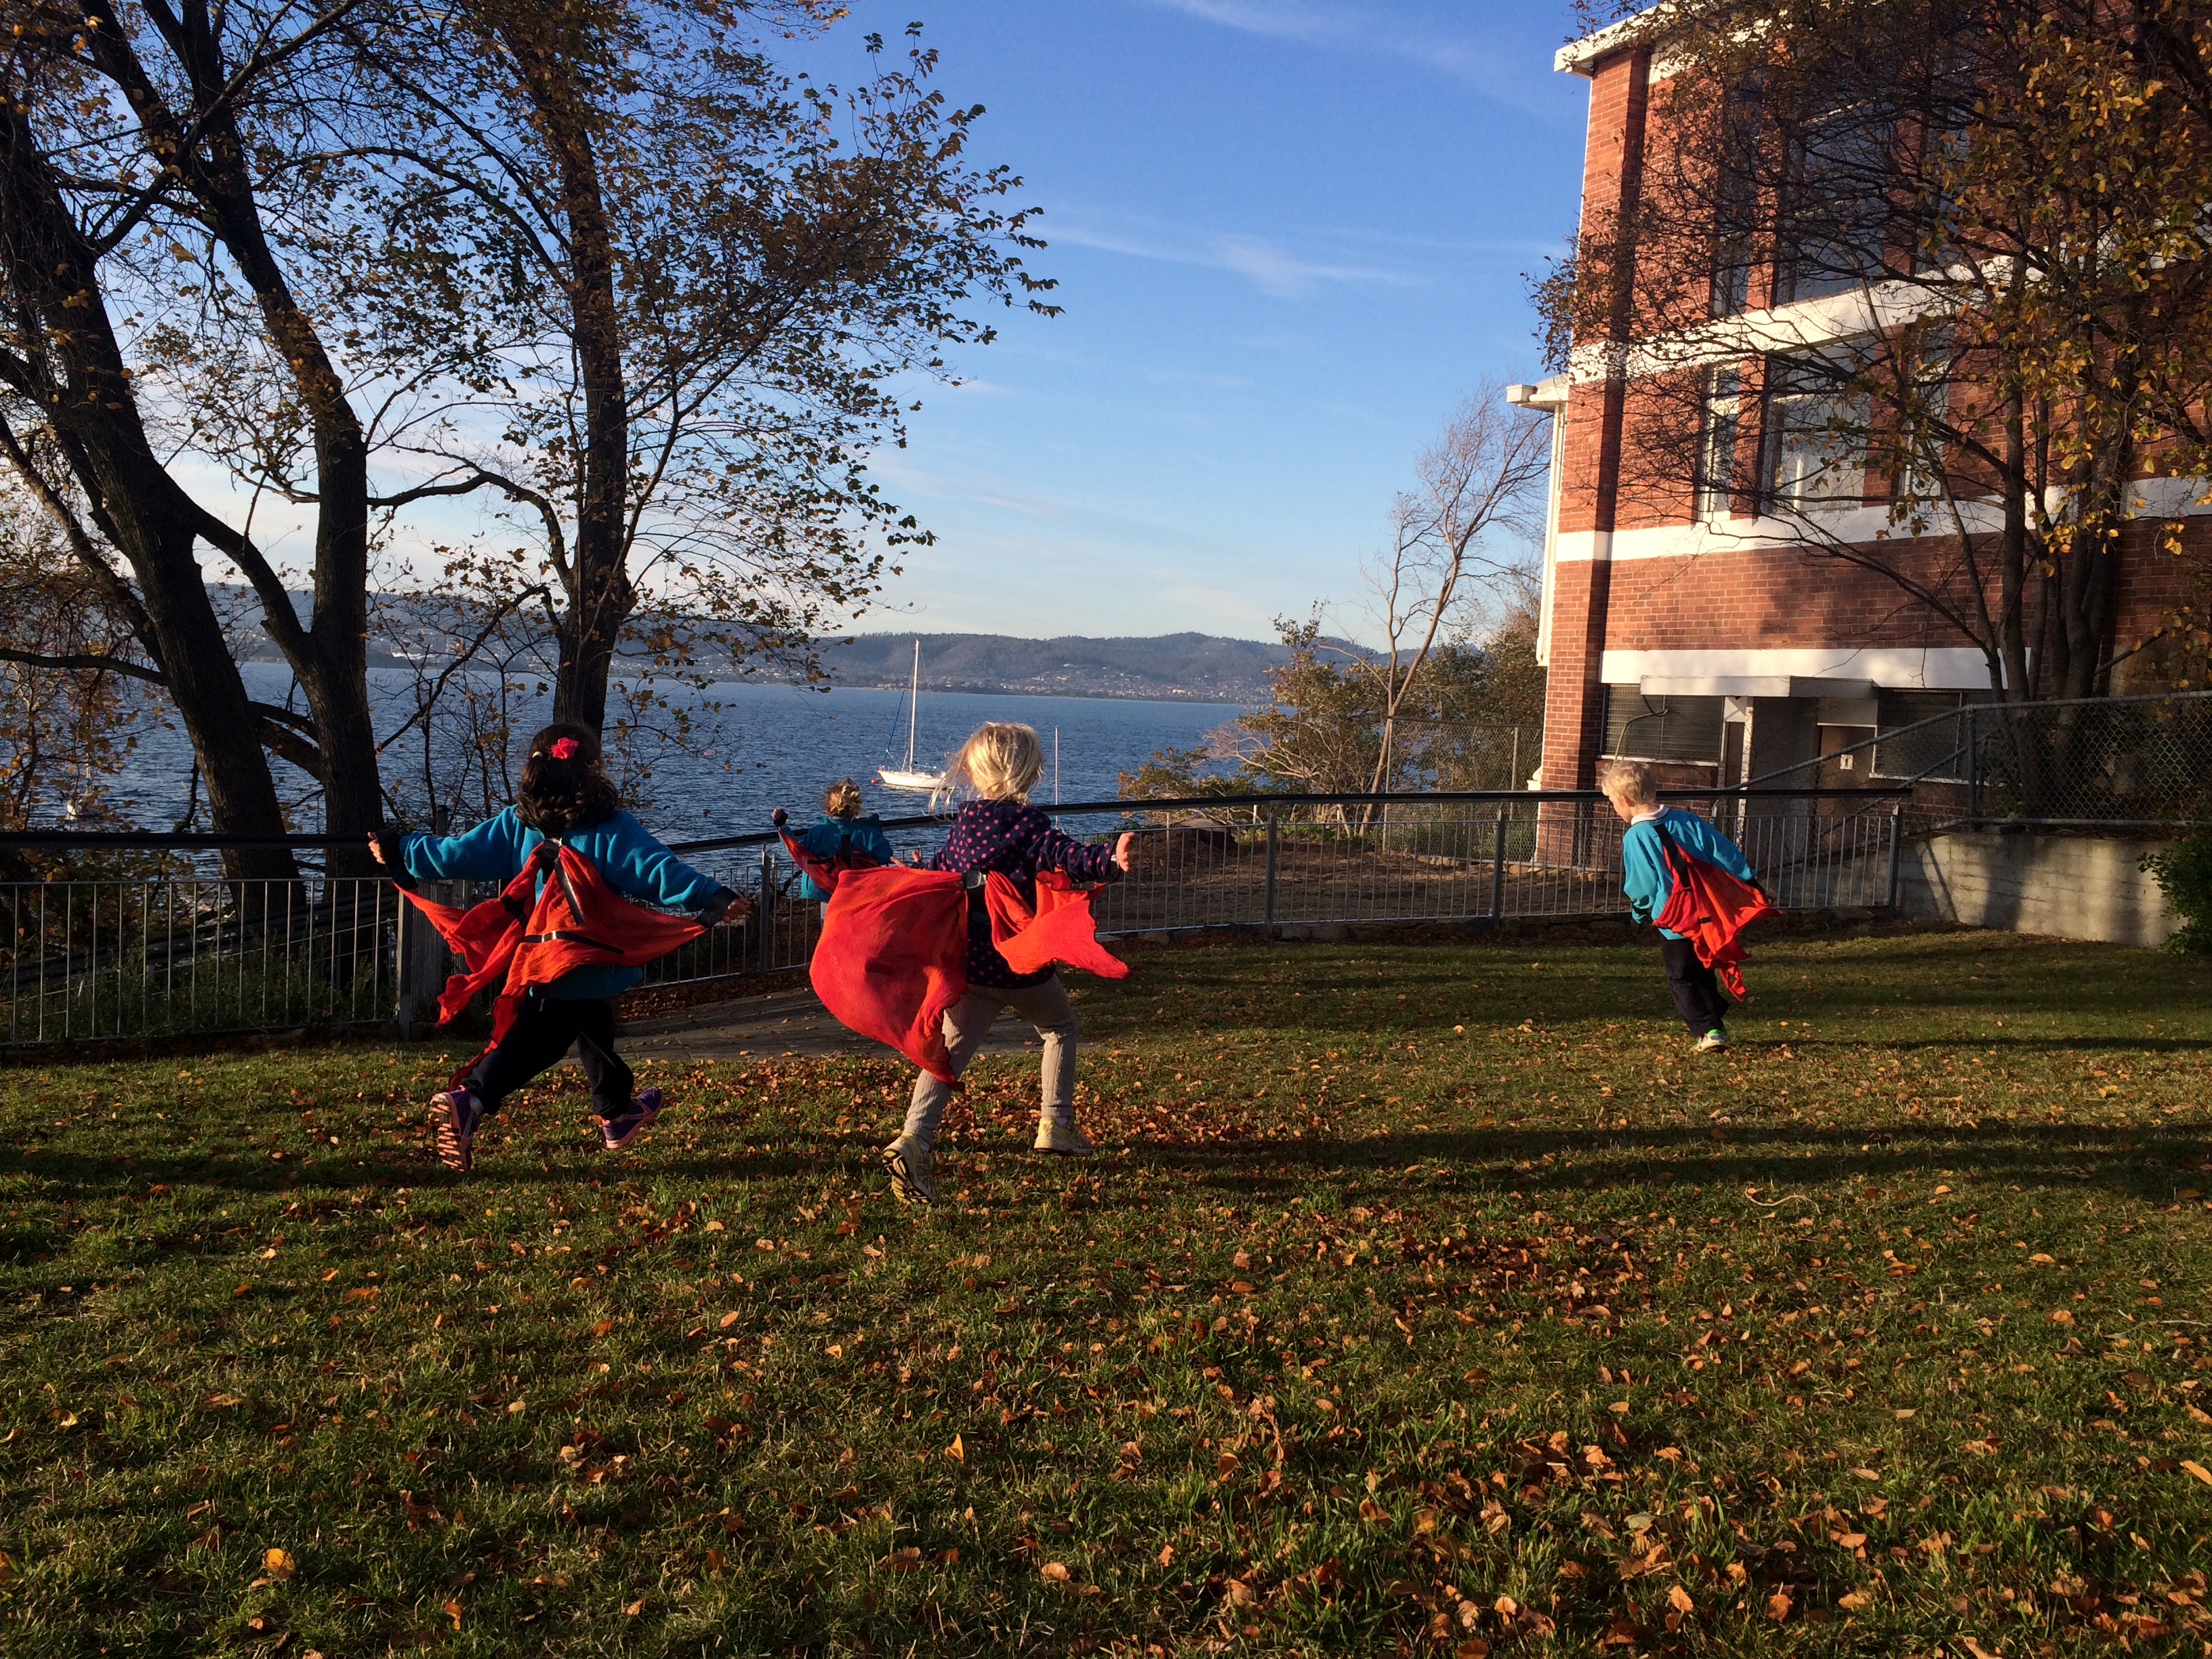
Today we’re going to make some simple no-sew Monarch wings, and then travel part of their journey!
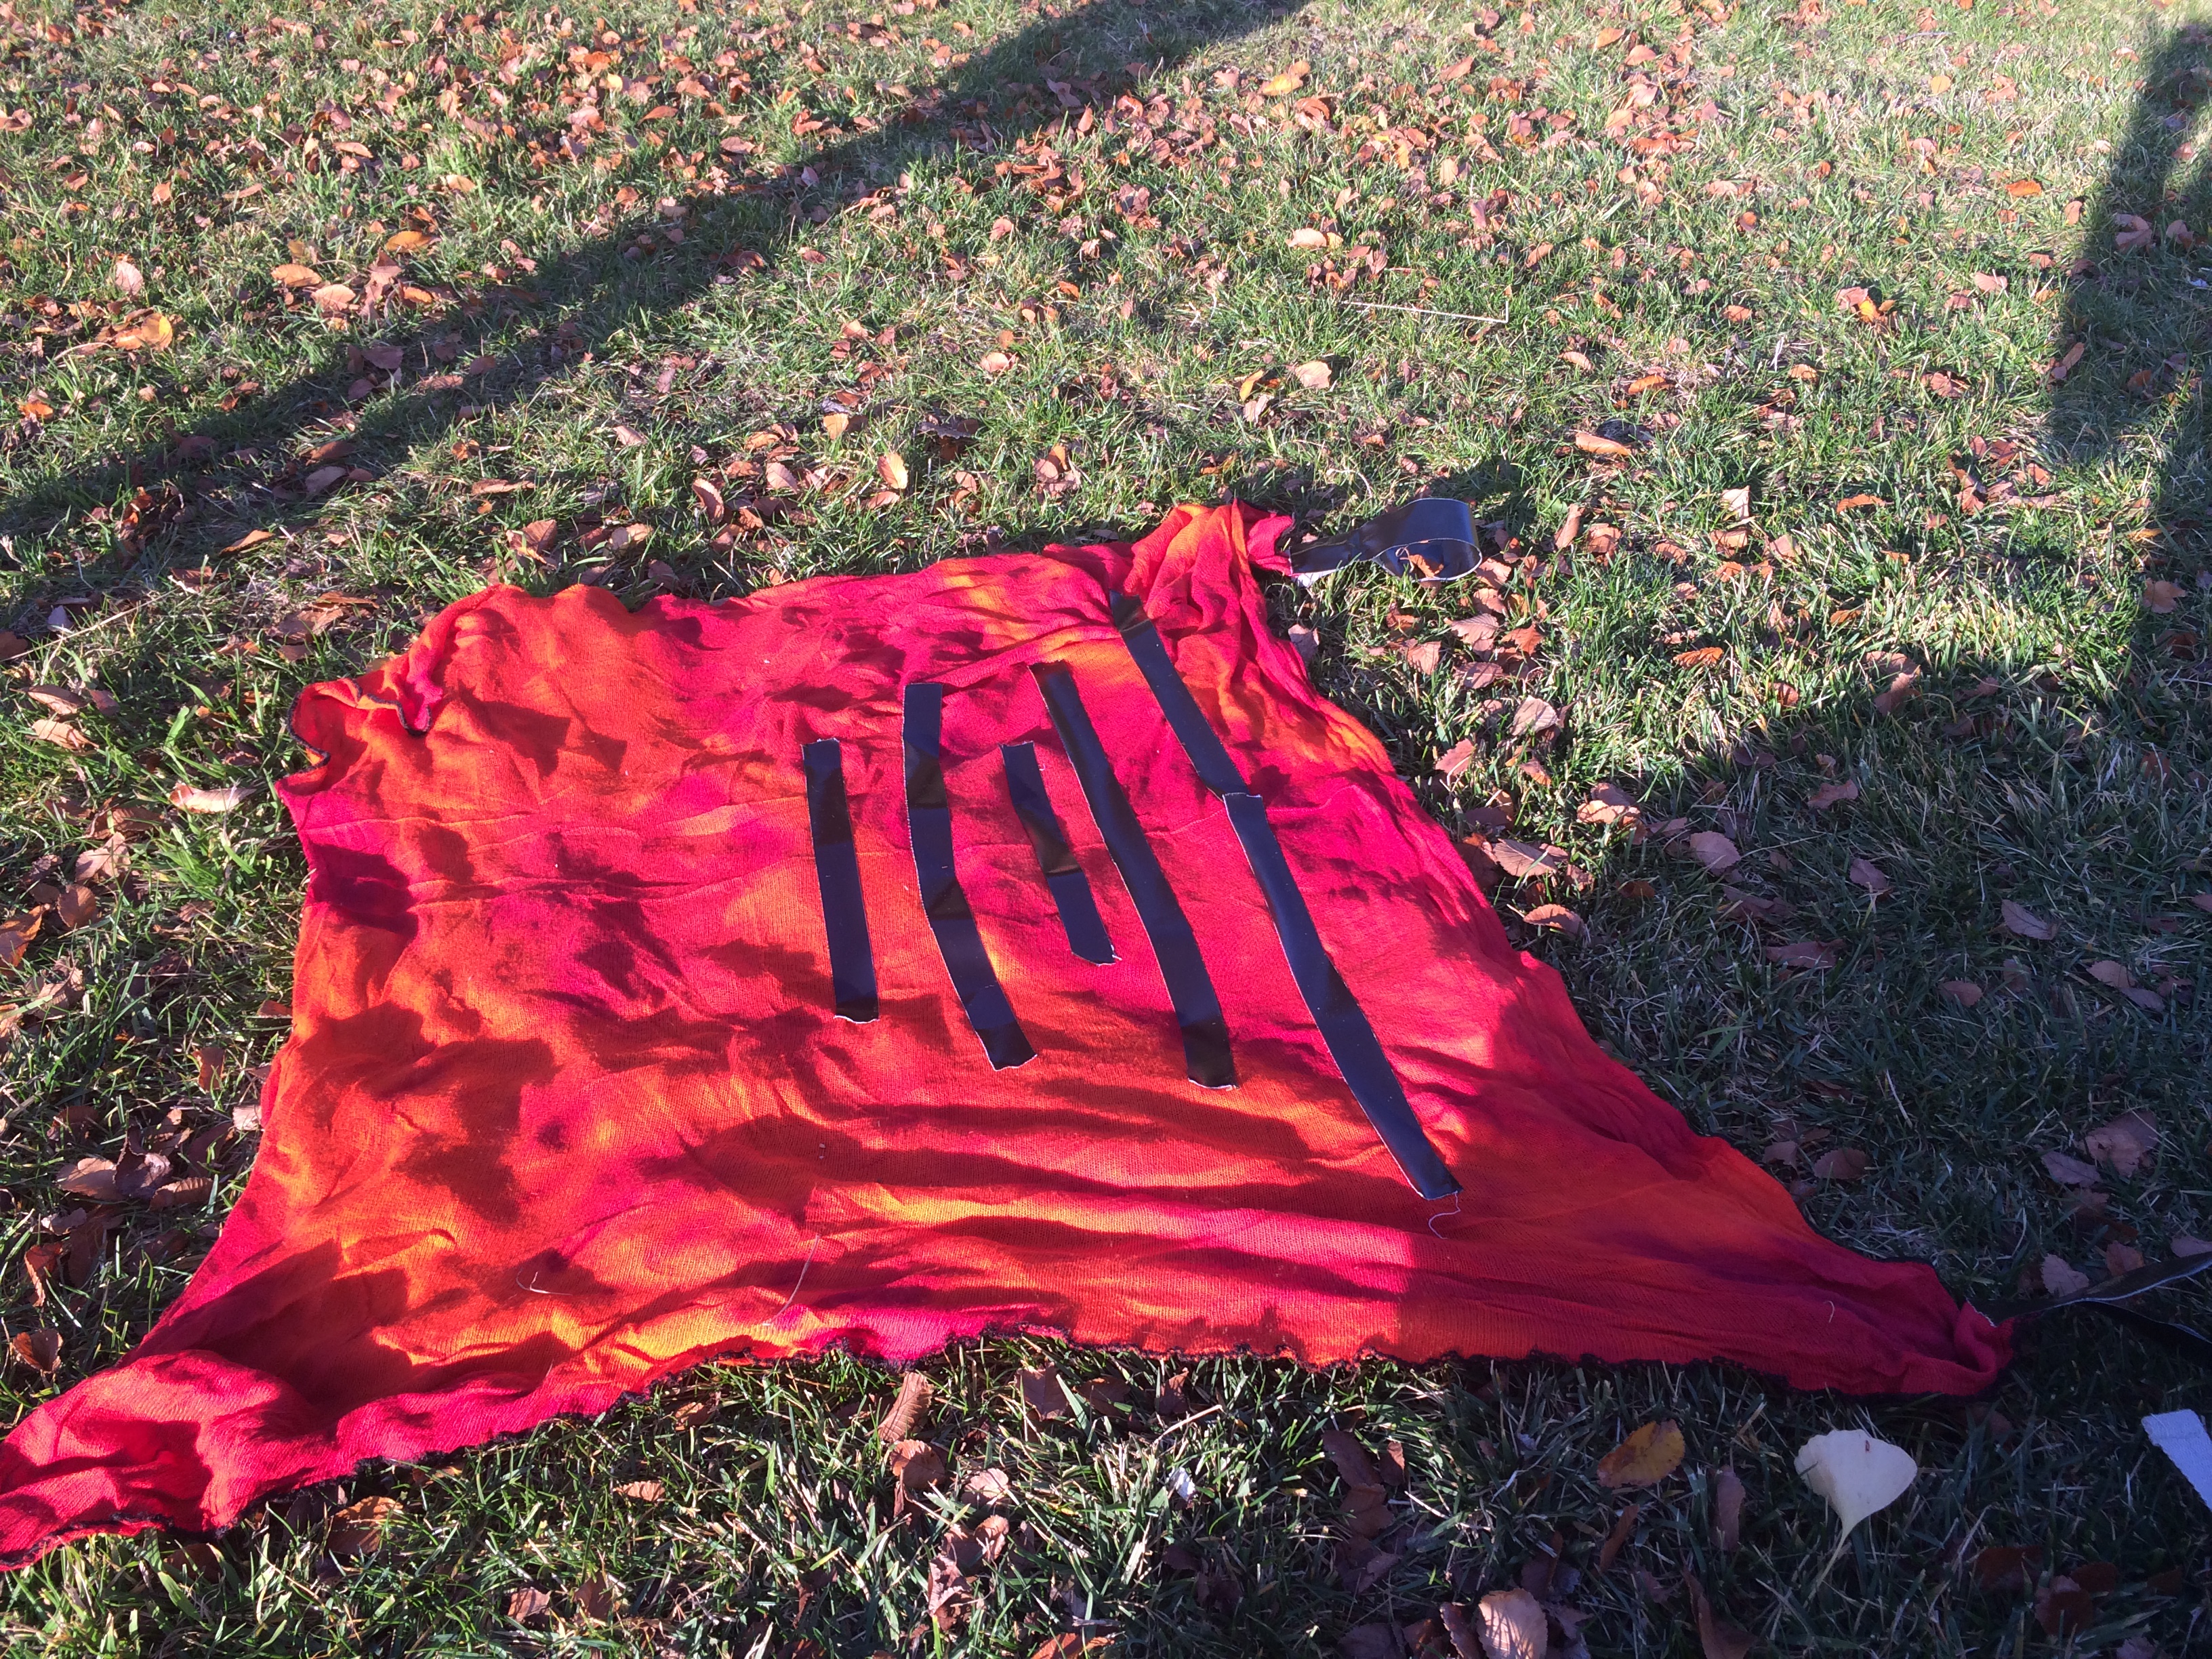
Start with a square of material (the more ‘flowing’ the material is the nicer the wings will fly in the wind, and of course if your fabric is orange you will be even ‘more Monarch’). We used some orange tie dye fabric that we had lying around, but you could easily use crate paper if you don’t have any fabric handy.
Lay our your square and provide your child with black tape to create a pattern on the wings (we used gaffa tape, though any black marker could also work if you are working with paper)
We talked a little about the idea of symmetry (that the pattern on each wing was a mirror image of the other wing) though only the older children took this on in their design.
Once decorated, gather the center of your square (bringing the center of the top and the center of the bottom to the middle of the fabric) so you have 2 triangular wings on either side of your gathering. Secure your gathering with the tape (or sew if you are making a more permanent set of wings)
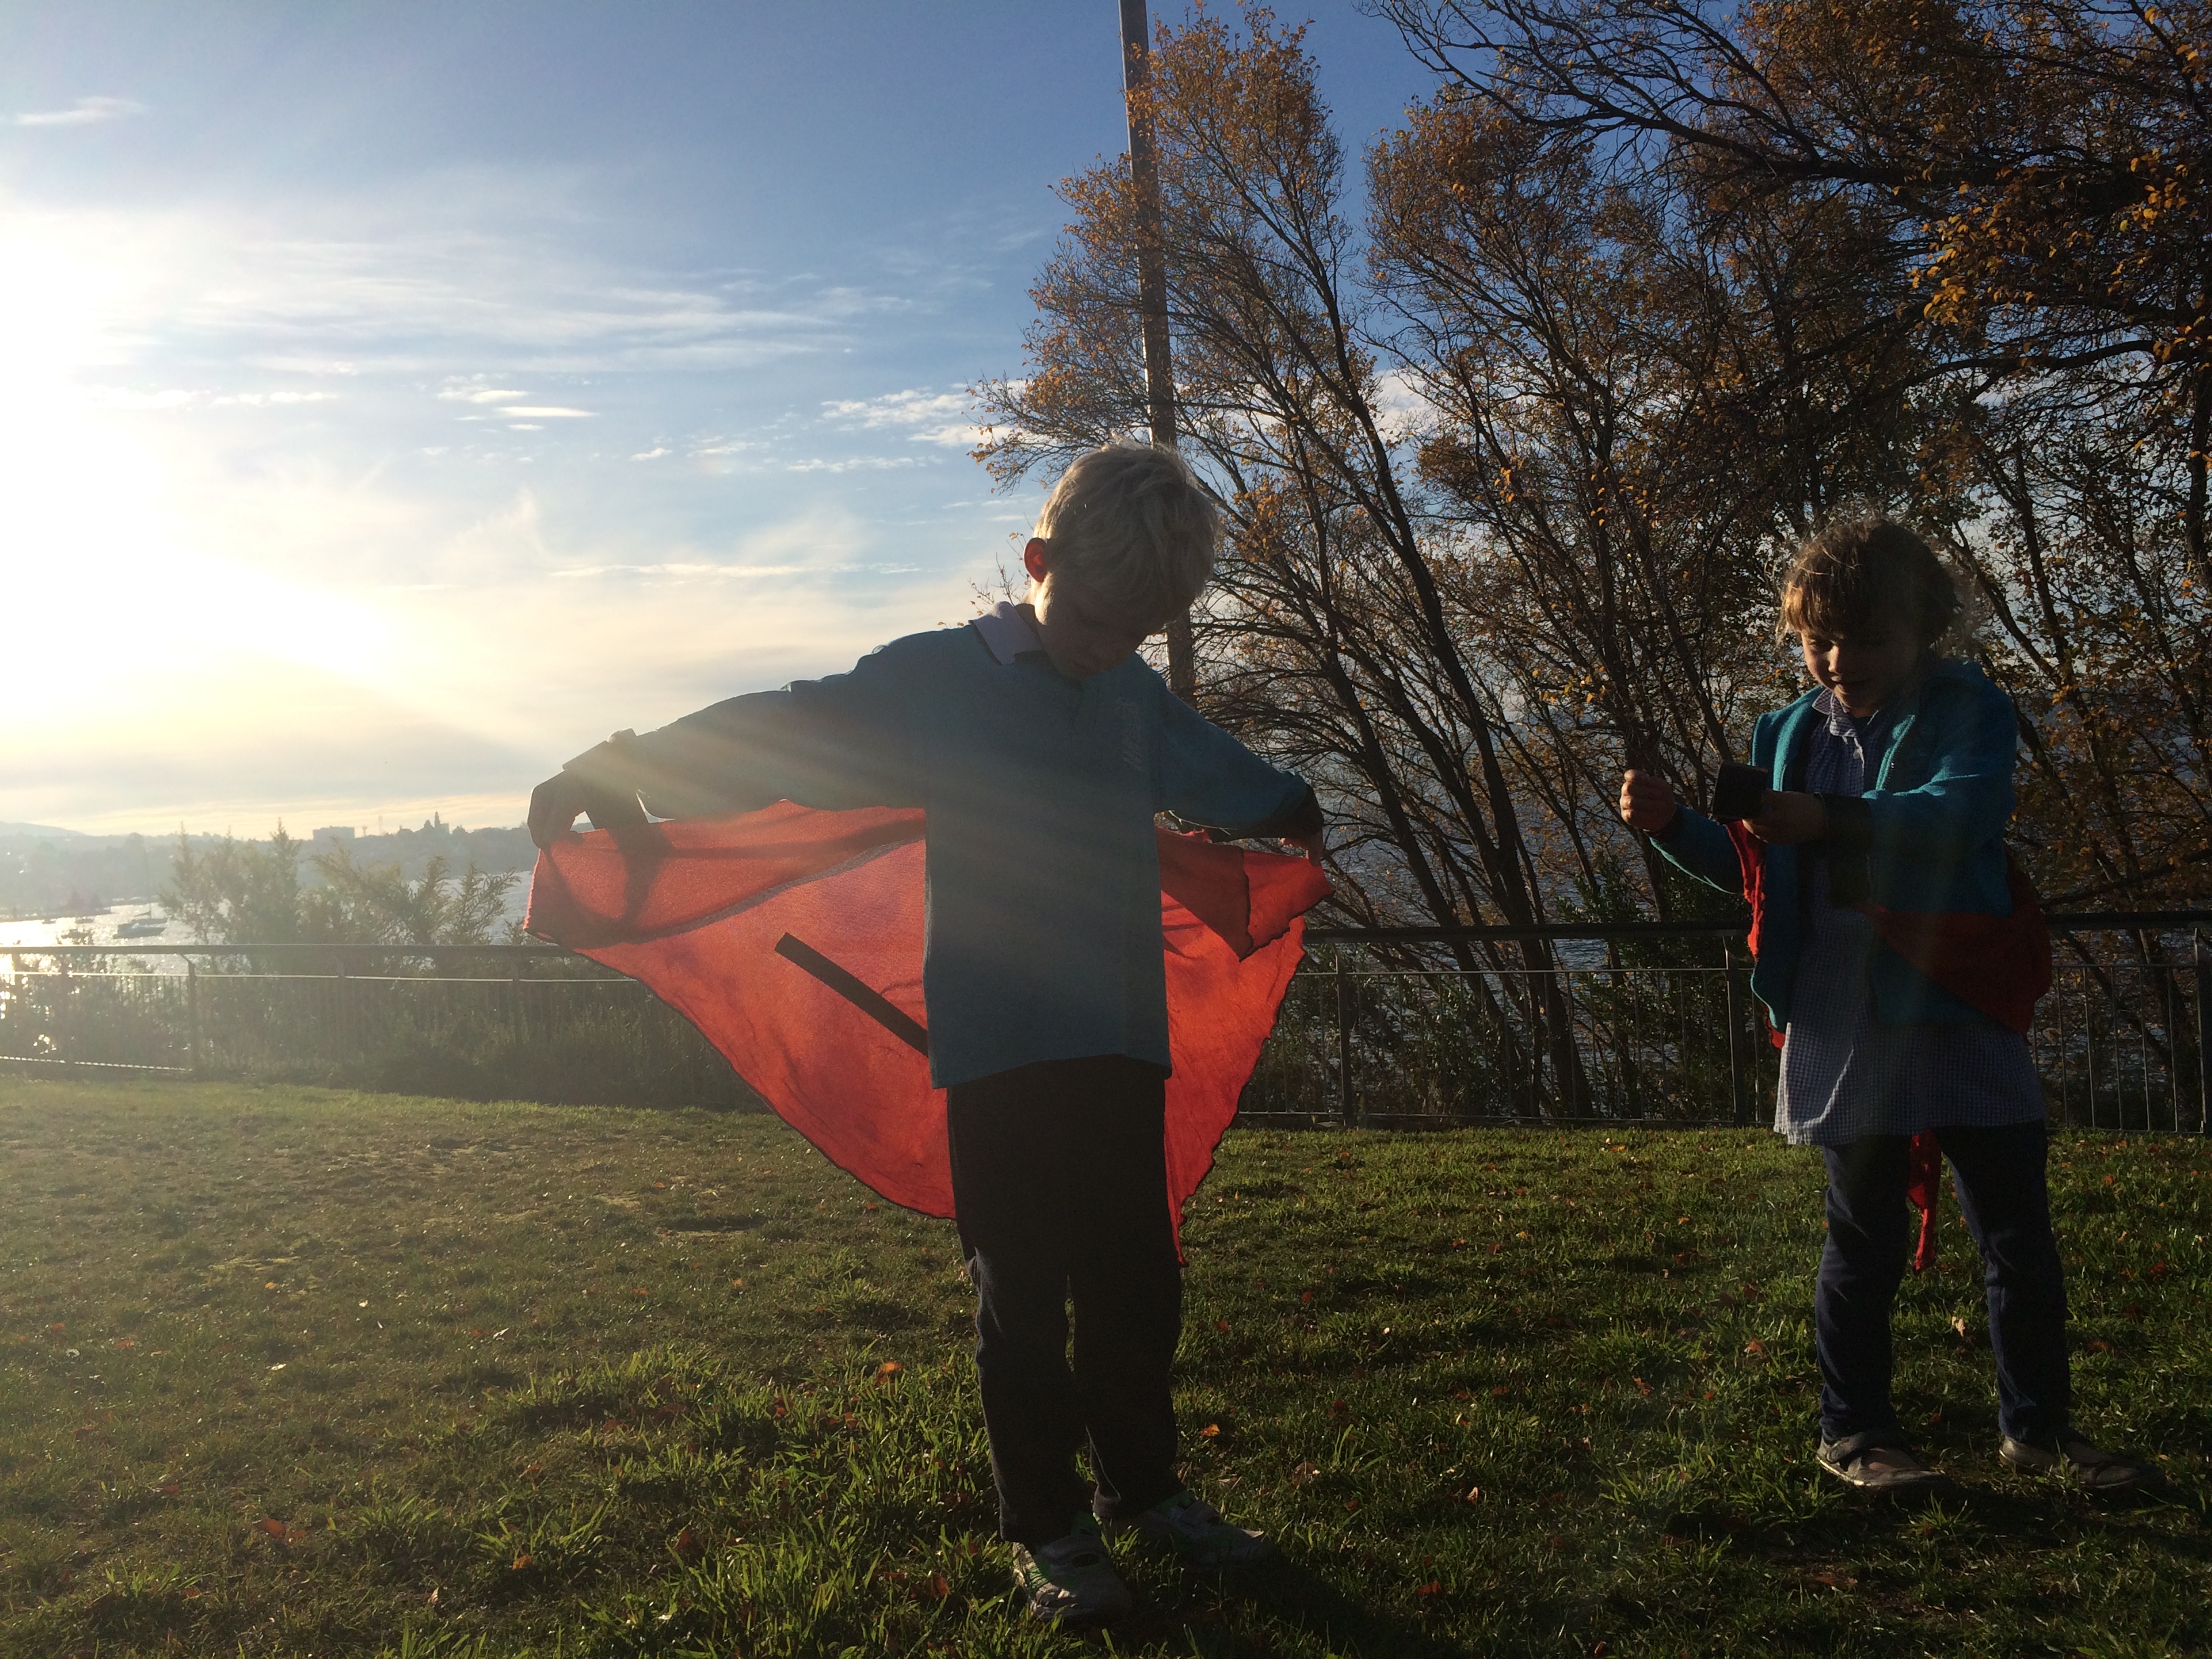
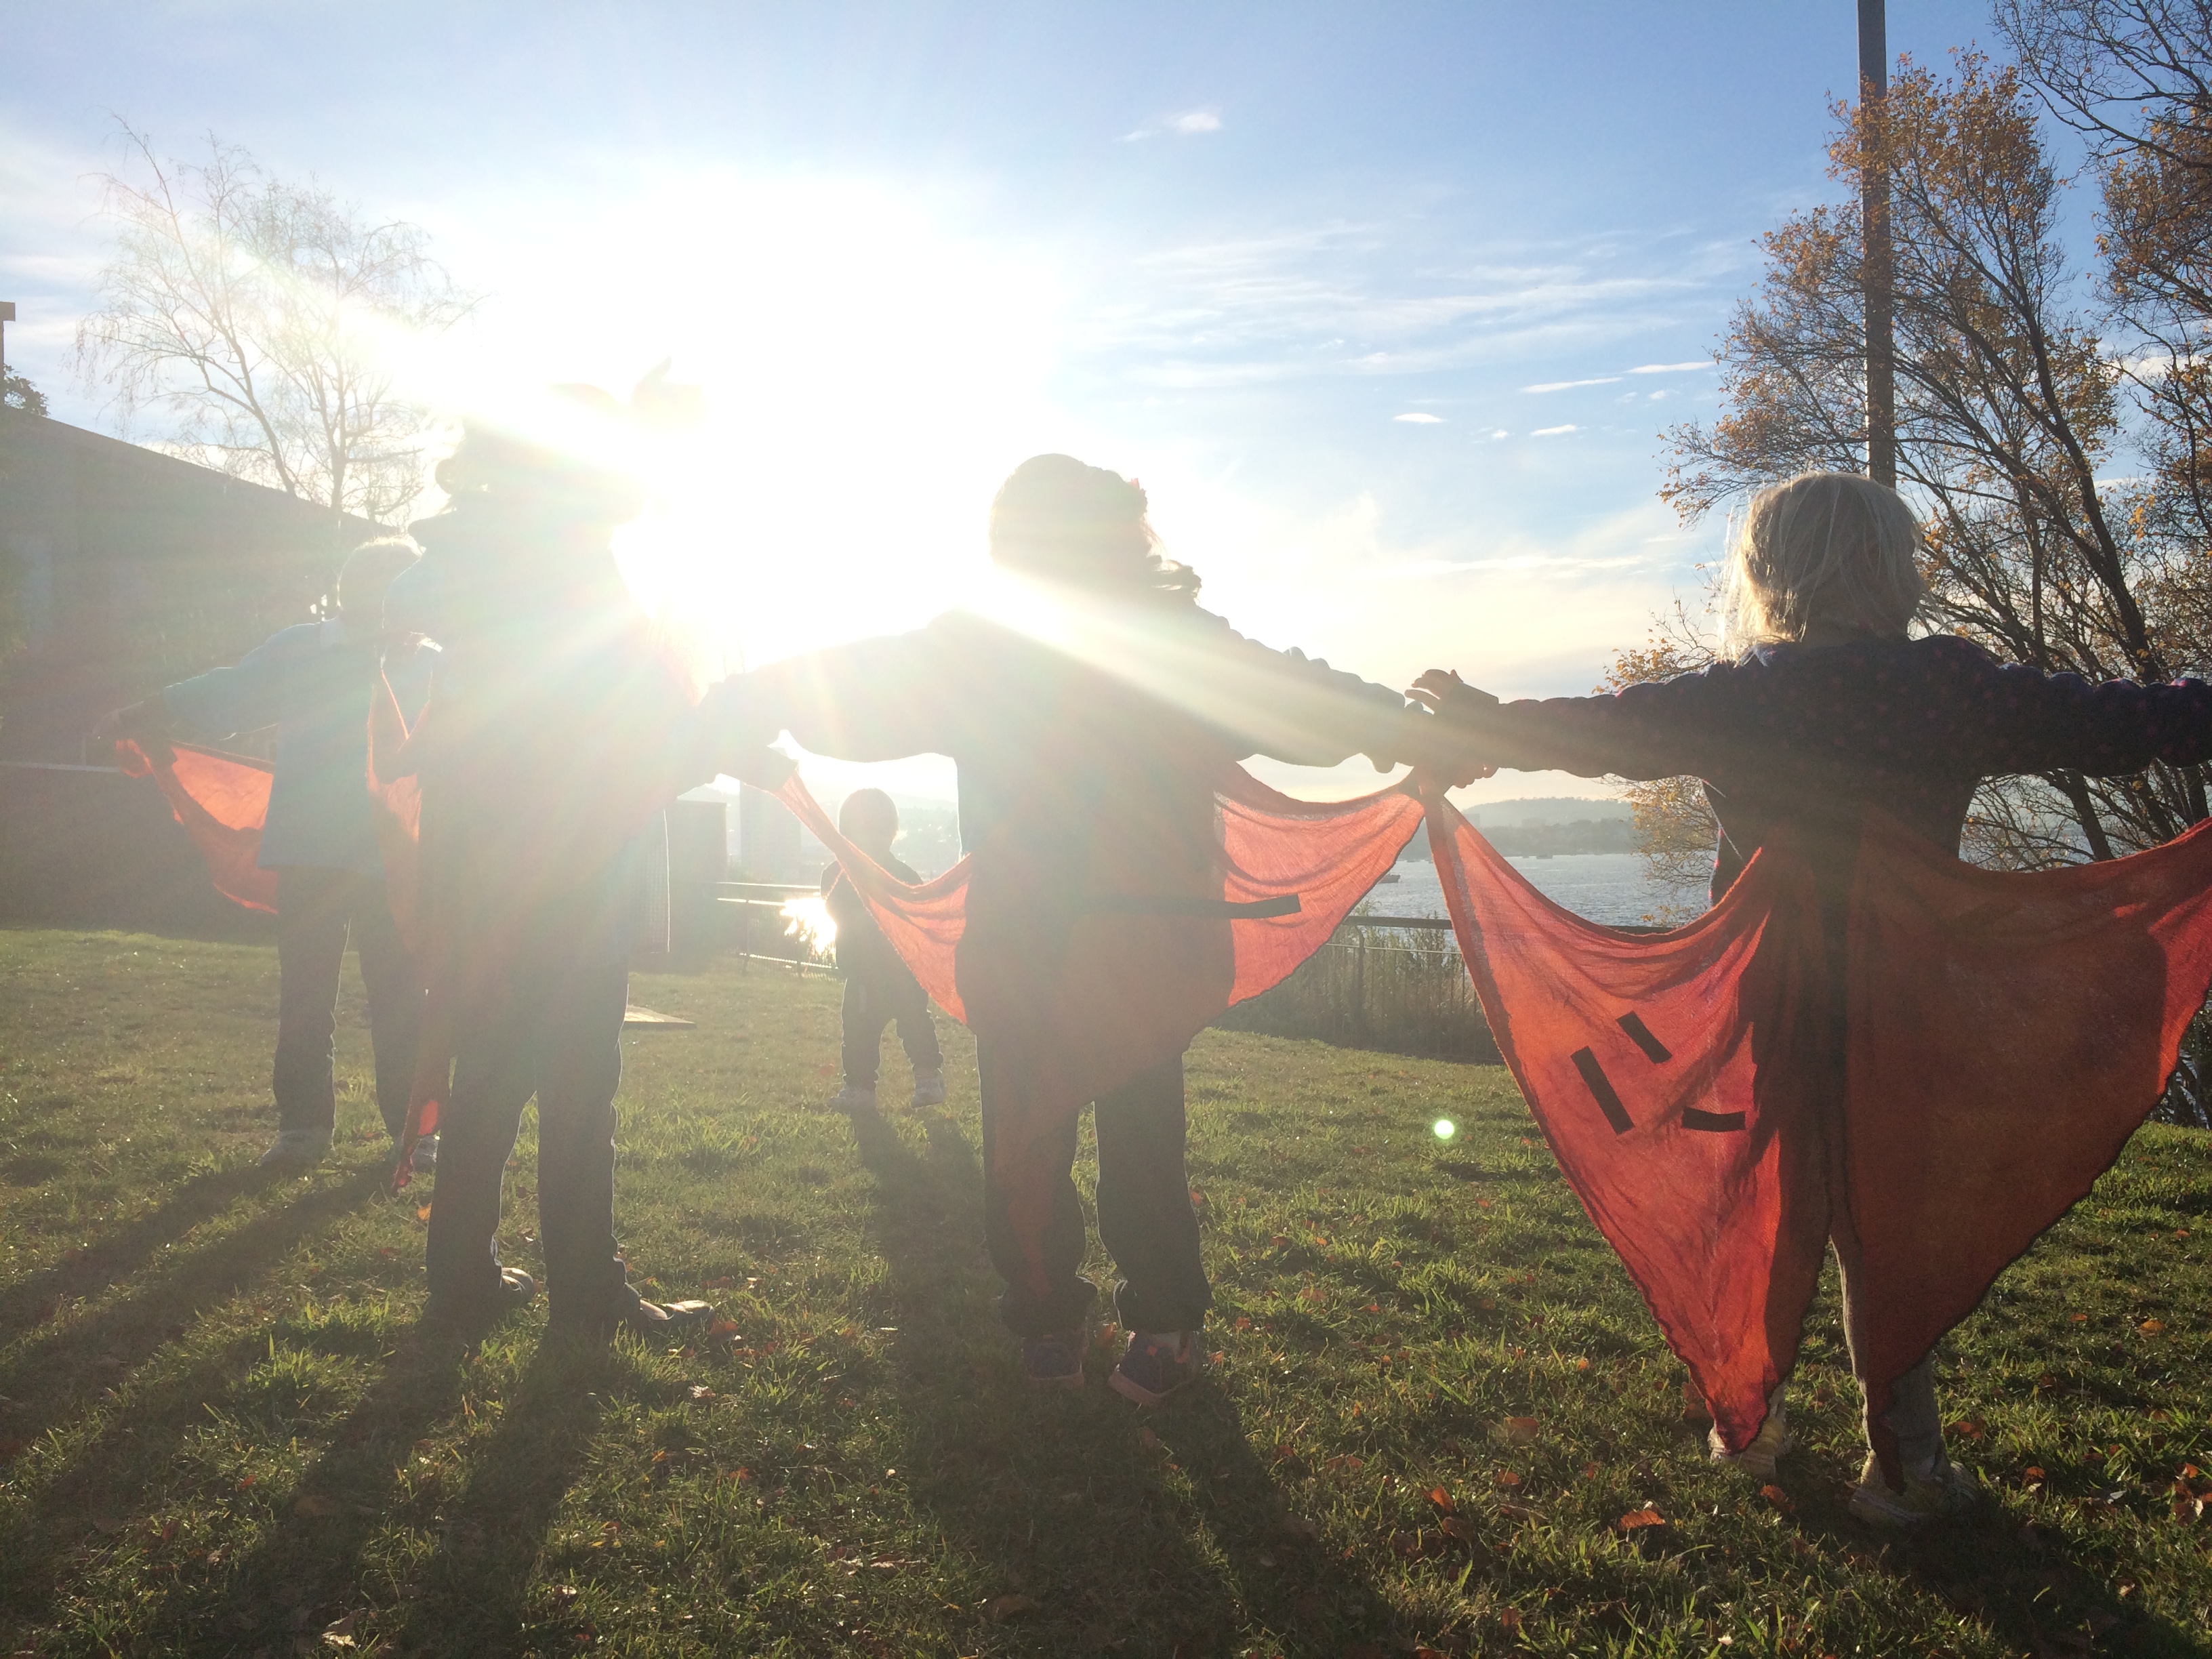
At this point all you need to do is tape your wings to the center of your child’s back (and they can hold the top of their wings with their hands) and watch them fly away with delight.
If you want to make some arm bands for the top of the wings (as we did) then simply use the tape to make the arm bands. Remember to use tape facing outwards (away from your little butterflies arm) on the inside of the arm band (to ensure that the tape doesn’t pull on their skin) and then encase this with a longer piece of tape around the outside of the band, that attaches to the wings. This will make a cuff that they can easily slide their hands in and out off. The explanation sounds complex, but I assure you it is for more obvious when you have the tape in your hands ready to do it!
In a perfect world you would sew on elastic, but we were aiming for speed and efficiency (as we did this activity in the park on the walk back from school) so tape was the easy way to go for us!
Now you have wings – fly away home!
(We ‘flew’ about 2km home after making our wings – that’s just 1/10,000 that these little critters fly!)