
Screen time, it’s an issue that we all confront. An issue that is changing drastically in our kids short lifetimes. I highly recommend listening to this segment from our favourite radio host Ryk Goddard speaking with Professor Stephen Houghton on ABC Radio.
On the other hand we also want to prepare our kids for the future, and building their digital literacy is an important part of that. For a little listen on this front you might like to click over to this segment where ABC Radio’s Rachael Brown speaks with Jillian Kenny about how Australian students are chasing non-existent careers.
As many of you may know, I have spent a good deal of my life creating videos for a living. (Everything from film clips to schools programs on drug education – a wonderfully divers and mind-blowing job). Yet when I had my first child we didn’t let her watch TV or videos. Even now, with a 3 and a 5 year old, we still don’t have a TV at our home.
But this lack of TV does not mean we don’t have screen time, we indeed do have a wide range of screens in our house, and our young kids are no stranger to using them: They find their own audio books on the ipad, they send e-mails on the laptop, they draw letters on my phone (indeed they asked how I could have possibly learnt hand writing in the olden days when there were no ipads with LetterSchool to teach me!) and they also like a good deal of shows on iView (particularly when our oldest is suffering from her Arthritis, there is nothing quite like a movie to take your mind off feeling sore and sick!)
While I certainly don’t believe kids should spend their entire lives waiting for the next show, I do think that screen time comes in a range of different levels of educational quality, and while we are living in such changeable times that there is no clear research from the past that we can accurately apply to the long term effects of what our kids are faced with today, this is how I have built my own personal philosophy on screen time:


With less than 5% female representation among professional coders (and indeed; low representation across all technology fields) I actively want my daughters to be given every opportunity to “think like a coder”. Fortunately for us my brother is a software developer and has been able to introduce my children to the simple puzzles that allow them to gain the first basics of code. Like any activity for children, these games are fun, playful, challenging and lets them solve puzzles of increasing difficulty. Watching the intensity that my 5oy has when solving these puzzles I am in no doubt what so ever that her analytical brain is building at a rapid rate during this type of screen time. Puzzles that are programmed to respond and change individually with the child’s developing mind is far more advanced than ever before, and indeed personalised development supersedes any previous notion of following a precise generic sequence of puzzles laid out in a work book.
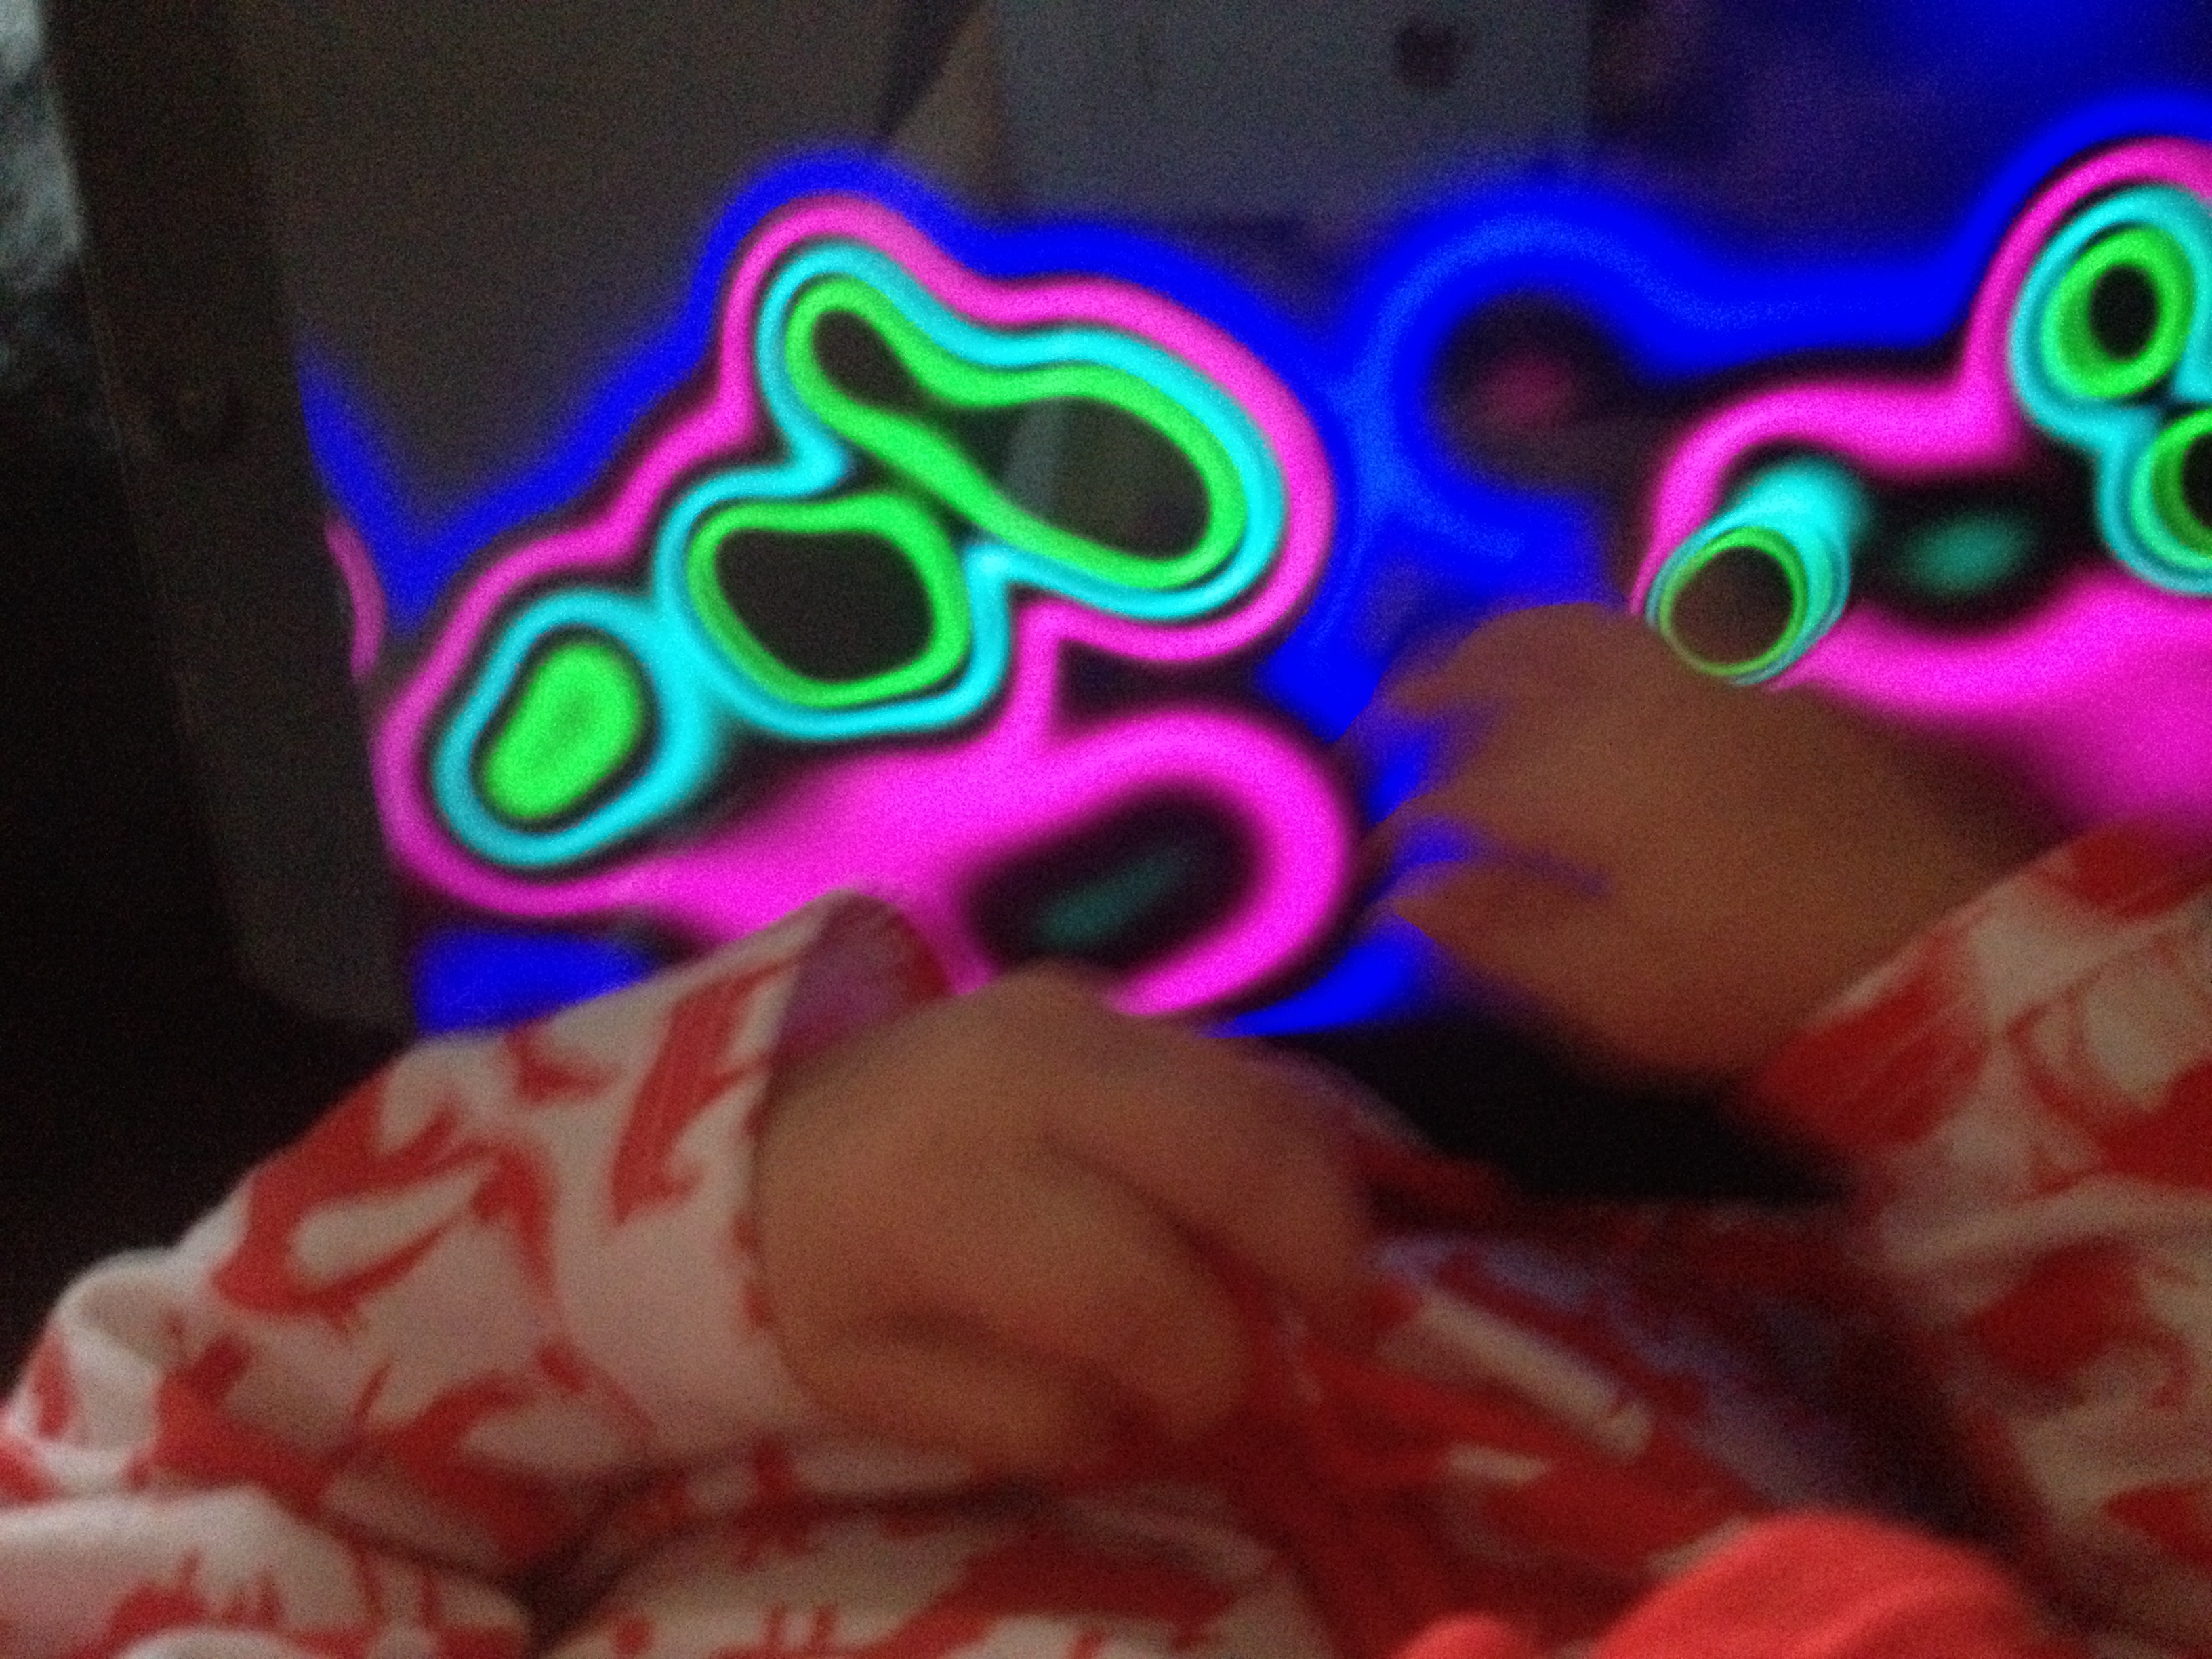
Physical interaction with the screen is something that is not taken into account with many of the previous studies done into kids watching TV. A 3 month old who is learning the finer points of controlling her fingers was held in front of a touch sensitive light pad, and her little arms went wild as she discovered the colours she could create by touching the screen. She explored fine details, sweeping motions and saw what her actions could make. Very few parents would be willing to let their 3 month old baby loose with finger paints, and yet this (less the valuable tactile squashy feeling she will get to experience a little later in life!) was exactly what she was doing. She was painting with light, learning physical control and the relationship between cause and effect. The ‘screen time’ was giving her an opportunity to do something that she would otherwise not have been able to do. Screen time will never replace the learning that is achieved with direct human interaction, but when used as an age appropriate tool (rather than a substitute) the learning potential is immense and to be encouraged.
This TED talk by Salman Khan is a great look at how screen time can assist rather than hinder in an older educational setting.

Let’s sit and watch something. This is the one we all feel a little uncomfortable about, myself included, and yet in smaller doses I believe that this entertainment is a valuable and important part of growing up. In recent discussions about volcanos my 5yo clearly explained to me the cause of hot springs, volcanos, and tectonic plates (while she was missing some of the technical terminology, her understanding was surprisingly comprehensive!) I asked where she had learnt this – perhaps school? Or did her grandparents explain it to her? No, it was the “dinosaur train” – one of the shows my kids like that I am the least enthusiastic about but in watching it she has gained a conceptual understanding of the Earths structure that astounds me.
I am careful about what my children watch for entertainment because I can directly see the themes and relationships shown being re-created in their games, wiring in to their understanding of the world. But I also know it is important that they have a connection with those around them. I myself grew up largely without TV and radio, and while that had a great impact on my life, my adult friends often need to explain cultural references that I miss because I do not have the same “cultural background” as them. The entertainment of a culture is part of that culture, thus TV watching (even the trashy kind!) is part of growing up and being a part of this culture too. In a sense, it is important for my kids social and emotional development that they know who Elsa is, but they don’t need to watch Frozen enough that they model themselves on it!
Of course, none of us will know how this new kind of screen time effects our young ones until many years from now, and indeed what ‘screen time’ is will continue to evolve at a rapid rate, but this is how I personally navigate the current screen time dilemma. Love to hear how you are approaching this with your young ones.
 We have built large sand sculptures before, and they are a great hit for the young construction workers. This time however we had a change in focus beyond a simple sculpture, we want to talk a bit about camouflage.


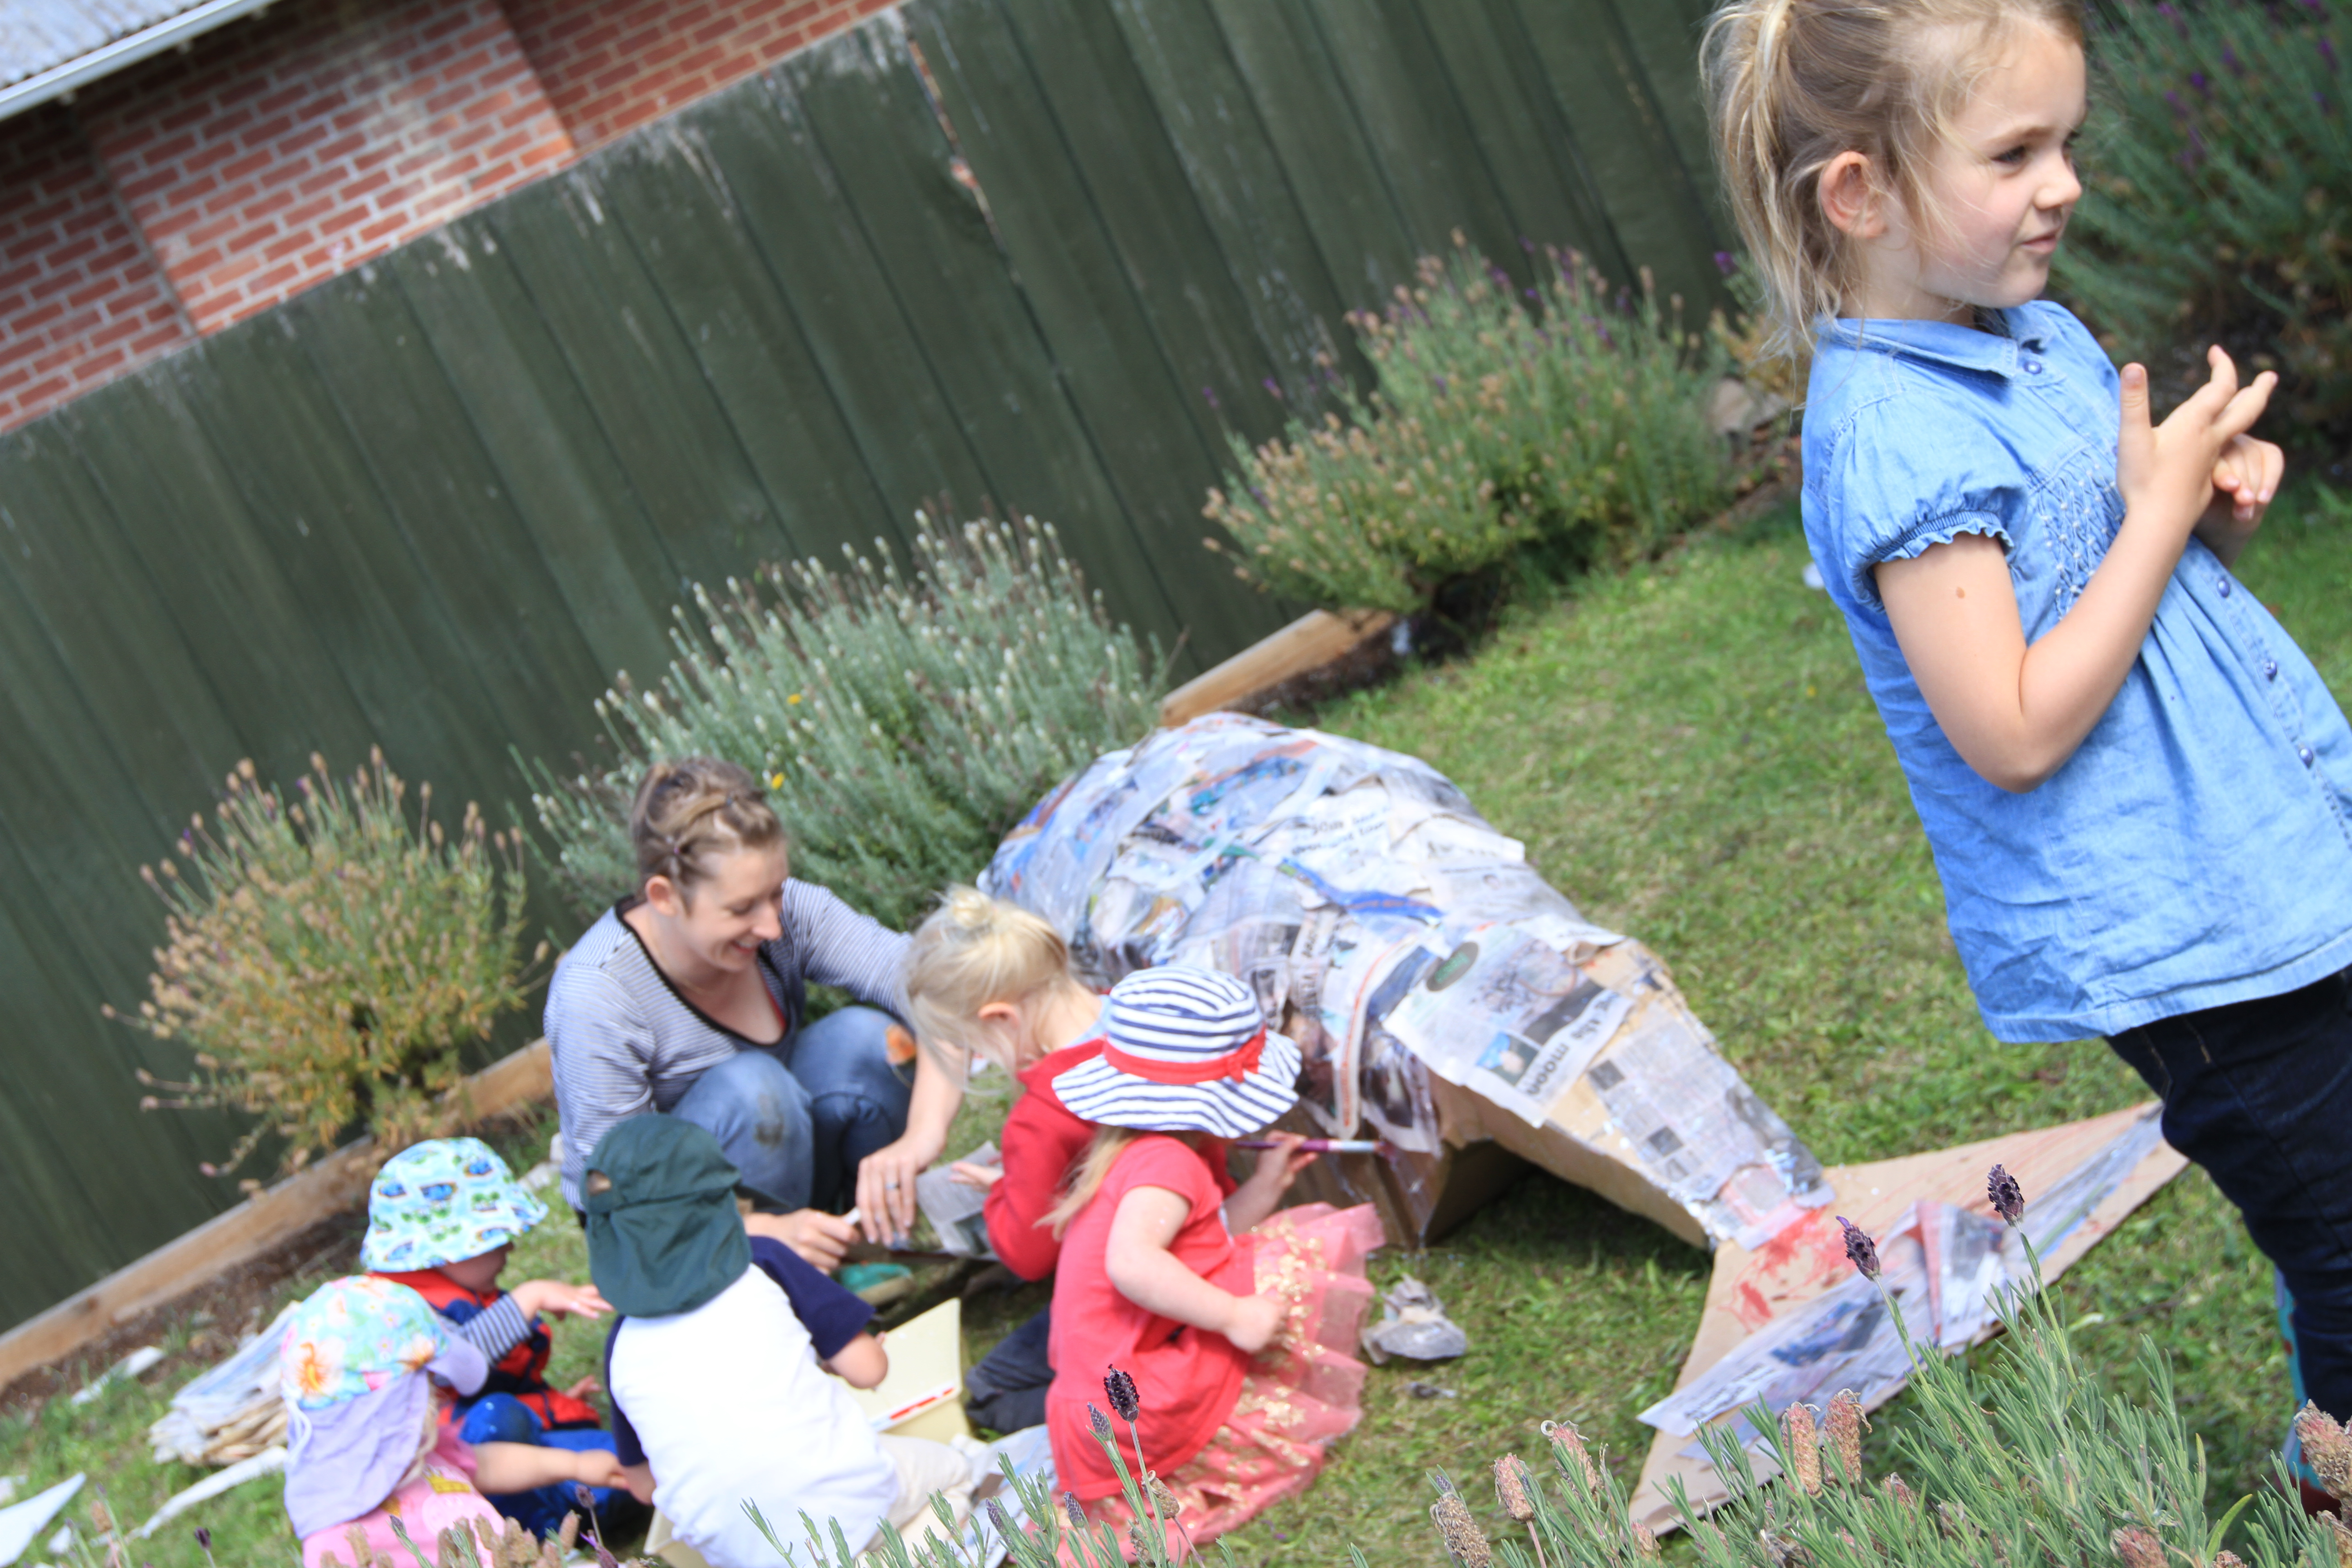
 Once the shape is achieved mix 1part water ; 1 part PVA glue in a tray. Tear paper into more manageable pieces and dip in the glue before placing over your whale. Aim to overlap your paper for strength and cover as much of the whale as possible. (Our young sculptors were not so focused on the idea of overlapping for strength, but their enthusiasm for covering the top of the whale meant that it happened anyway!) Your whaled dry time will be different depending on the thickness of your layers. Ours took about 4-6 hours to dry on a sunny day.
  Once dry we painted our whale (blue of course!) and the squelchy squashy finger paint was a hit, as always.
  This particular whale will then visit my 5yos Prep class soon, for a little more decoration and as they are investigating sea creatures at the moment, it will then come back to us for an under the sea birthday party, and then find it’s home at the daycare centre – not bad for a bit of news paper, a few old boxes and lots of little enthusiastic hands!


