If the breeze is blowing grab a few craft supplies, your young engineers, and head down to Sullivans Cove Waterfront for an investigation into the invisible force that is wind.
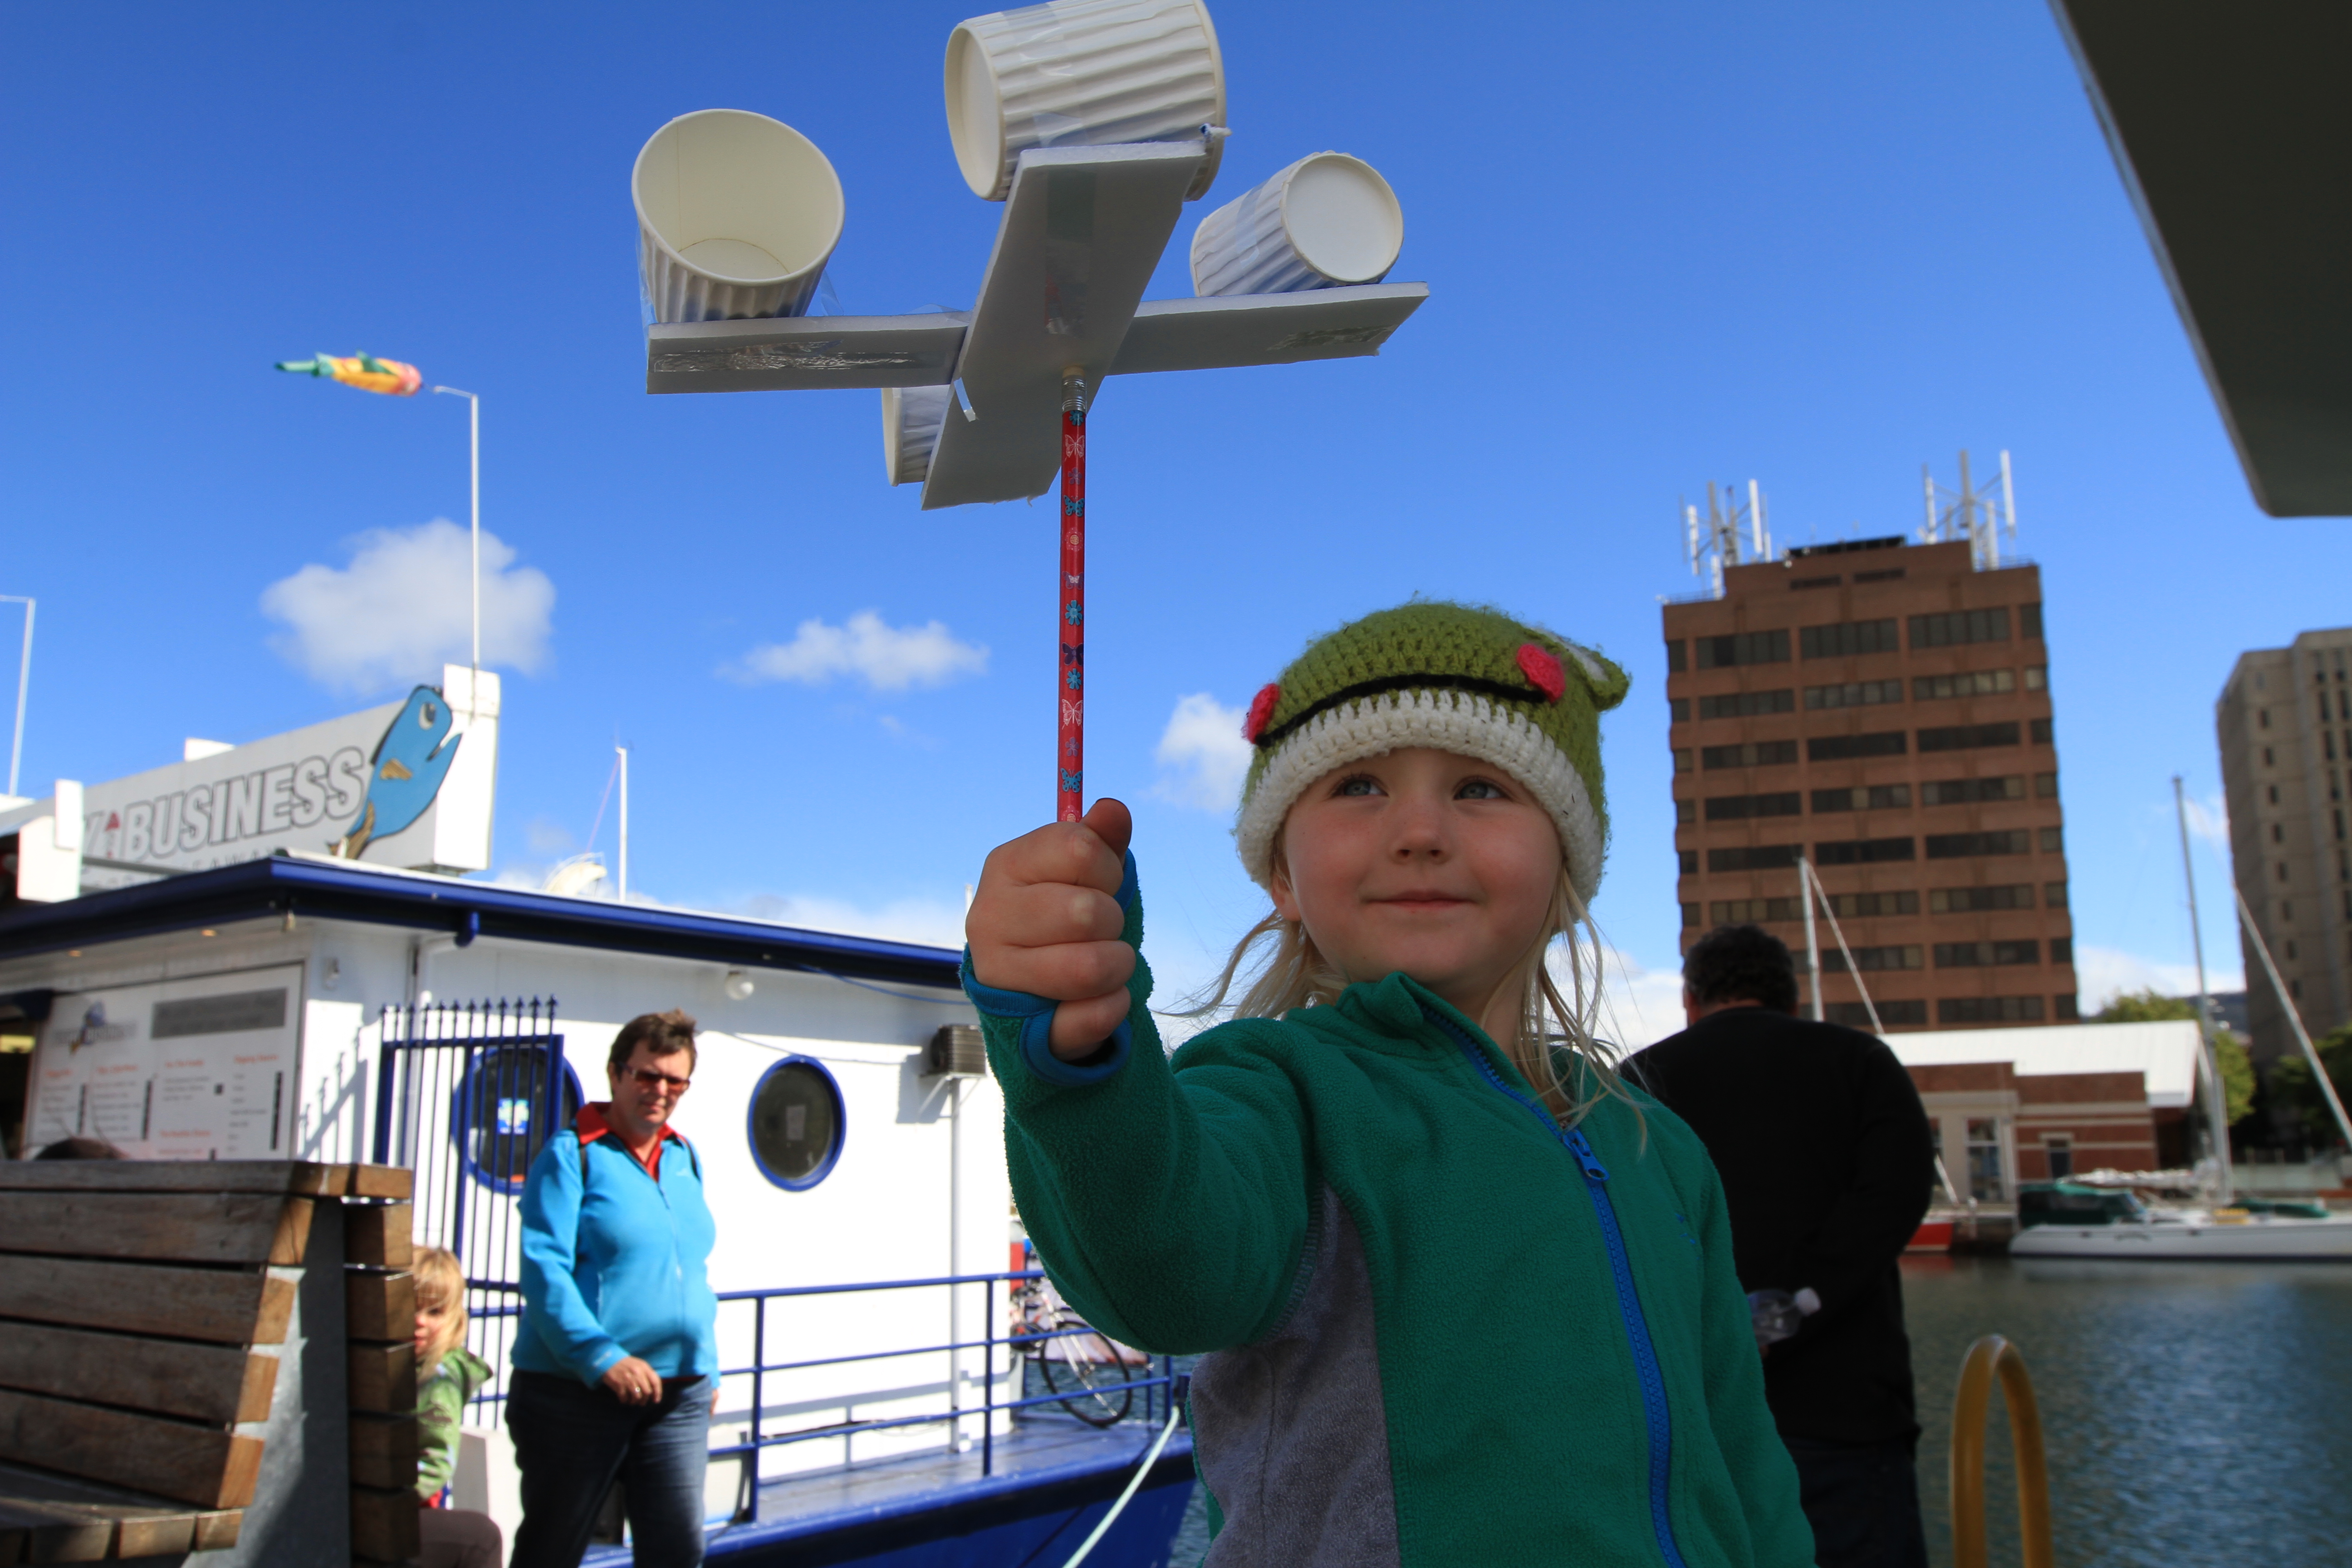
What you will need:
- 4 paper cups
- Strong cardboard (2 lengths about the shape of a ruler)
- Pin (drawing pin, dress makers pin, or sewing needle)
- Pencil (with rubber on top)
- Tape
- Scissors
Make a cross with the 2 lengths of cardboard, and tape at the middle so they form a ridged and evenly spaced ‘X’
Tape a cup to the end of each of the ‘arms’ of the X (ensuring they are all facing the same way when it turns)
Place the pin though the centre of the X and attach it to the pencil (by sticking the pin into the rubber end of the pencil as in the picture).

The X should now rotate freely and the cups should catch the wind to make it spin.
Finished! You just built a wind turbine (admittedly it is not turning anything at the base, but that is probably an engineering feat for slightly older children!)
Of course this is a great time to talk with kids about how the wind holds energy, and how that energy can be ‘caught’ and transferred through rotation to create power that we can use.
If you do this experiment on the waterfront you will be able to point out the wind turbines turning in the wind on top of the buildings.
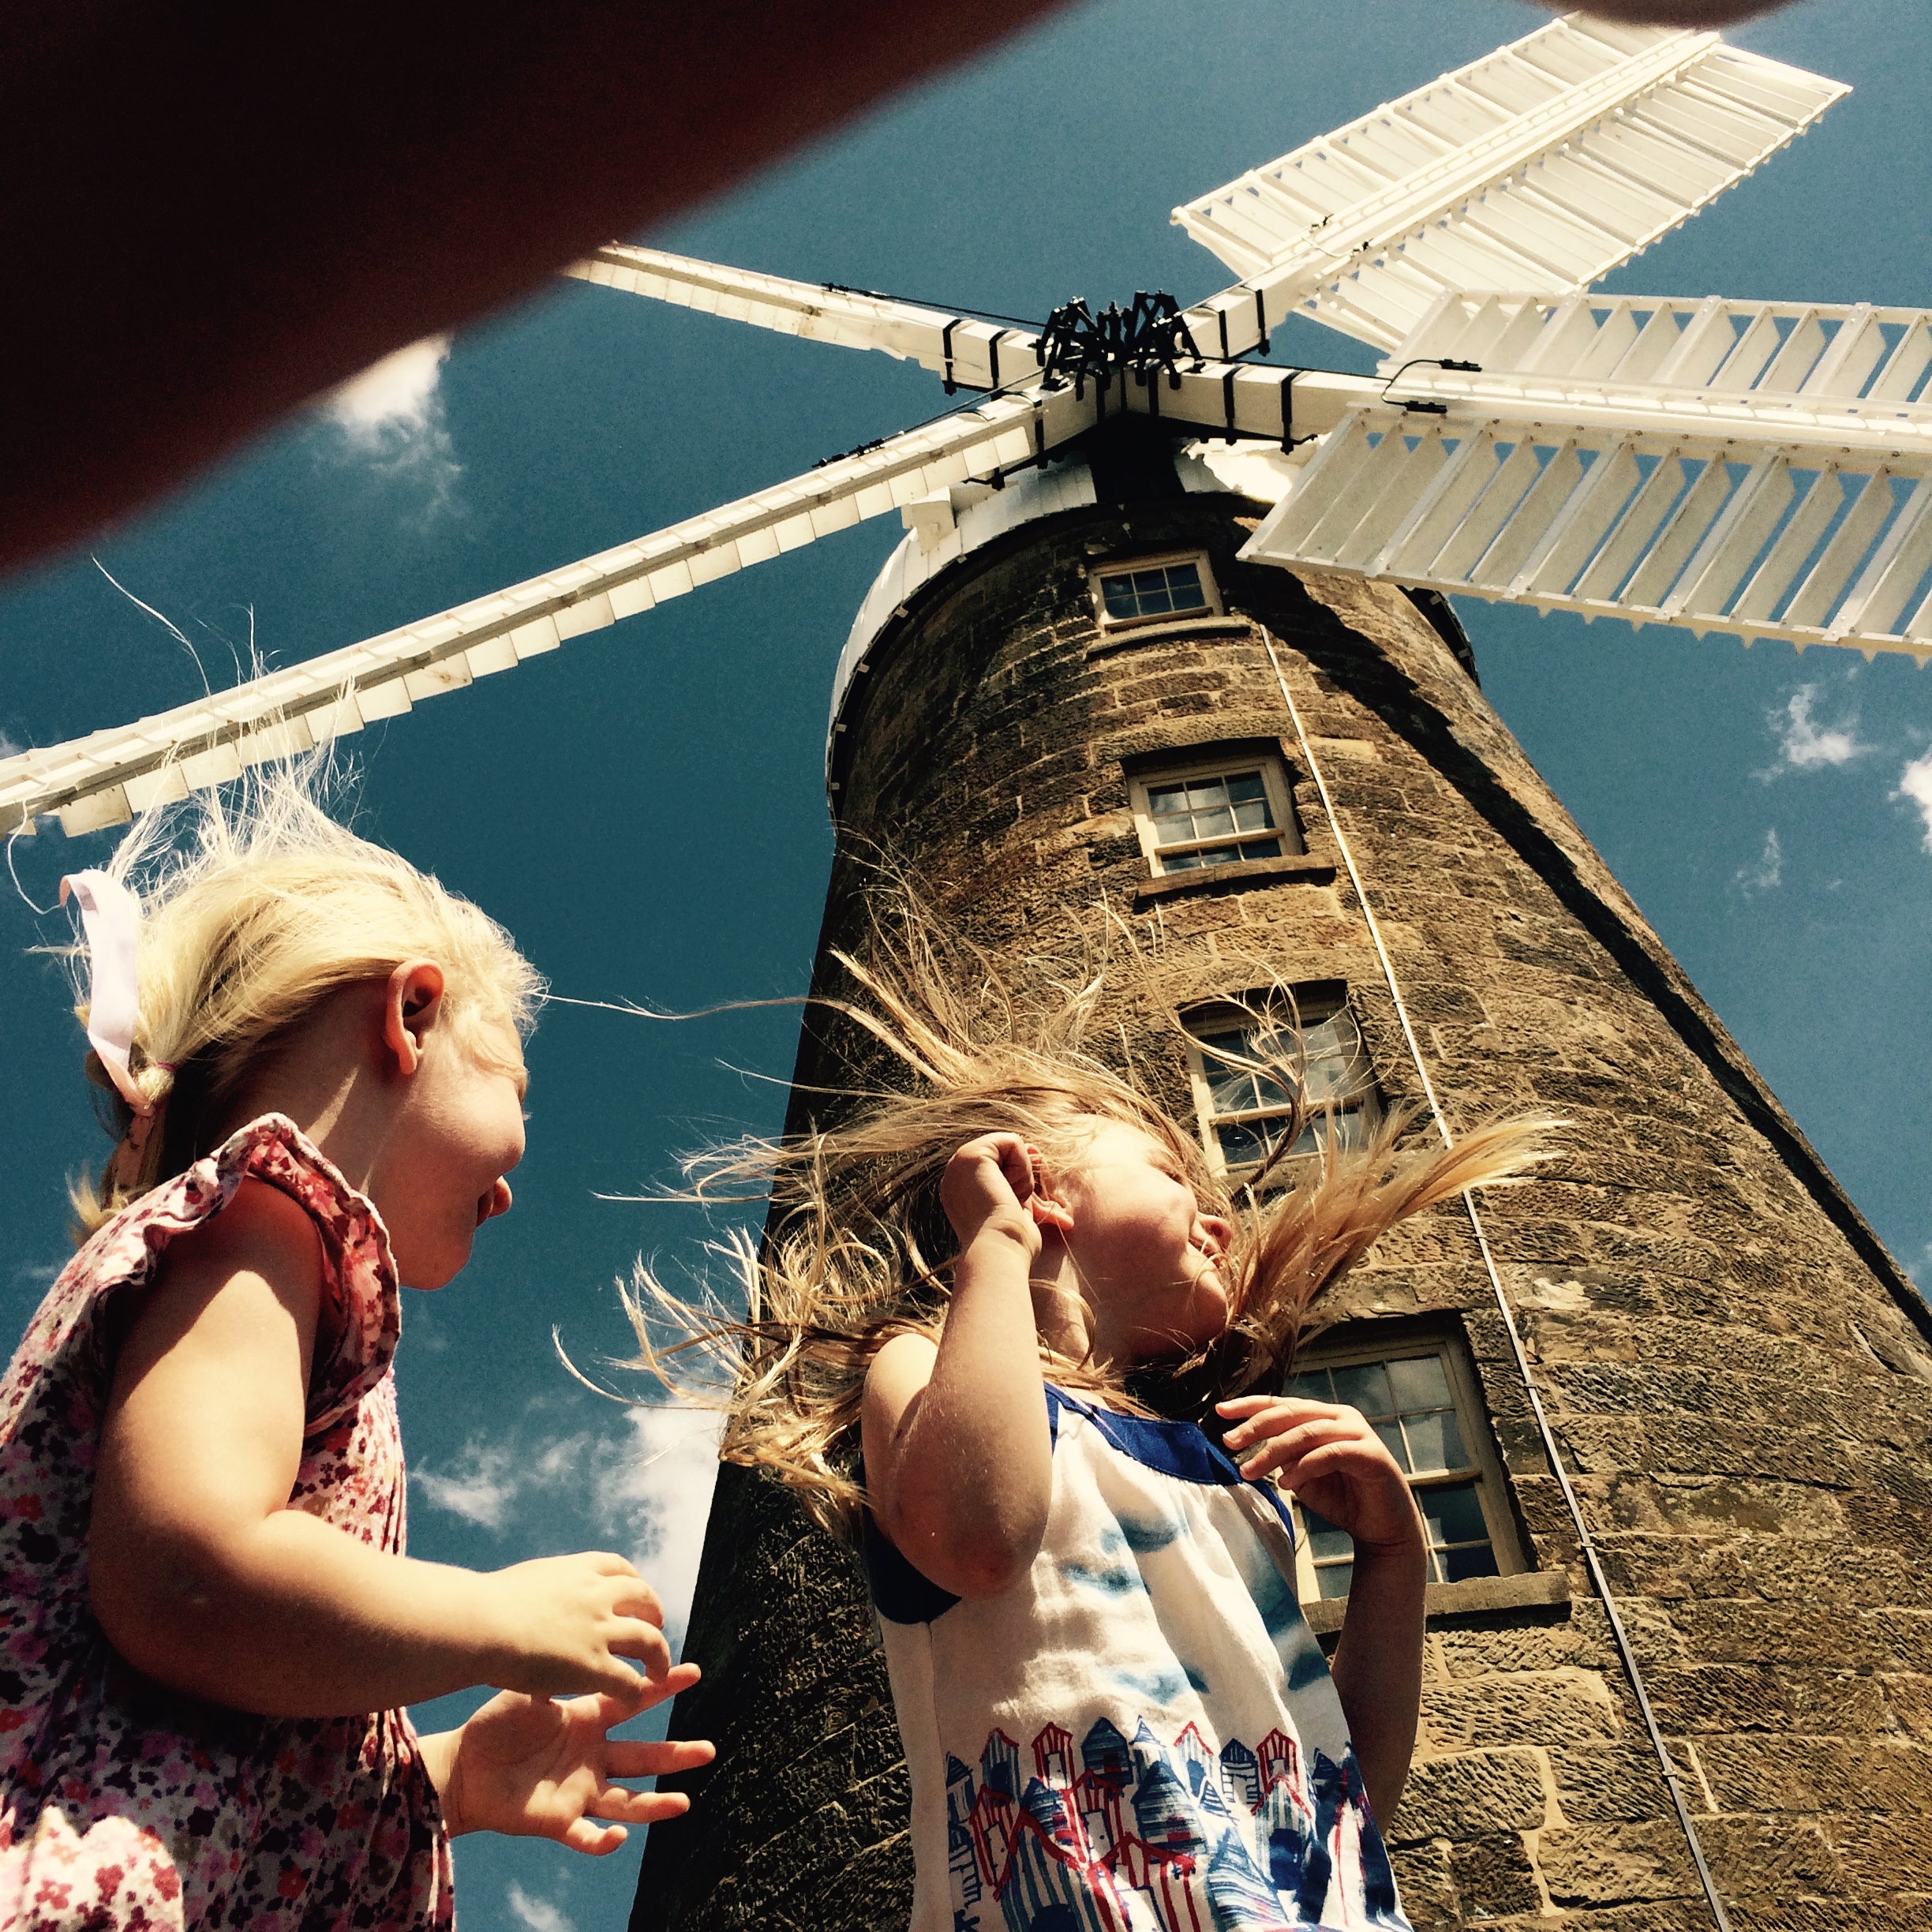
If you are venturing through the midlands (or feel like a day trip) you may like to visit the Callington Mill at Oatlands for this experiment. We visited this earlier in the year and being able to reference the internal cogs that they saw at the windmill really helped our kids understand that the rotation caused by catching wind was able to to run a ‘motor.’
We’ll show you how water can generate power in a post soon, so no worries if you don’t get to Oatlands today… that turbine action will come back into play soon with another little potential road trip!

Pingback: W – IS FOR WATER WHEEL | What we learnt