We’ve talked before about our mission to cook around the world, but in this case we are baking the actual world it’s self!

To link in with our concepts surrounding volcanoes (inspired by our destination of the week; the volcanic islands Wallis and Futuna) we’ve been investigating the layers that make our world.
The inner core is the hottest (imagine the seed of a tick skinned fruit) the outer core is still darn hot, but a little cooler than the very centre (think of the flesh of your fruit) then there is the far thinner crust of solid, hard rock (imagine the skin of the fruit) and on top of that are all our oceans and islands. That’s our world in a fruity sense, but we decided it would have a more memorable impact on our learning to EAT CAKE!


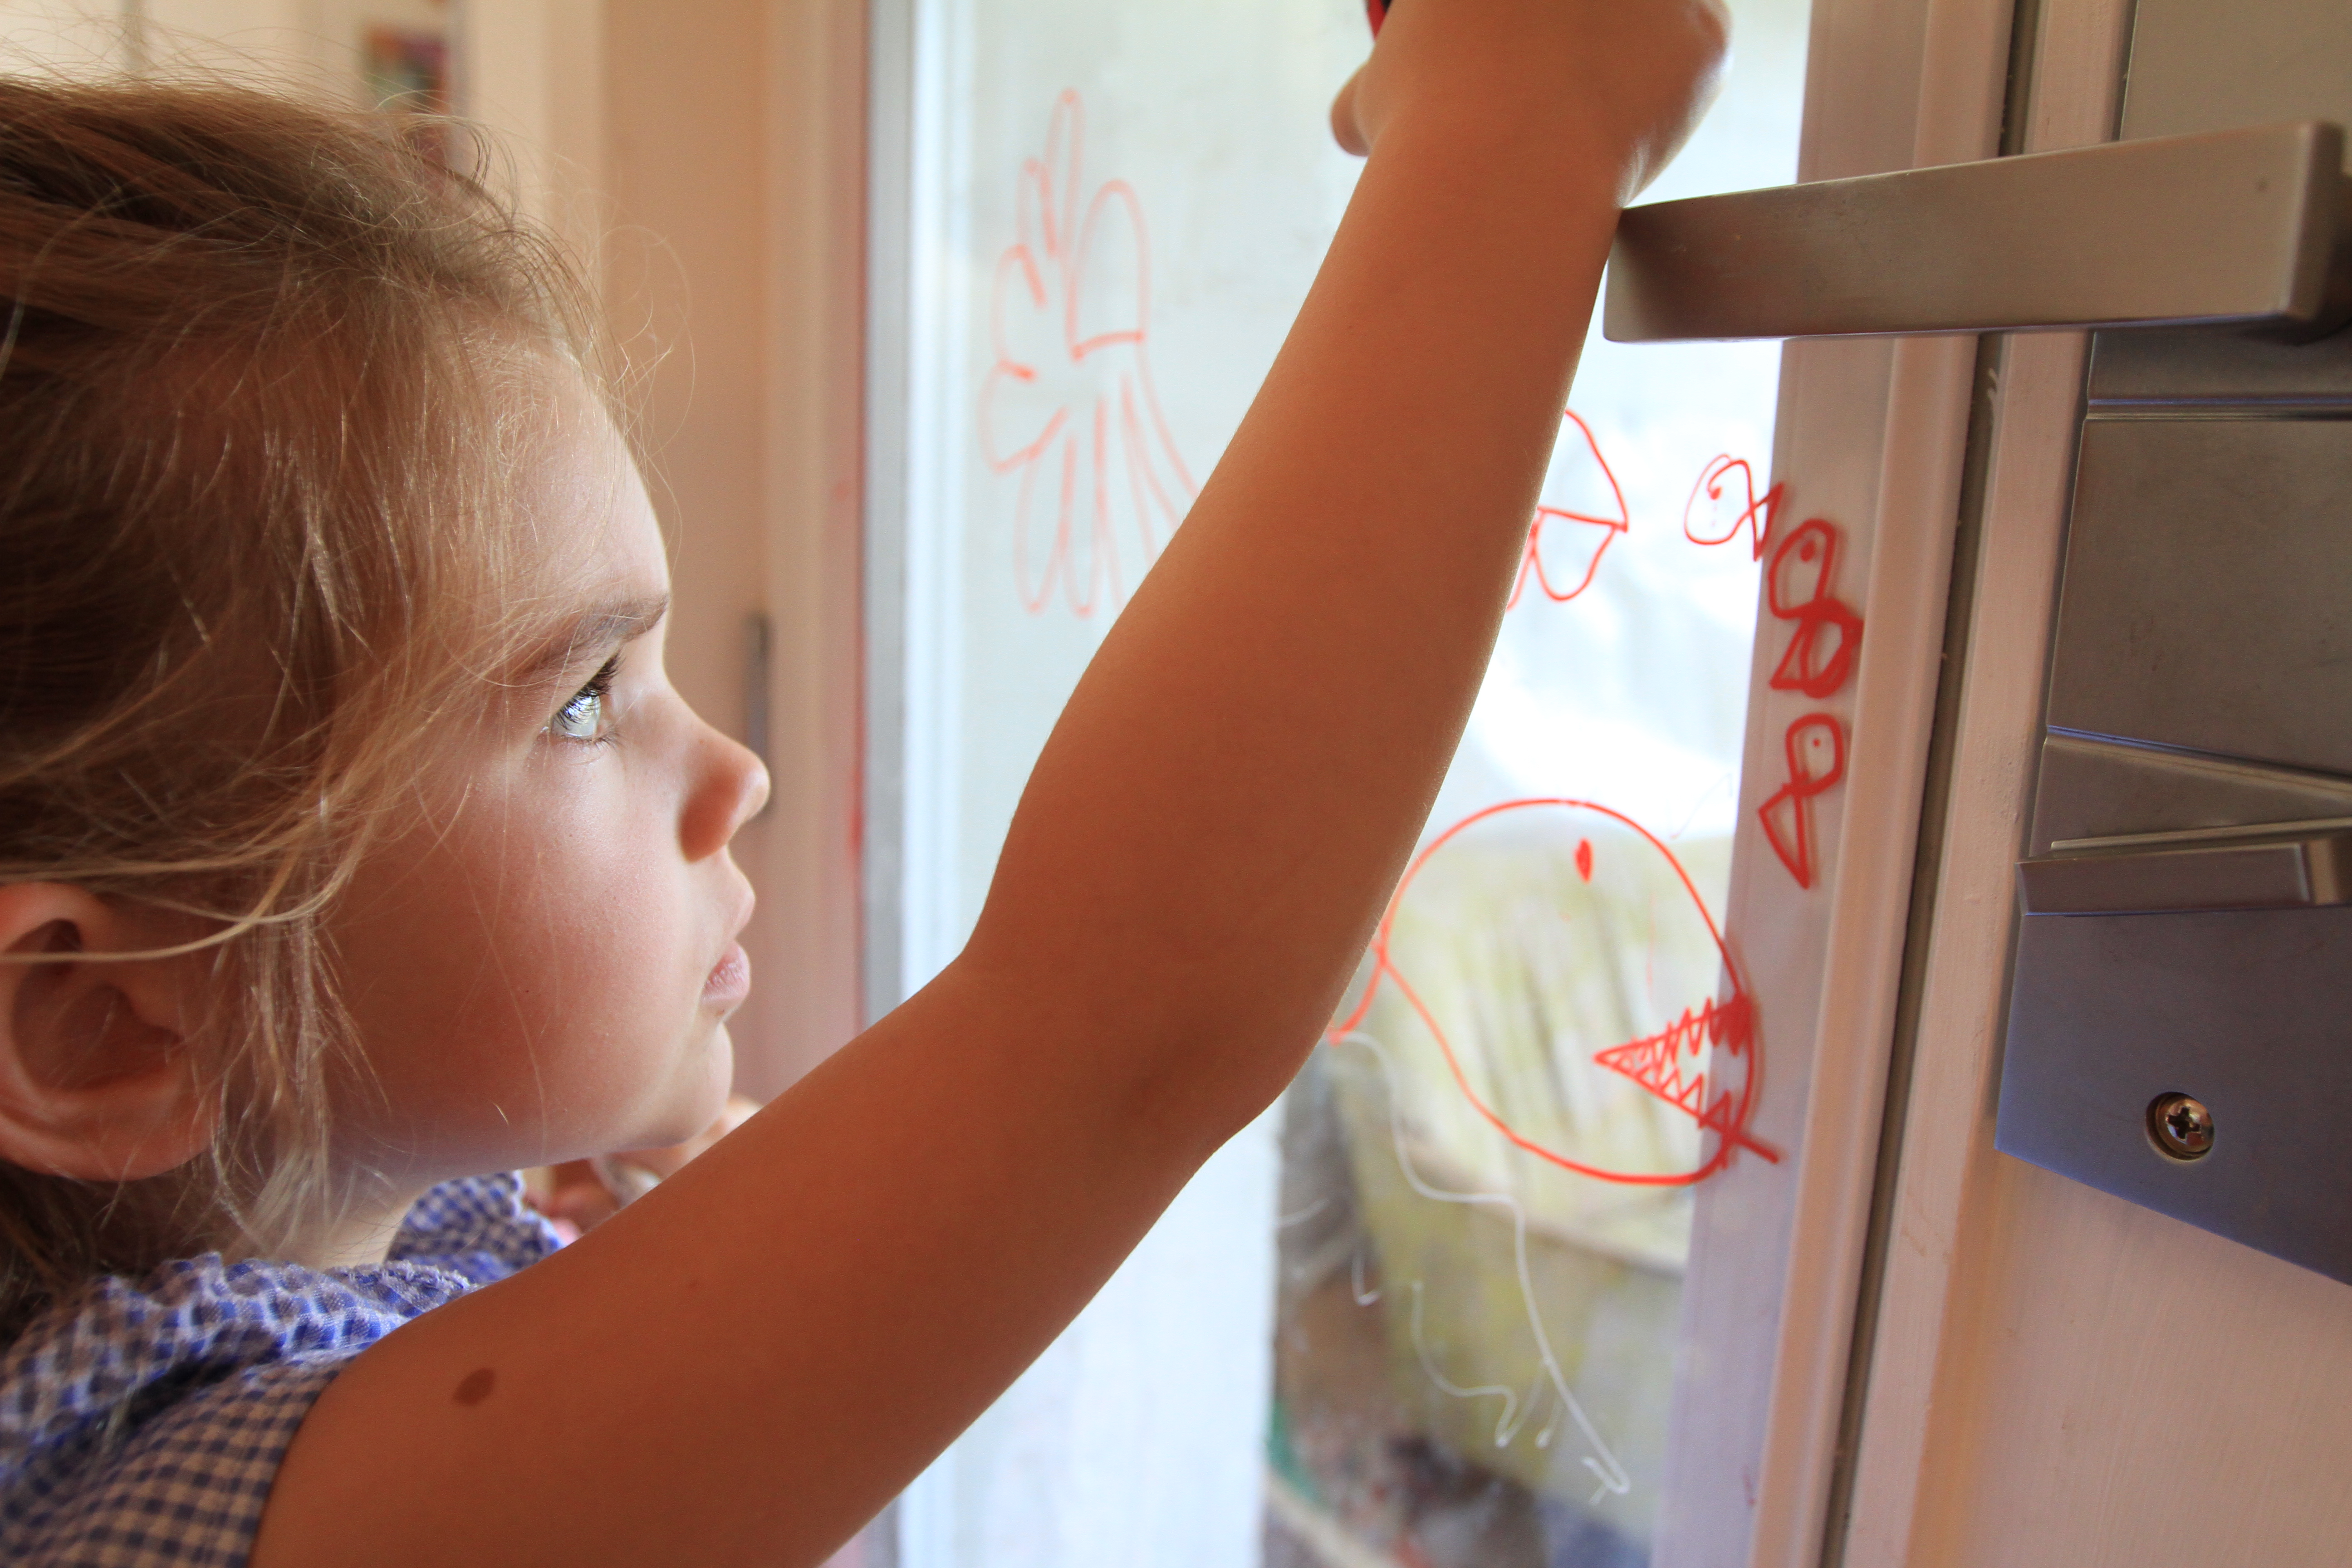
I’ve reflected a little in the past about the importance of a ‘Purple Cow’ approach applied to learning activities (that is, a thing so remarkable that you actually remake on it, and then by re-telling that exciting story you wire those nurons again and again). It’s a marketing concept (by marketing guru Seth Godin) combined with the brain science (best explained in easy reading books like The Whole Brain Child By Dan Siegel and Tina Payne Bryson). While you might not want to fill your kids up on sugar every time you learn a new concept, tossing in a ‘purple cow’ now and then (something they’ll be excited enough to talk about) will enhance their learning as well as bring a wide grin to their faces.

First get measuring and mix up a cake batter, any think cake batter will do, but we used this slightly modified recipe from the Country Women’s Association Cook Book (that I’m proud to report 3yo Elka corrected me to: ‘Country Women’s and Men’s cookbook’ – I’m glad to see equality going both ways in my young lass!)
RECIPE:
- 2 Large tablespoons butter
- 1 cup sugar
- 2 eggs
- 2 cups self-raising flour
- 3/4 cup milk
Mix all. Bake at 180 until a skewer comes out clean.


We doubled this recipe (making 2 sides of the globe) though I have left it in it’s single form. The task of doubling the recipe was given to the 5yo, who (on top of the usual measuring and mixing) enjoyed the challenge of a little extra numeracy. The fraction was a little too advanced for her, but she was able to deduce that 2 halves were one cup, and 2 quarters were half when it was broken down for her. Fractions is not really something that she needs to concern herself with in terms of formal learning, but introducing the concept in relation to cooking (where there are so many fractions!) is a great place to begin to build her understanding.

We then separated the mixture into 2 bowls and each child was responsible for mixing the colour for a different layer in the centre of the world. One for the inner core (red) and the other mixed the outer core (yellow/orange). This sense of ownership (and also colour reference) came in particularly handy when we re-visited the concept of layers later.
We then poured our otter core (yellow mixture) into the ‘ball tin’ (yes, I bought a ball tin on impulse years ago and it gets very little use – 2 rounded bowls would be just as effective!)


We piped our inner core into the centre of each tin, and then popped it in the oven.
Due to the nature of cooking both colours at the same time the exact shape of your core will be a little unpredictable, but the thick mixture should hold it’s place fairly well. (Plus the neater alternative of cooking 2 separate cakes and ‘nesting’ the cakes during the icing process is far too complex for me to attempt with children!)

We then iced the world in blue butter icing, and made some (roughly shaped) continents to place on our world. To create the continents we printed this map, taped it down with clear plastic on top. The kids then filled the continent shapes with fondant (we happened to have some coloured fondant left over from a cake, but most supermarkets also stock batches of ready made pre-colourd fondant in an easy pack).

Elka (3yo) particularly enjoyed making these play dough like shapes out of fondant – though she did ‘accidentally’ eat Australia (see the photo of her face just as she was caught popping Australia in her mouth!)

The kids learnt the continents more than I thought they would from this exercise, more than I thought they would. They also took a lot away from the concept of a world made out of layers. When entering a cave they asked if we would get far enough down to see the lava, and each time we talked about the layers after they would tell me ‘that’s the one I mixed’ and so on.


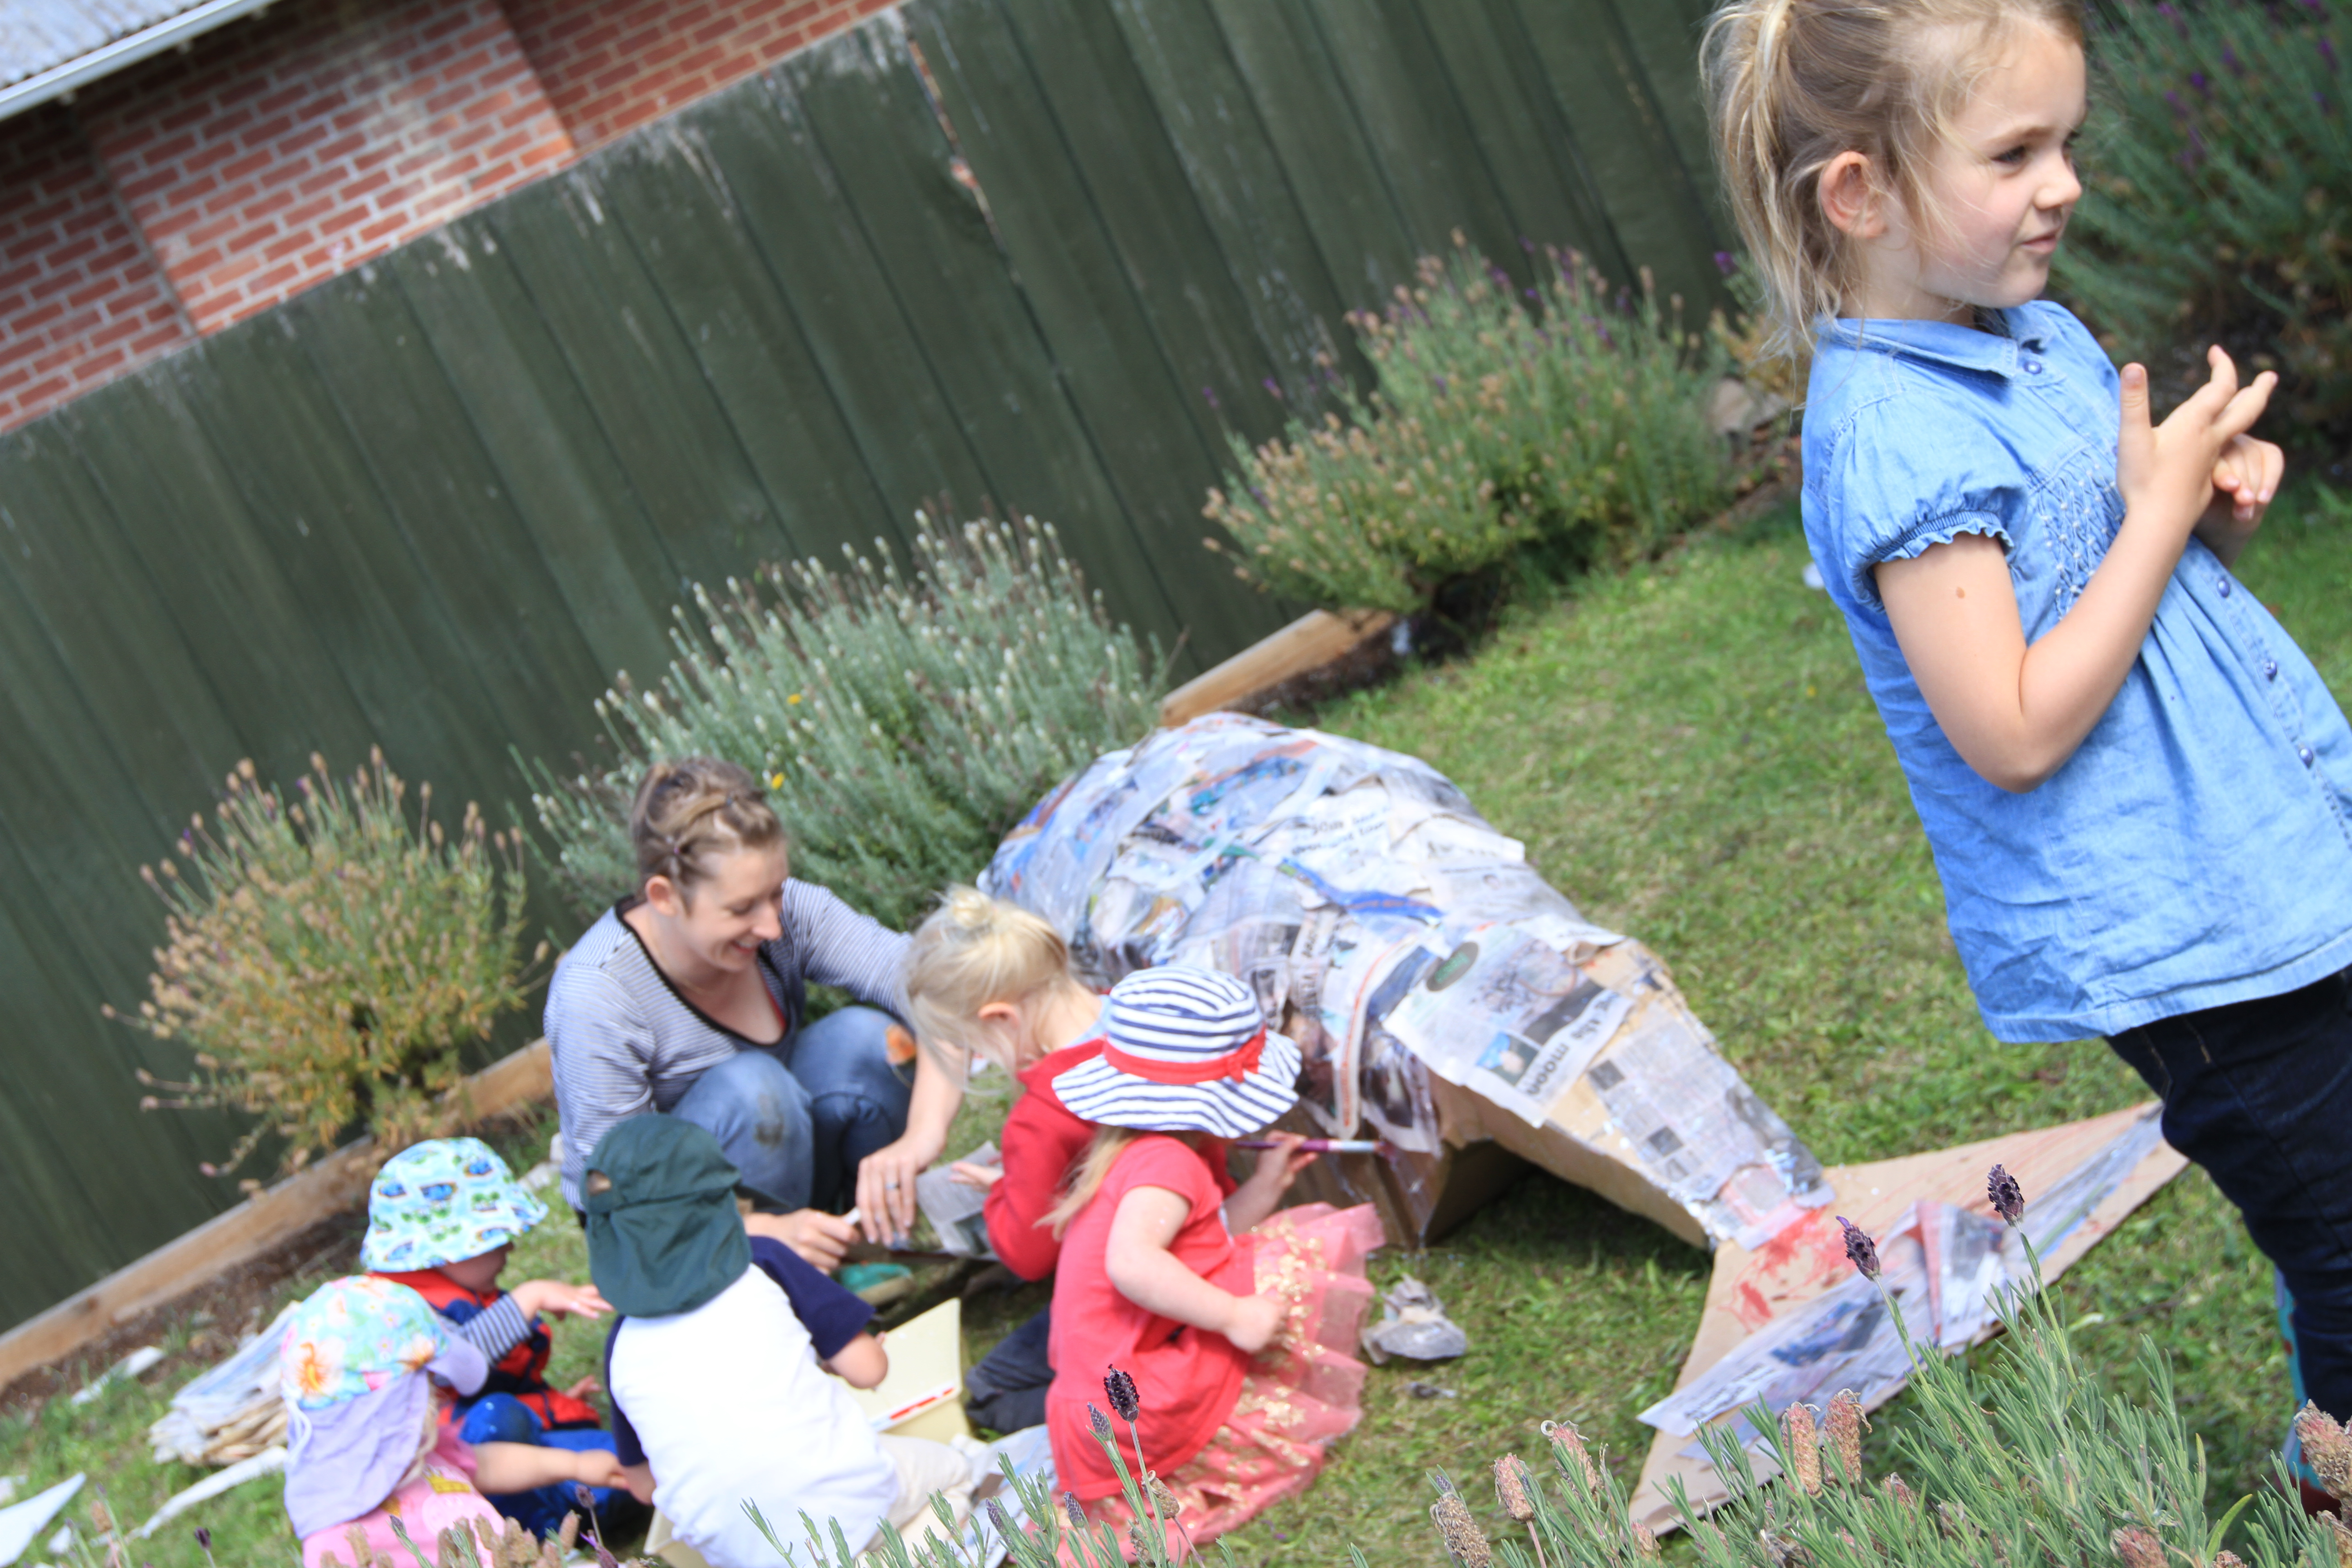
 Once the shape is achieved mix 1part water ; 1 part PVA glue in a tray. Tear paper into more manageable pieces and dip in the glue before placing over your whale. Aim to overlap your paper for strength and cover as much of the whale as possible. (Our young sculptors were not so focused on the idea of overlapping for strength, but their enthusiasm for covering the top of the whale meant that it happened anyway!) Your whaled dry time will be different depending on the thickness of your layers. Ours took about 4-6 hours to dry on a sunny day.
  Once dry we painted our whale (blue of course!) and the squelchy squashy finger paint was a hit, as always.
  This particular whale will then visit my 5yos Prep class soon, for a little more decoration and as they are investigating sea creatures at the moment, it will then come back to us for an under the sea birthday party, and then find it’s home at the daycare centre – not bad for a bit of news paper, a few old boxes and lots of little enthusiastic hands!
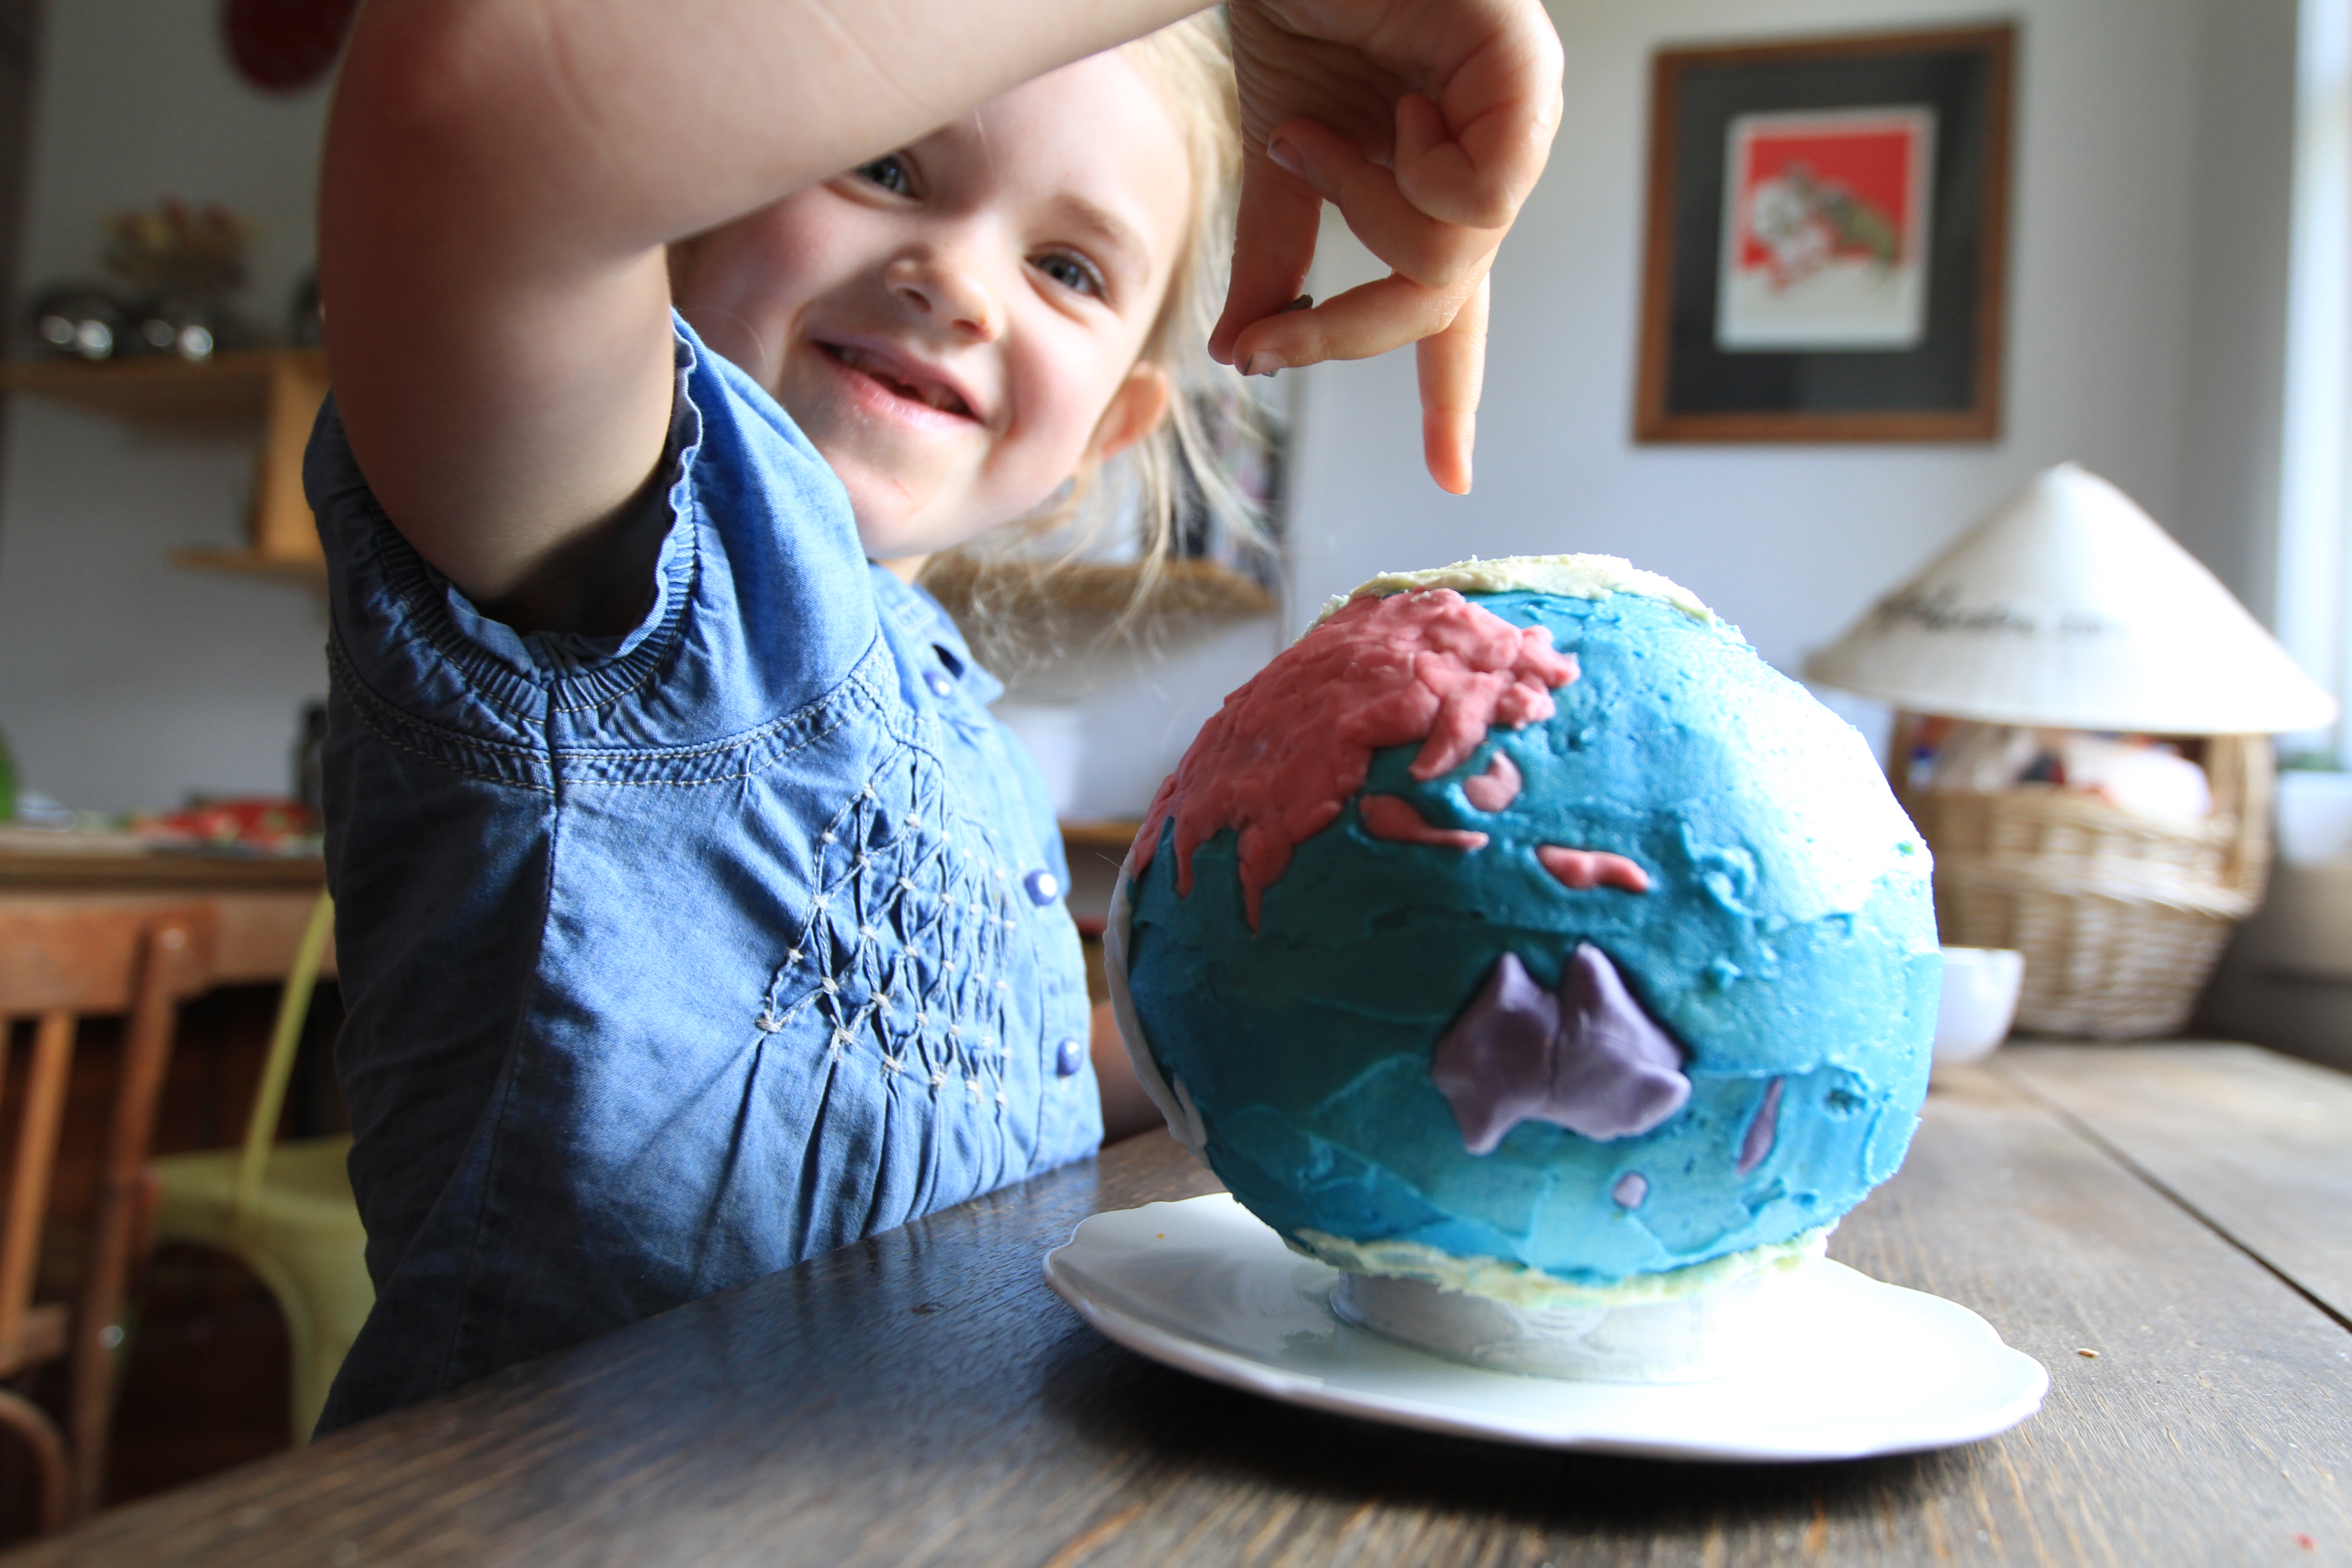


