EASY ACTIVITIES TO BUILD YOUNG BRAINS: THE FLYING TOILET TUBE!

IMG_3864

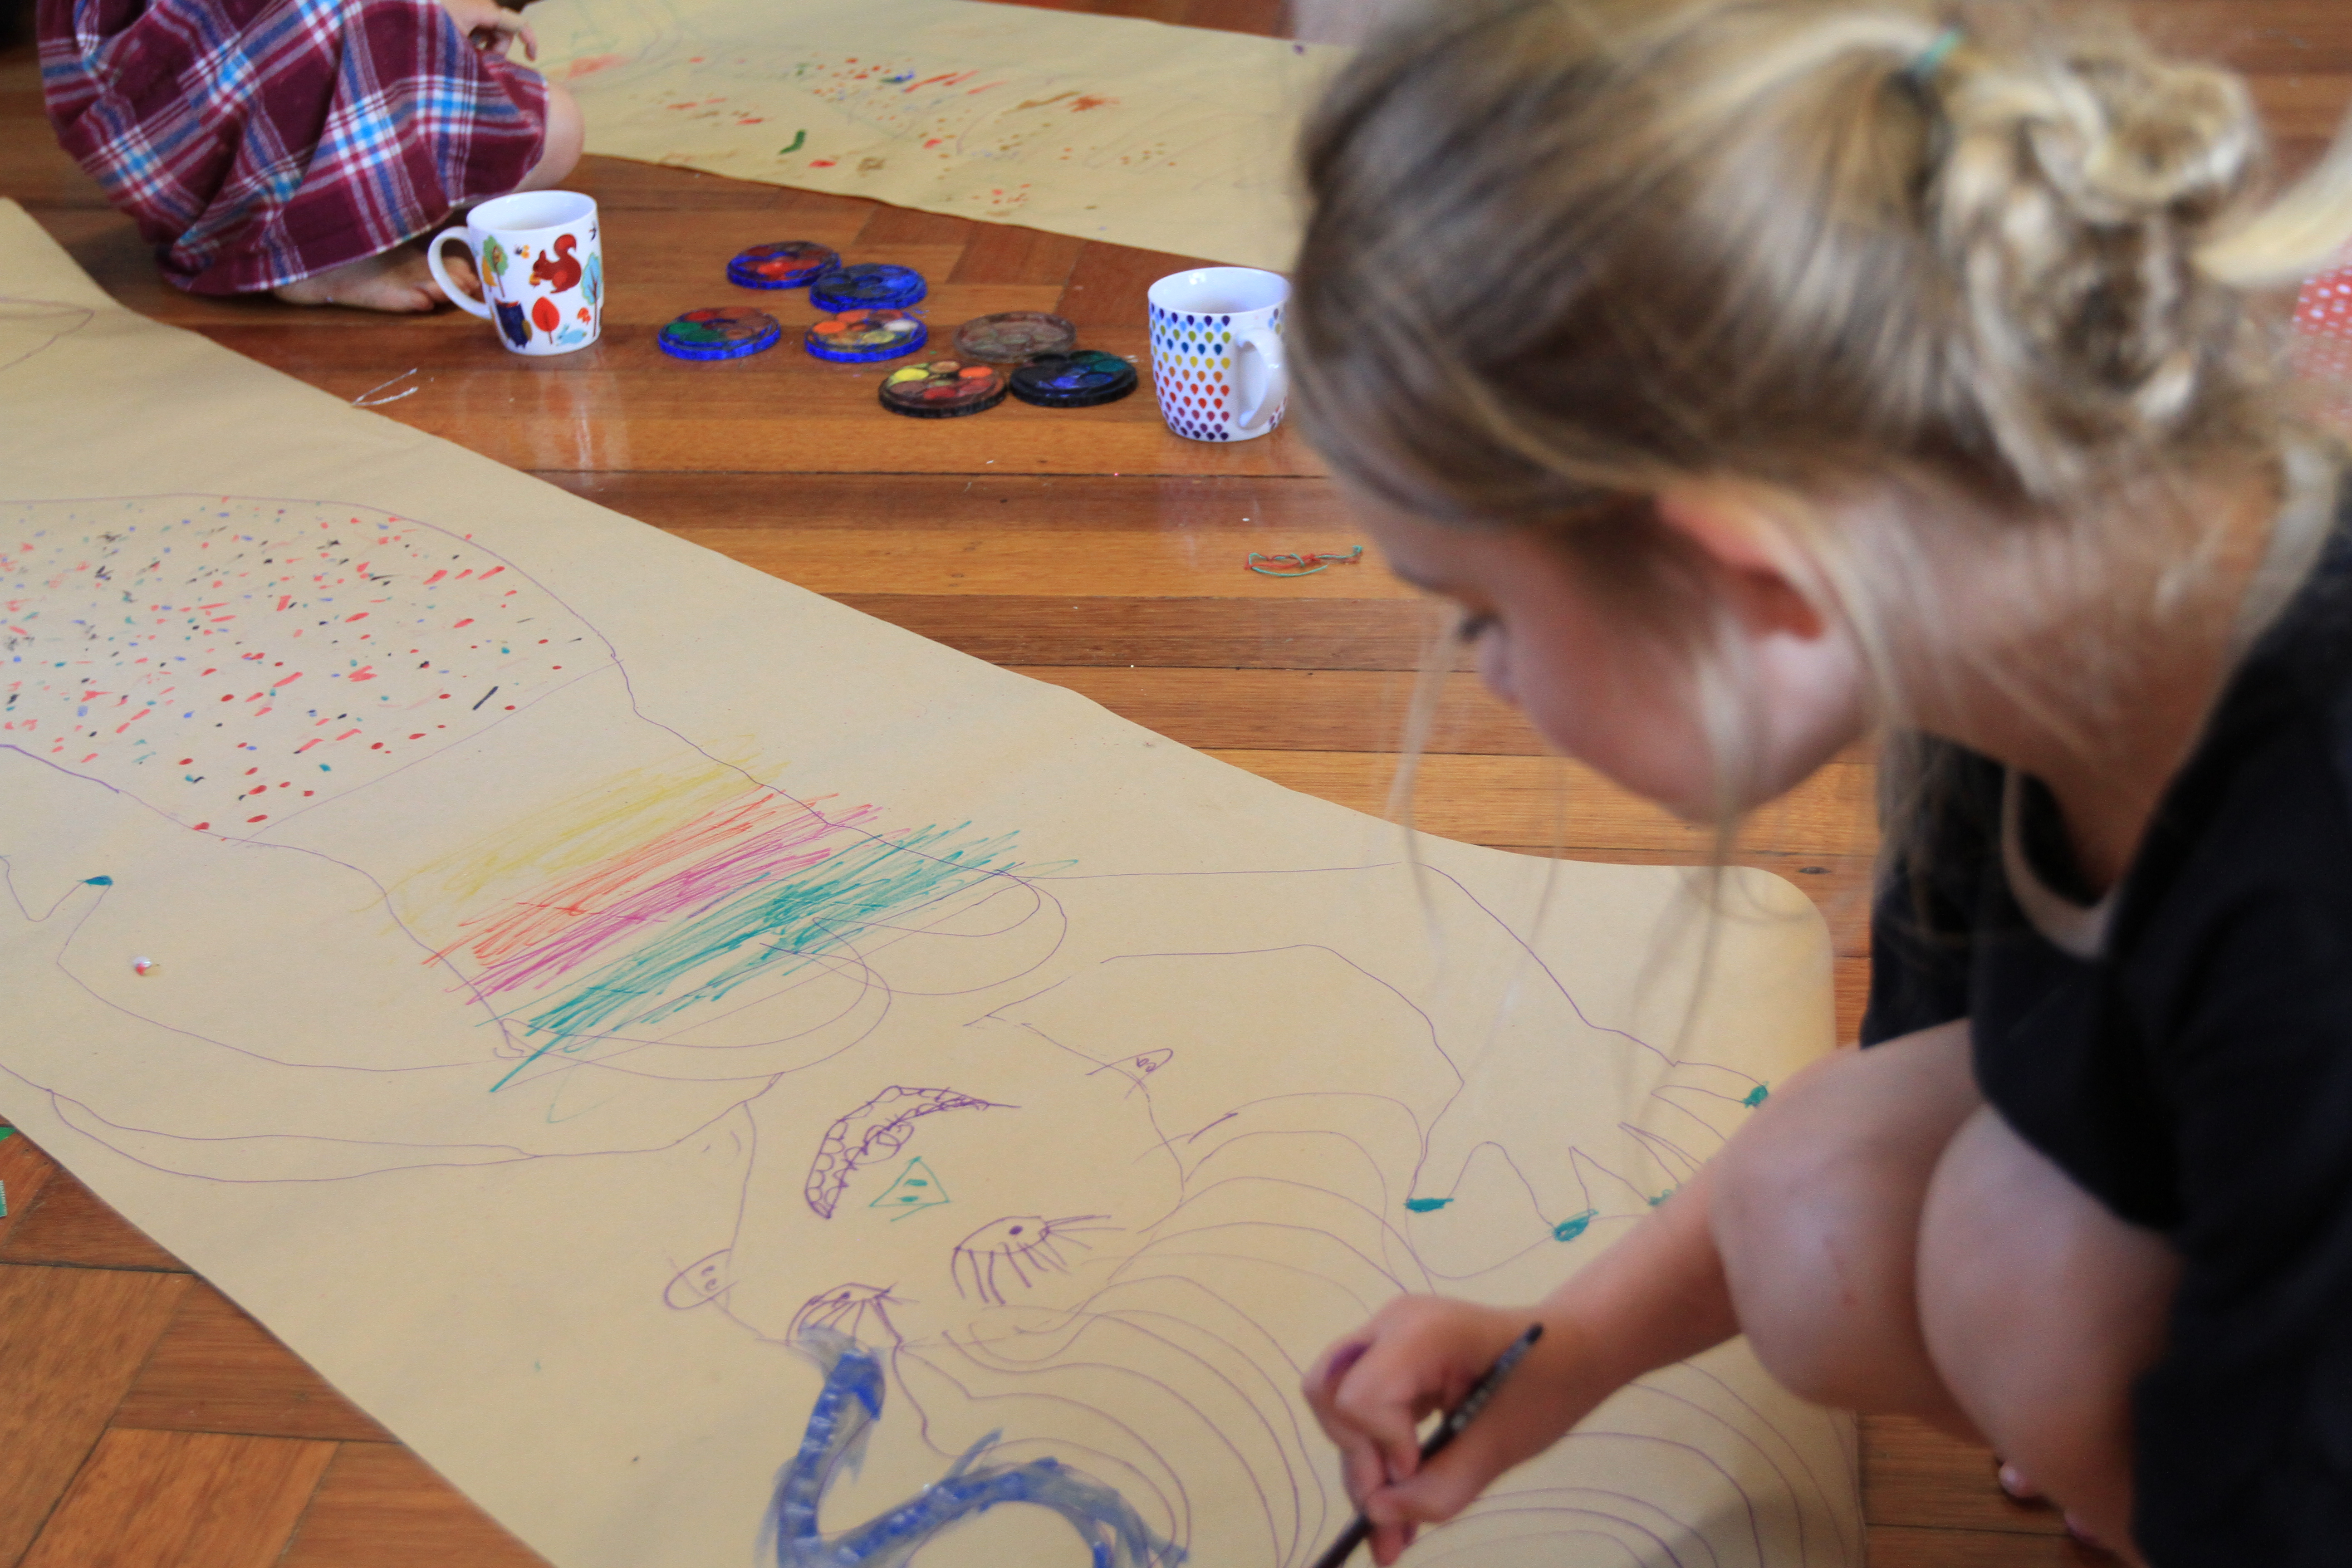
We’re looking at the weather this week; Wind is invisible, we can see it’s effect on objects, but we can’t see wind it’s self. Have a think about this with your young tots as you make these fun Wind Tubes that will ‘show’ the wind.

What you will need:

  • Cardboard tubes
  • String
  • Tape
  • Streamers (or ribbons, or strips of paper.)
  • Optional: Hole Punch, Scissors, drawing implements.

First, give the children some streamers to hold and head outside in the wind to build your wind tube. (This makes the build process a little more chaotic, but it has more impact to their learning about the wind than working inside!)

IMG_3847

At this point the children will probably want to run wild with their streamers, so let them go!

One of my all time early childhood heros (the amazing Amanda Urquhart) showed me the best windy day activity that I have ever seen: She simply handed out streamers during outside play, and every child (at a wide range of developmental stages) was completely consumed as they invented a whole range of new play – it was beautiful to watch. It was simply the most engaging, and easy, activity imaginable.

IMG_3834

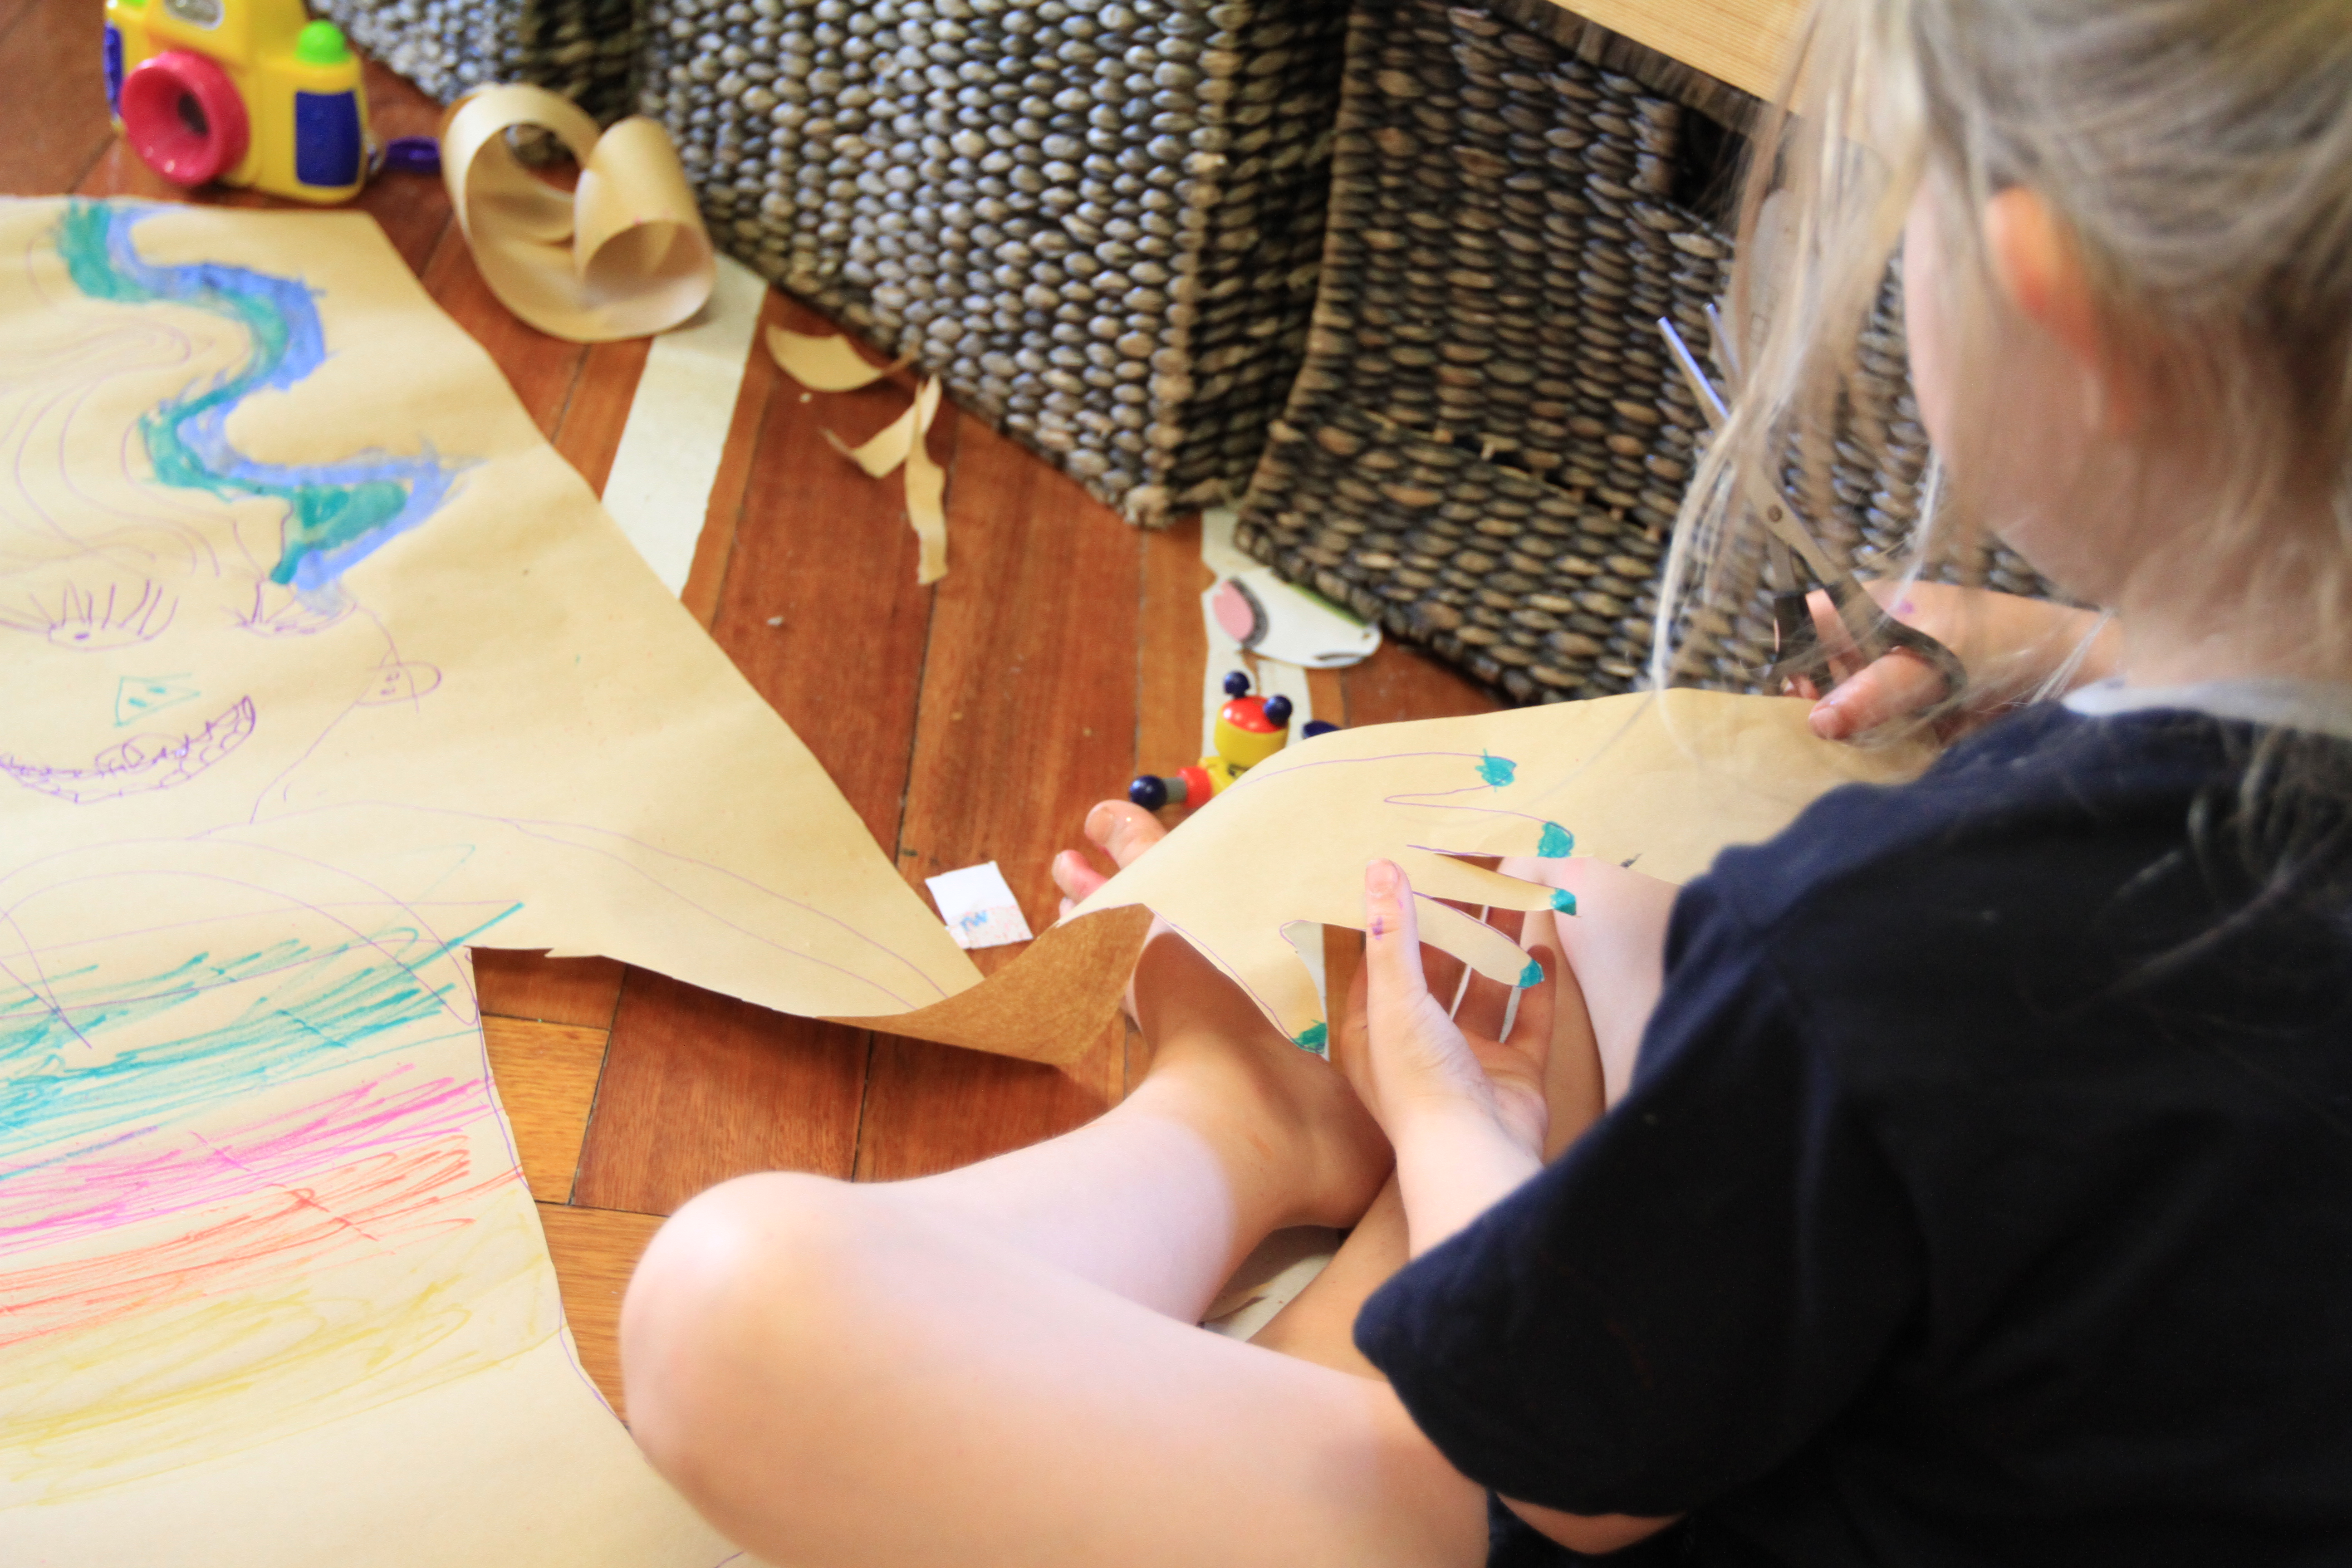
  • Once the children are ready to create their wind tubes tape the streamers to the base of the tube.
  • Decorate tube as desired (if children wish, we just wanted to fly ours ASAP).
  • Punch holes in the top and have them tie a string through the holes. (Leaving a length of string about equivalent to their height to hold their ‘wind tube kite’ with)
  • Done! You now have a wind tube ready to catch the next gust of wind that comes your way. (leaping, running, jumping and testing will follow).

IMG_3892

Once calm again, ask your tots where the wind comes from. What are their ideas?

You may like to watch this, or if you have the supplies you could conduct the experiment yourself. (Be warned, this video is a little retro, but it’s very clearly presented concept to understand where the wind comes from.

EASY ACTIVITIES TO BUILD YOUNG BRAINS: BUILD A VOLCANO!

Volcanos in the Pacific – a tactile science experiment for kids of all ages.

IMG_3162

Wallis and Futuna are two small island groups in the South Pacific between Fiji and Samoa that were settled by French missionaries at the beginning of the 19th century. It is now classed as an “Overseas Territory” of France and there are 3 kings who assist in rule with a parliament of 20. While Wallis and Futuna are not necessarily a “country” in a technical term, they do have one very exciting element that can’t be missed in any child’s upbringing… Volcanos!
Futuna in particular is a volcanic island, and thus we can’t pass up the opportunity to bring out the baking soda and vinegar experiment that we all loved so much as children.

IMG_3134

Now, if you need a refresher on volcanoes (also linking up that big picture by making clear links to the work we’ve been doing around the sea and space) then check out this video (with or without your child, depending on how old they are and how much they watch).

The video will run you through how to create your volcano (instead of building one you may wish to do it at the beach with a sand volcano with bottle inside, though our little group enjoyed the measuring, mixing and making of the volcano just as much as the actual eruption.)

IMG_3196

When you conduct this experiment, you may wish to focus entirely on the power of volcano’s to form the land (such as the islands Wallis and Futuna) but if you have a budding chemist in your group, then you might want to take it further and conduct a series of volcanic experiments to asses the chemical reaction in their own right. Ie Bicarb and water (no visible reaction), Bicarb and vinegar (bubbles), Mentos and diet cola (explosive bubble reaction).

Ask kids to predict what they think will happen in each instance, hypothesise what the reason is for the different reactions and realise that there is nothing “wrong with being wrong” in science (A negative result tells you as much as a positive one!)

IMG_3205

Having read a little about chemicals with the 5yo, I was surprised that she later formulated a hypothesis about the volcano that was quite accurate; She thought that there was a chemical reaction that made a gas and that created the bubbles that she saw. While this is probably not going to be a fact that she remembers later, the process of linking known information and apply it to new situations and observations to form a new hypothesis is something we want to encourage at every point possible on the road to adulthood!

IMG_3252

We’ll later have a little road trip to look at more detail about where the heat for real Volcanoes comes from, but this little science experiment is a great place to get those little scientists thinking!

EASY ACTIVITIES TO BUILD YOUNG BRAINS: LIFE SIZED MERMAID PORTRAITS.

Mermaids are not historically a very good female representation for my young kids (creatures who use their physical beauty and singing voices to lead unsuspecting love struck men to a watery death) and while there is less death in the contemporary versions, Mermaids today are certainly not much better in terms of an example for my kids to model their understanding of the world and relationships!

IMG_3290

My children however love the whimsy of mermaids, and while it’s a parents job to guide their kids interests to a certain degree, it is also my responsibility to follow their passion and use it to our learning advantage. This is a simple little bonus activity for anyone else who has children who love the watery depths at a fictitious level.

IMG_3284

Me as a mermaid:

Have child lay on a large piece of paper (we used brown wrapping paper to get the length)

Trace around upper body.

Finish lower body with a fish like tail.

Draw, paint and decorate with sparkly sequins and glitter.

Cut out and hang in your living room for all the world to see.

IMG_3347

As we decorated our mermaids we sung “Yellow Submarine” (the closest thing I know to a sea shanty) and introduced a few of the historical ideas about the stories sailors told of mermaids. We questioned whether mermaids are fact or fiction (50/50 votes in our house), and we looked at a number of historical drawings of the creatures. (By chance I have inherited a book that tracks the art depicting mermaids through the centuries, though similar resources would also be available at your local library.)

NOTE: Yes, I know it’s a stretch to include mermaids under the letter S as a “Singing Siren from the Sea,” but with all this Sea action – some “W= whales and water” to follow – and a little “O= octopus in the ocean” after that – Mermaids had to come now so they could swim in the watery depths with the other sea creatures.

EASY ACTIVITIES TO BUILD YOUNG BRAINS: STARDUST PLAY DOUGH GALAXY.

IMG_3493

We’ve talked before about the benefits of cooking with children, and we all know the benefits of playing with dough… adding a little glitter to your next batch of playdough just brings a bit of sparkle to the imagination (and the kitchen!)

IMG_3382

Use your standard play dough recipe.

I use the one below, though any will do:

  • 2 cups plain flour
  • 1 cup salt
  • 4 tbs cream of tartar
  • 2 tbs oil
  • 2 cups [boiling*] water

Then to create ‘ stardust playdough’ simply add the left over glitter from your sparkle writing tray, and a splash of black food colour.

IMG_3387

*Due to laziness I personally opt to boil the water before adding to the mix, thus I don’t need to stir a hot pot on the stove, but instead just leave it churning in the mixer until it is fully combined. I find this better for my own process, but also easier for the kids to be involved. If a little sticky I add a pinch more flour until it reaches the right texture.

IMG_3403

After mixing give the dough to the children so they can get those little fingers working while they finish kneading the still warm dough (I’ve found kids explore the warm dough differently to once it is cold). Then simply let them go wild with what ever their minds dream up. We chose to bring out our planets from our solar system adventure so the older created a mini solar system in her dough, while the younger acted out scenarios between the planets.

IMG_3481

Once you have finished with the playdough remember to wrap it so that you can use it for many days to come. There will be a bit of glitter lost each session, but I think the delight of playing with it is worth a few extra sparkles floating around the house.

EASY ACTIVITIES TO BUILD YOUNG BRAINS: A SCHOOL OF [GUM LEAF] SARDINES.

Shiny silver sardines swimming above your head certainly enhances the feeling of being under the sea! This fun little activity only takes a moment and will have you (and your kids!) day dreaming like a baby as you watch them turn gently in the breeze.
IMG_2993

Next time you are near a gum tree take a moment to gather a collection of dry leaves. If your children are anything like these two you should allow at least 20 min for this activity – collecting is one of our favourite things to do right now!

IMG_3001

Lay your leaves outside and paint both sides (we chose silver spray paint due to the vast quantities of leaves that we collected, though your tot may wish to paint each with a brush instead – or at least wear a safety mask, as not shown in our image!)

IMG_3009

Once dry simply remove the stork and add a small eye to each side (as shown in the picture). This is the point where we found the most imaginative play was had, as more fishy friends were created to join the school and have adventures together. IMG_3018

If you wish to hang your fish as a mobile then attach some cotton (or fishing line!) to the balancing point of your fish and suspend! As we move into W on Wednesday we’ll start looking at water and whales and we should have an entire underwater landscape developing.IMG_3012

EASY ACTIVITIES TO BUILD YOUNG BRAINS: BUILD A SEAHORSE SCULPTURE

Remember how we started looking at Seahorses as our feature animal, then built a Giant Seahorse Sand Sculptures?

Now… Are you ready to get sticky? This one takes a few sessions to finish, but if your little one likes to get into some papermashe (or is as excited about seahorses as mine are) then it’s worth the mess.

Grab:

  • 2 balloons,
  • A cardboard tube
  • Old newspaper
  • Coloured paper and/or paint
  • Tape
  • PVA glue
  • 2 googly eyes

IMG_3100Blow up your balloons (one for the tummy, then the other about half the size for the head – as shown in the image above).

Tape your cardboard tube snout to the smaller head balloon,

Then tape your head balloon on top of your tummy balloon.

All it needs now is a tail! Role up some news paper to make a tail (full length of paper, it will look too skinny for now, don’t bother sticking it on yet).

To bulk out the top part of the tail (where it will join the body) scrunch up some more paper and then wrap it in a larger sheet and hold with tape. (So you have the long tail you originally made running through the middle, some bulky scrunched newspaper around the top part of it, and then a sheet holding it all together like wrapping paper.

Stick this tail to your seahorse balloon body. Yay, you have a seahorse shape!

IMG_3116

Now to get messy and reinforce that seahorse.

Mix about 50/50 water and PVA glue in a bowl (this will be very runny, that’s a good thing.)

Tear newspaper into strips. (Every child will love this part!)

Dip a strip of newspaper into the glue mixture, let it drip then put it on the seahorse.

Simply repeat this process until the entire seahorse is covered in strips of wet glue. (Overlapping as much as possible for strength.)

Hang to dry for at least a day. (Dry time will depend on how thick you layered the paper). I also suggest popping a tray under your hanging seahorse while it dry’s (as it will likely drip a bit to start with.

Once dry tap to see if it feels hard enough. If not repeat the sticking and drying until you have a strong seahorse. (How many layers you need will depend on how thick you layered the paper, we did 2 layers including the coloured paper.)

FullSizeRender

Now decorate your seahorse as you wish. One child voted painting, the other voted coloured paper mashe – so we did both. Glitter was decided to be also a necessity in our seahorse creation.

We work on a plastic mat, keep a pack of wipes near us, and go with the attitude that mess is part of the game. However, if mess is something that makes you feel anxious, then do this one when you have an extra pair of adult hands or you might even feel better doing this one outside. Either way, there will be a bit of mess involved in this activity, so do it on a good day!

EASY ACTIVITIES TO BUILD YOUNG BRAINS: MEASURE OUR GALAXY.

IMG_3055 Now, you’ve made a solar system – let’s get some idea of how vast that solar system is… for this you will need a wide-open space and some skewers. Initially we printed little planets for colouring. (Alternatively you could bring the solar system that you just made, but with a little wind in the air we thought it safer to opt for the smaller representation of each planet!) Attach each planet to a skewer with tape and head to a wide open space (we went to the local sports field). Place your sun in the centre of the field and begin to measure your planets. For accurate measurements of the distances between planets you can look here. We chose to be more approximate in our own measurements, with ‘kids steps’ as our form of measurement, and the furthest being 30 steps from our sun (to allow for shorter counting attention span of the 3yo!) IMG_3042 
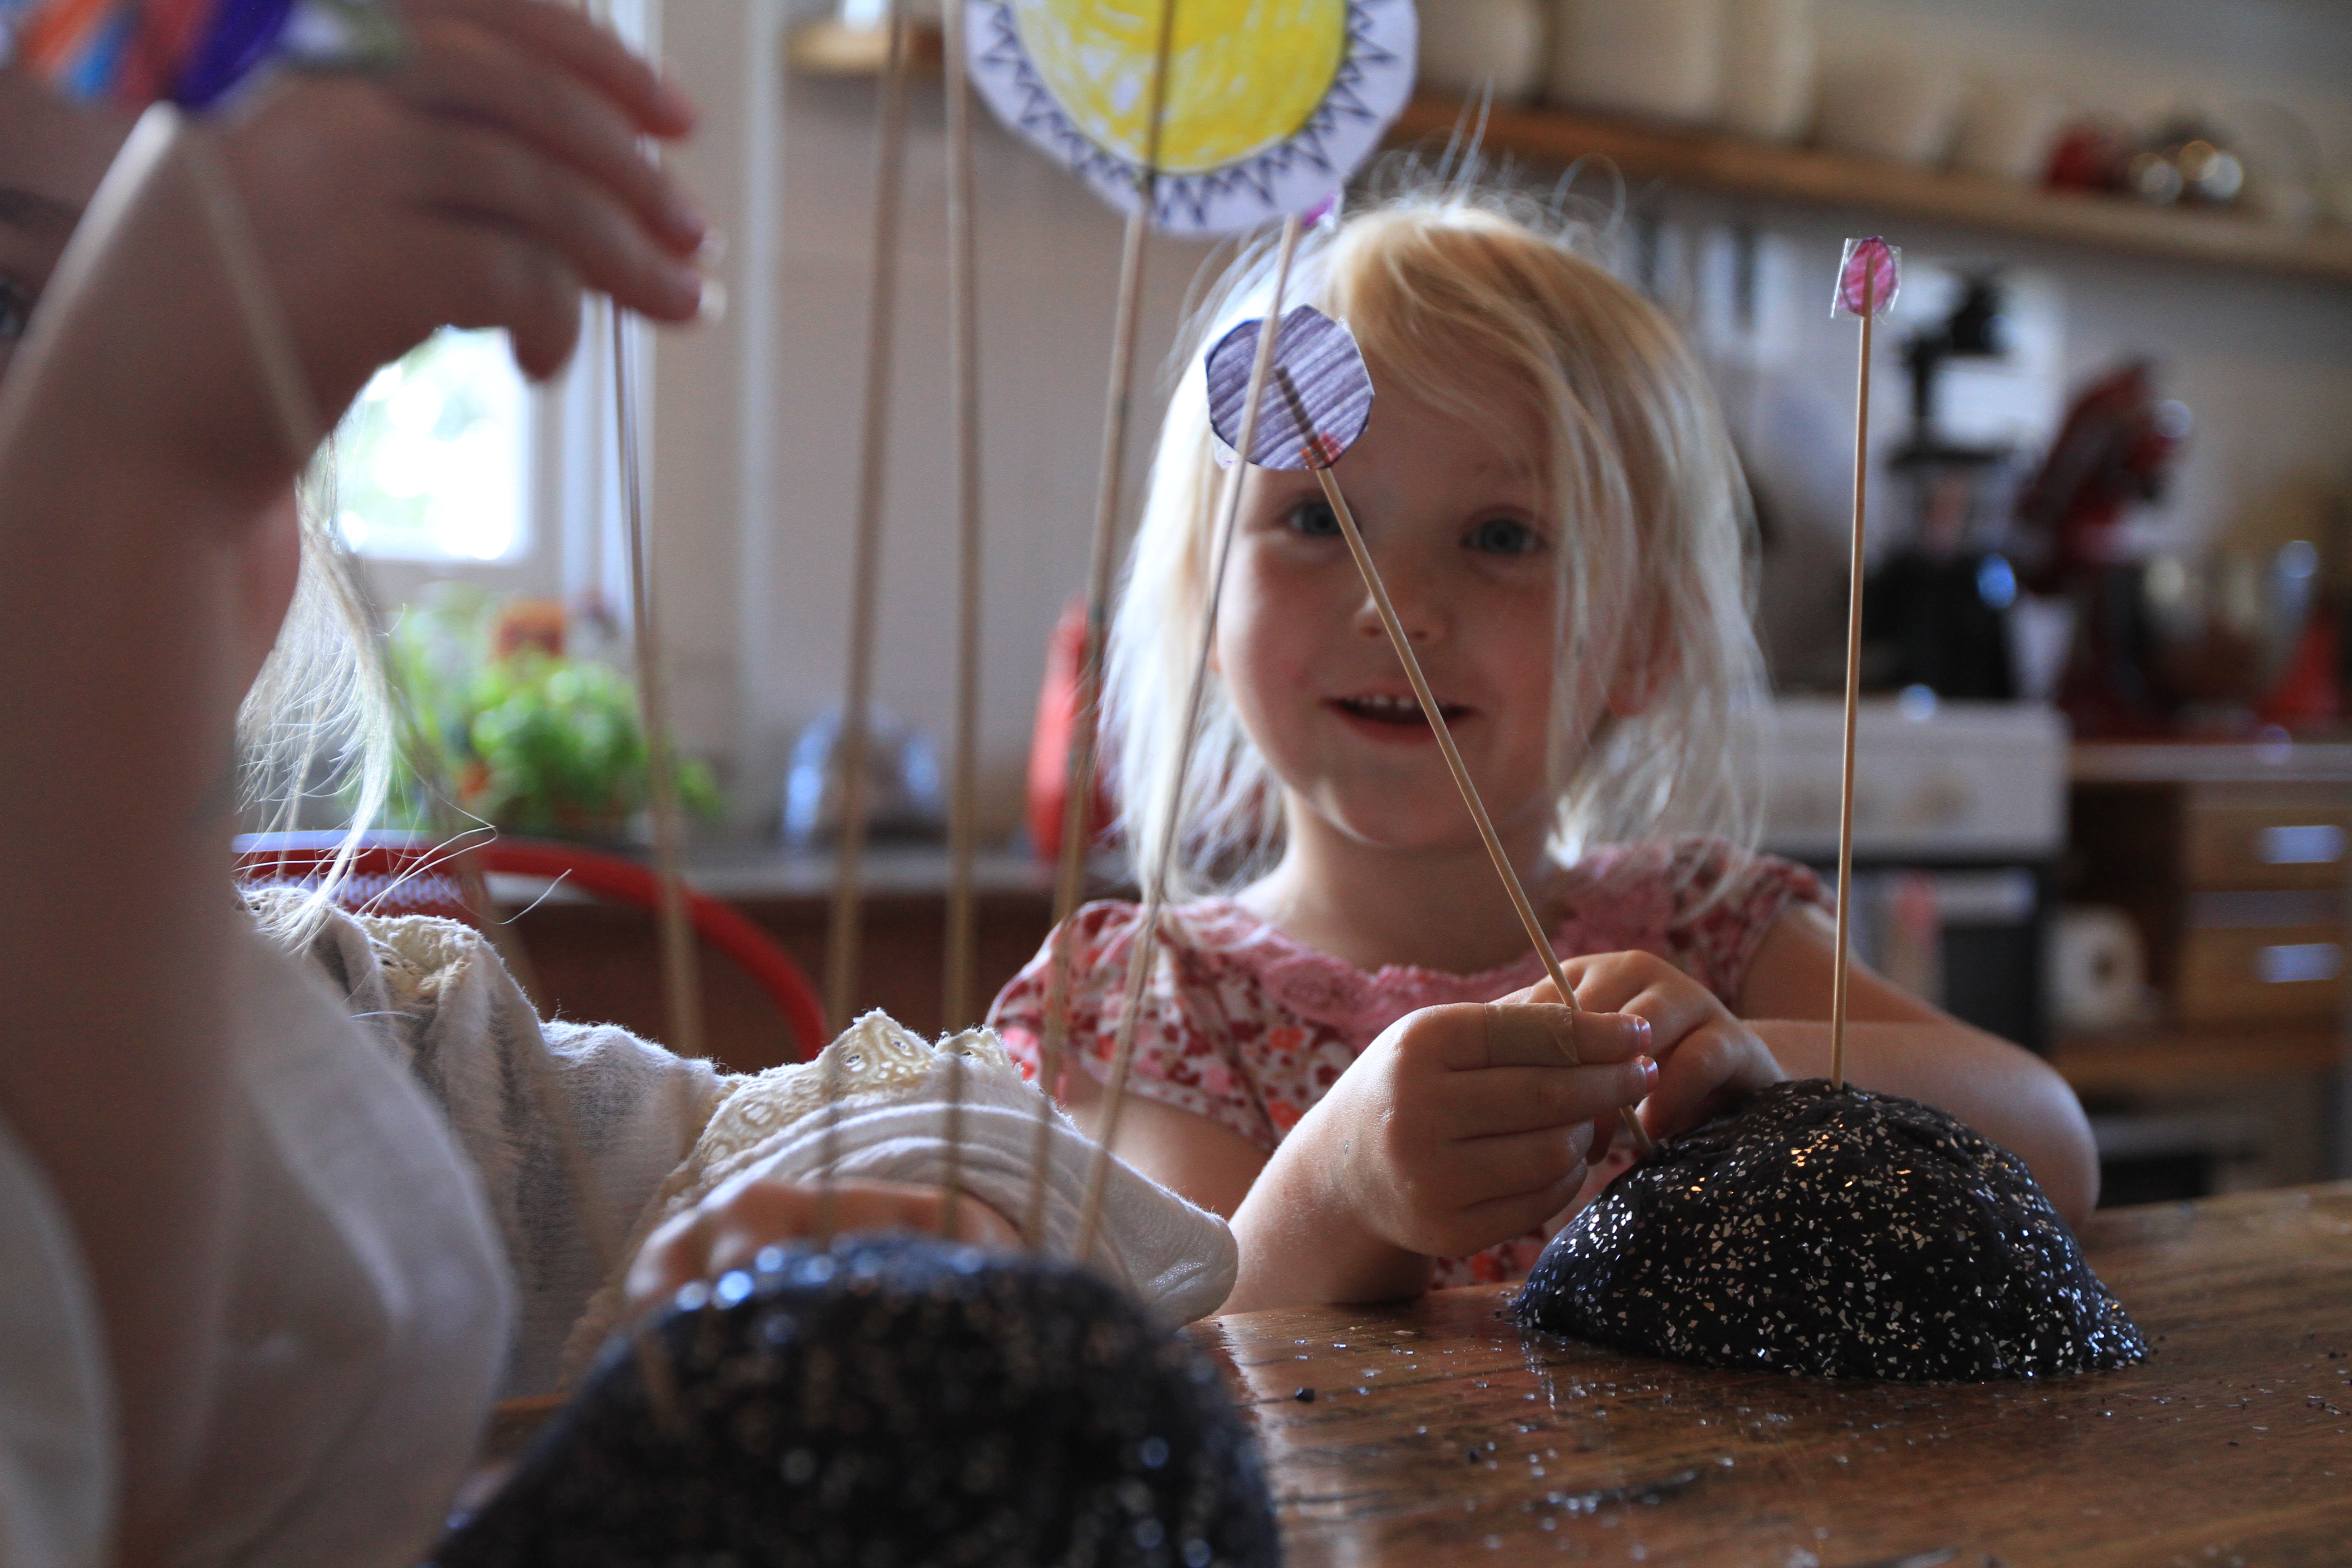
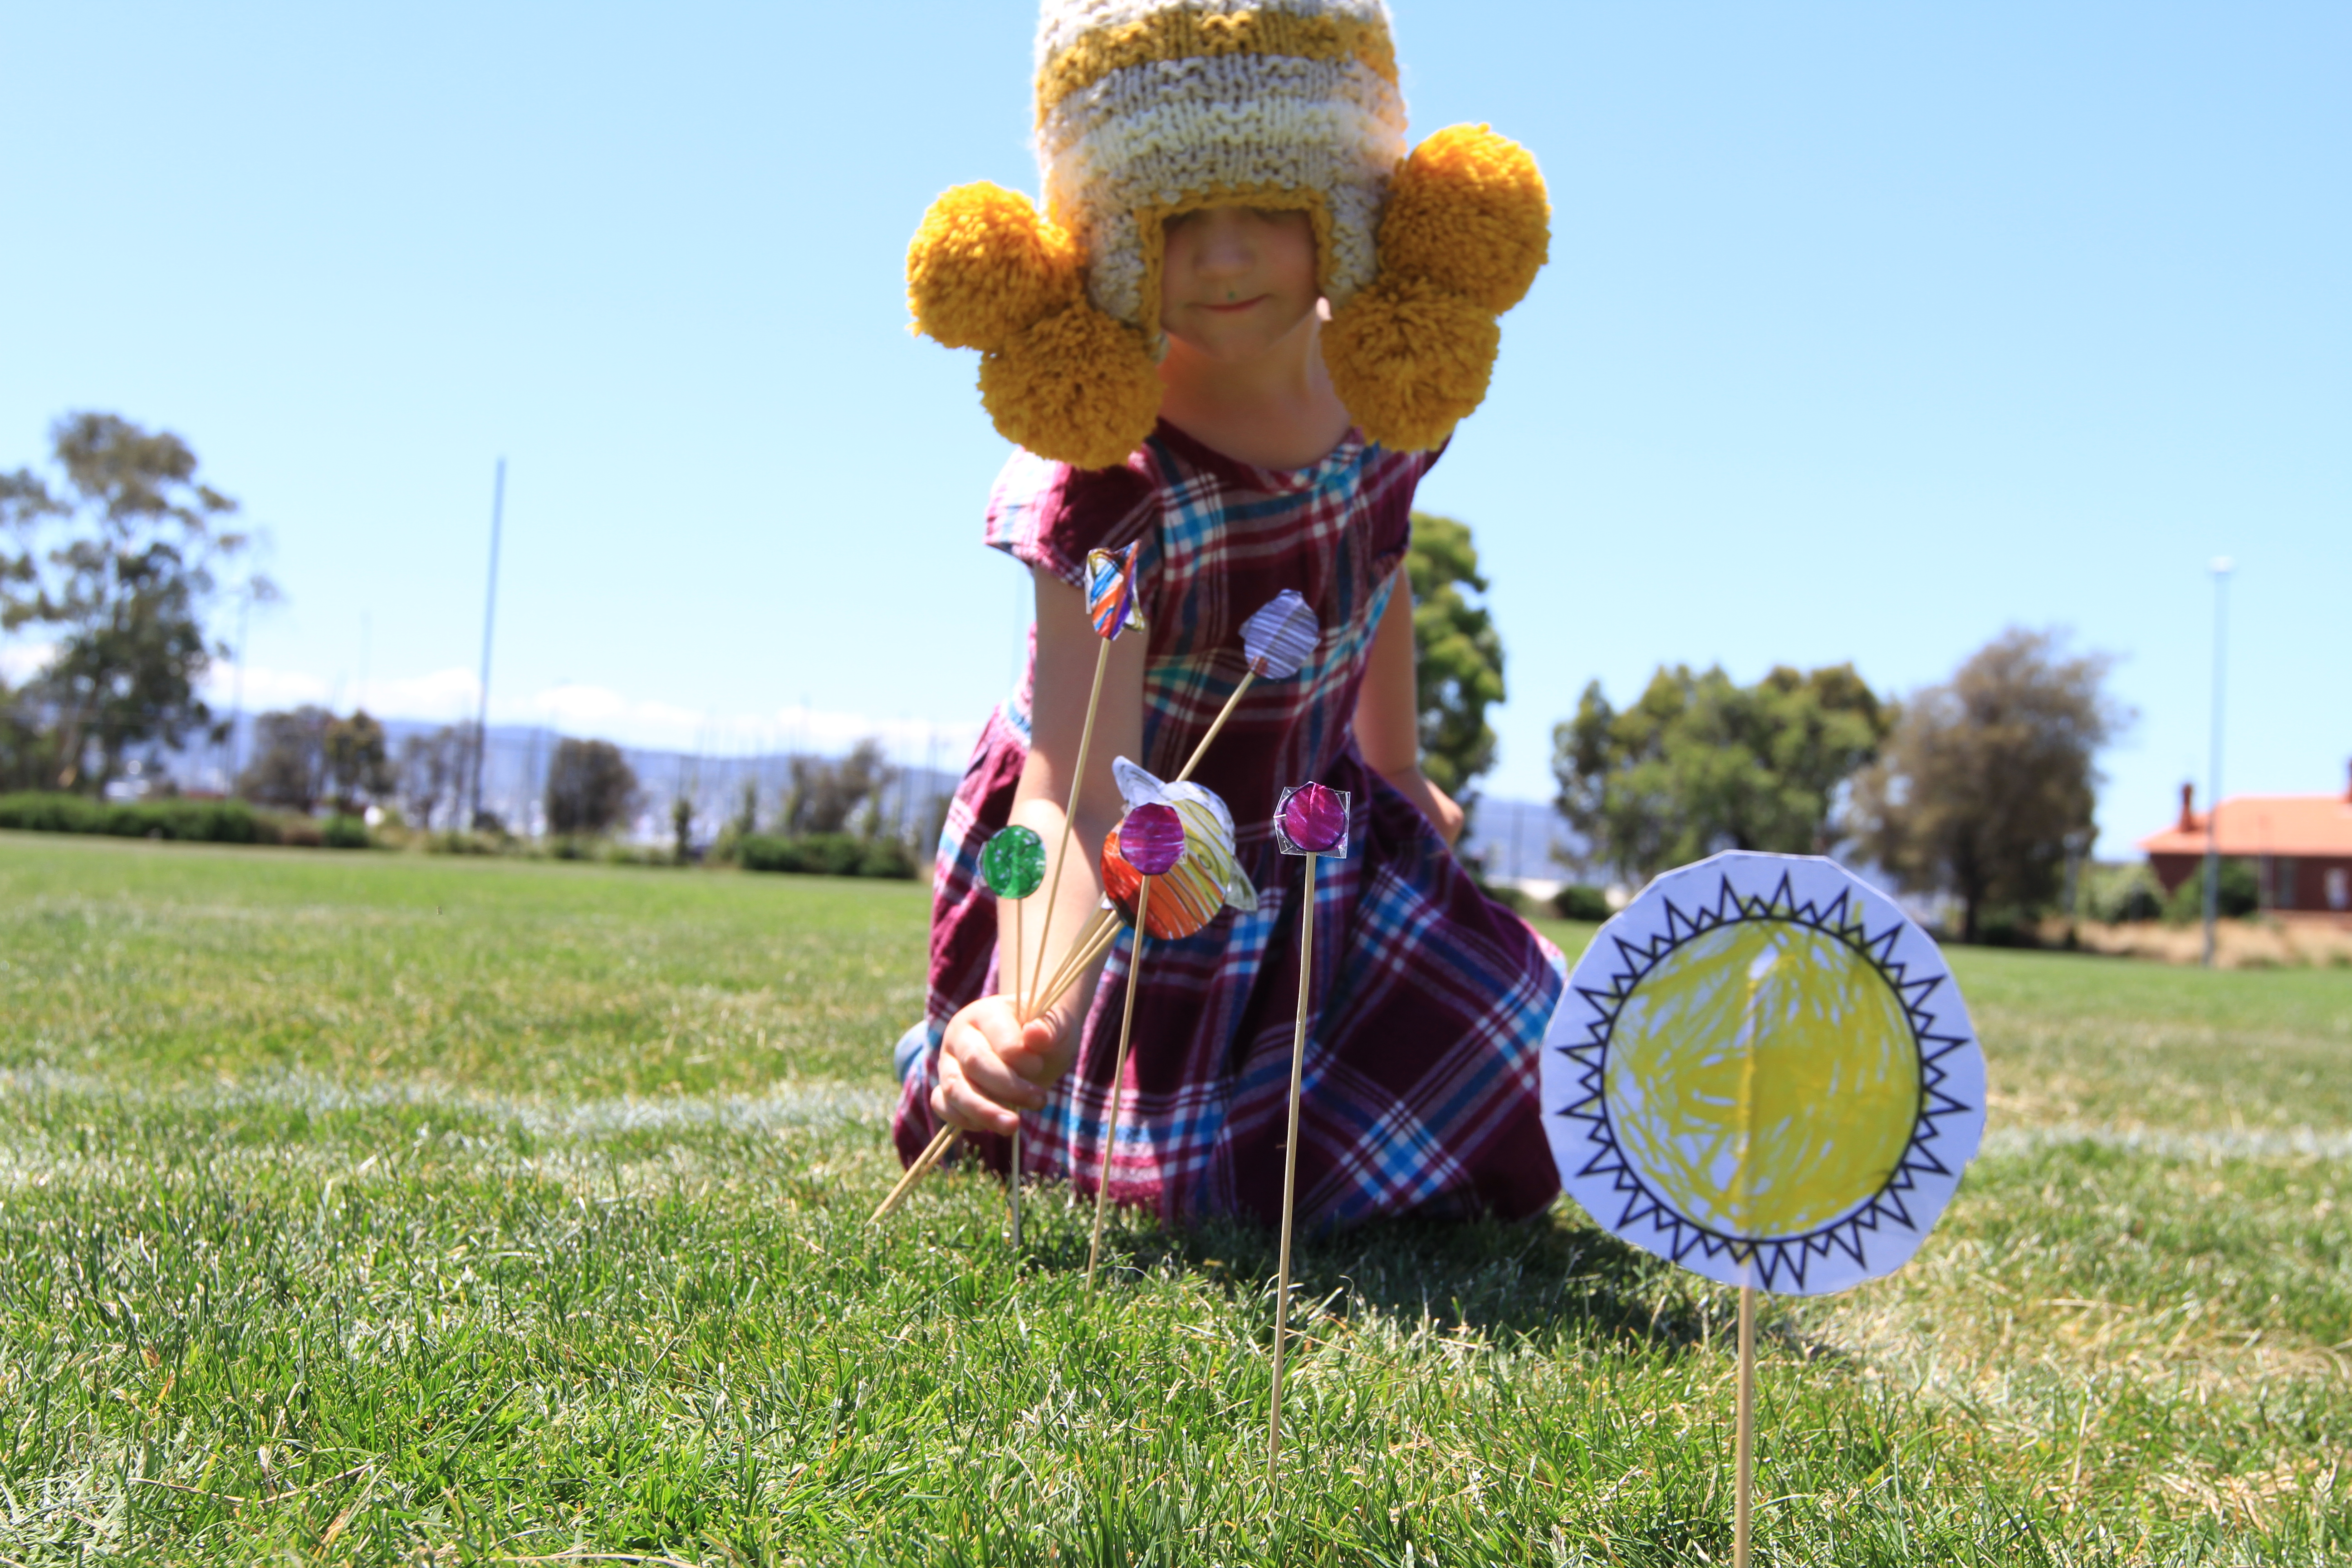
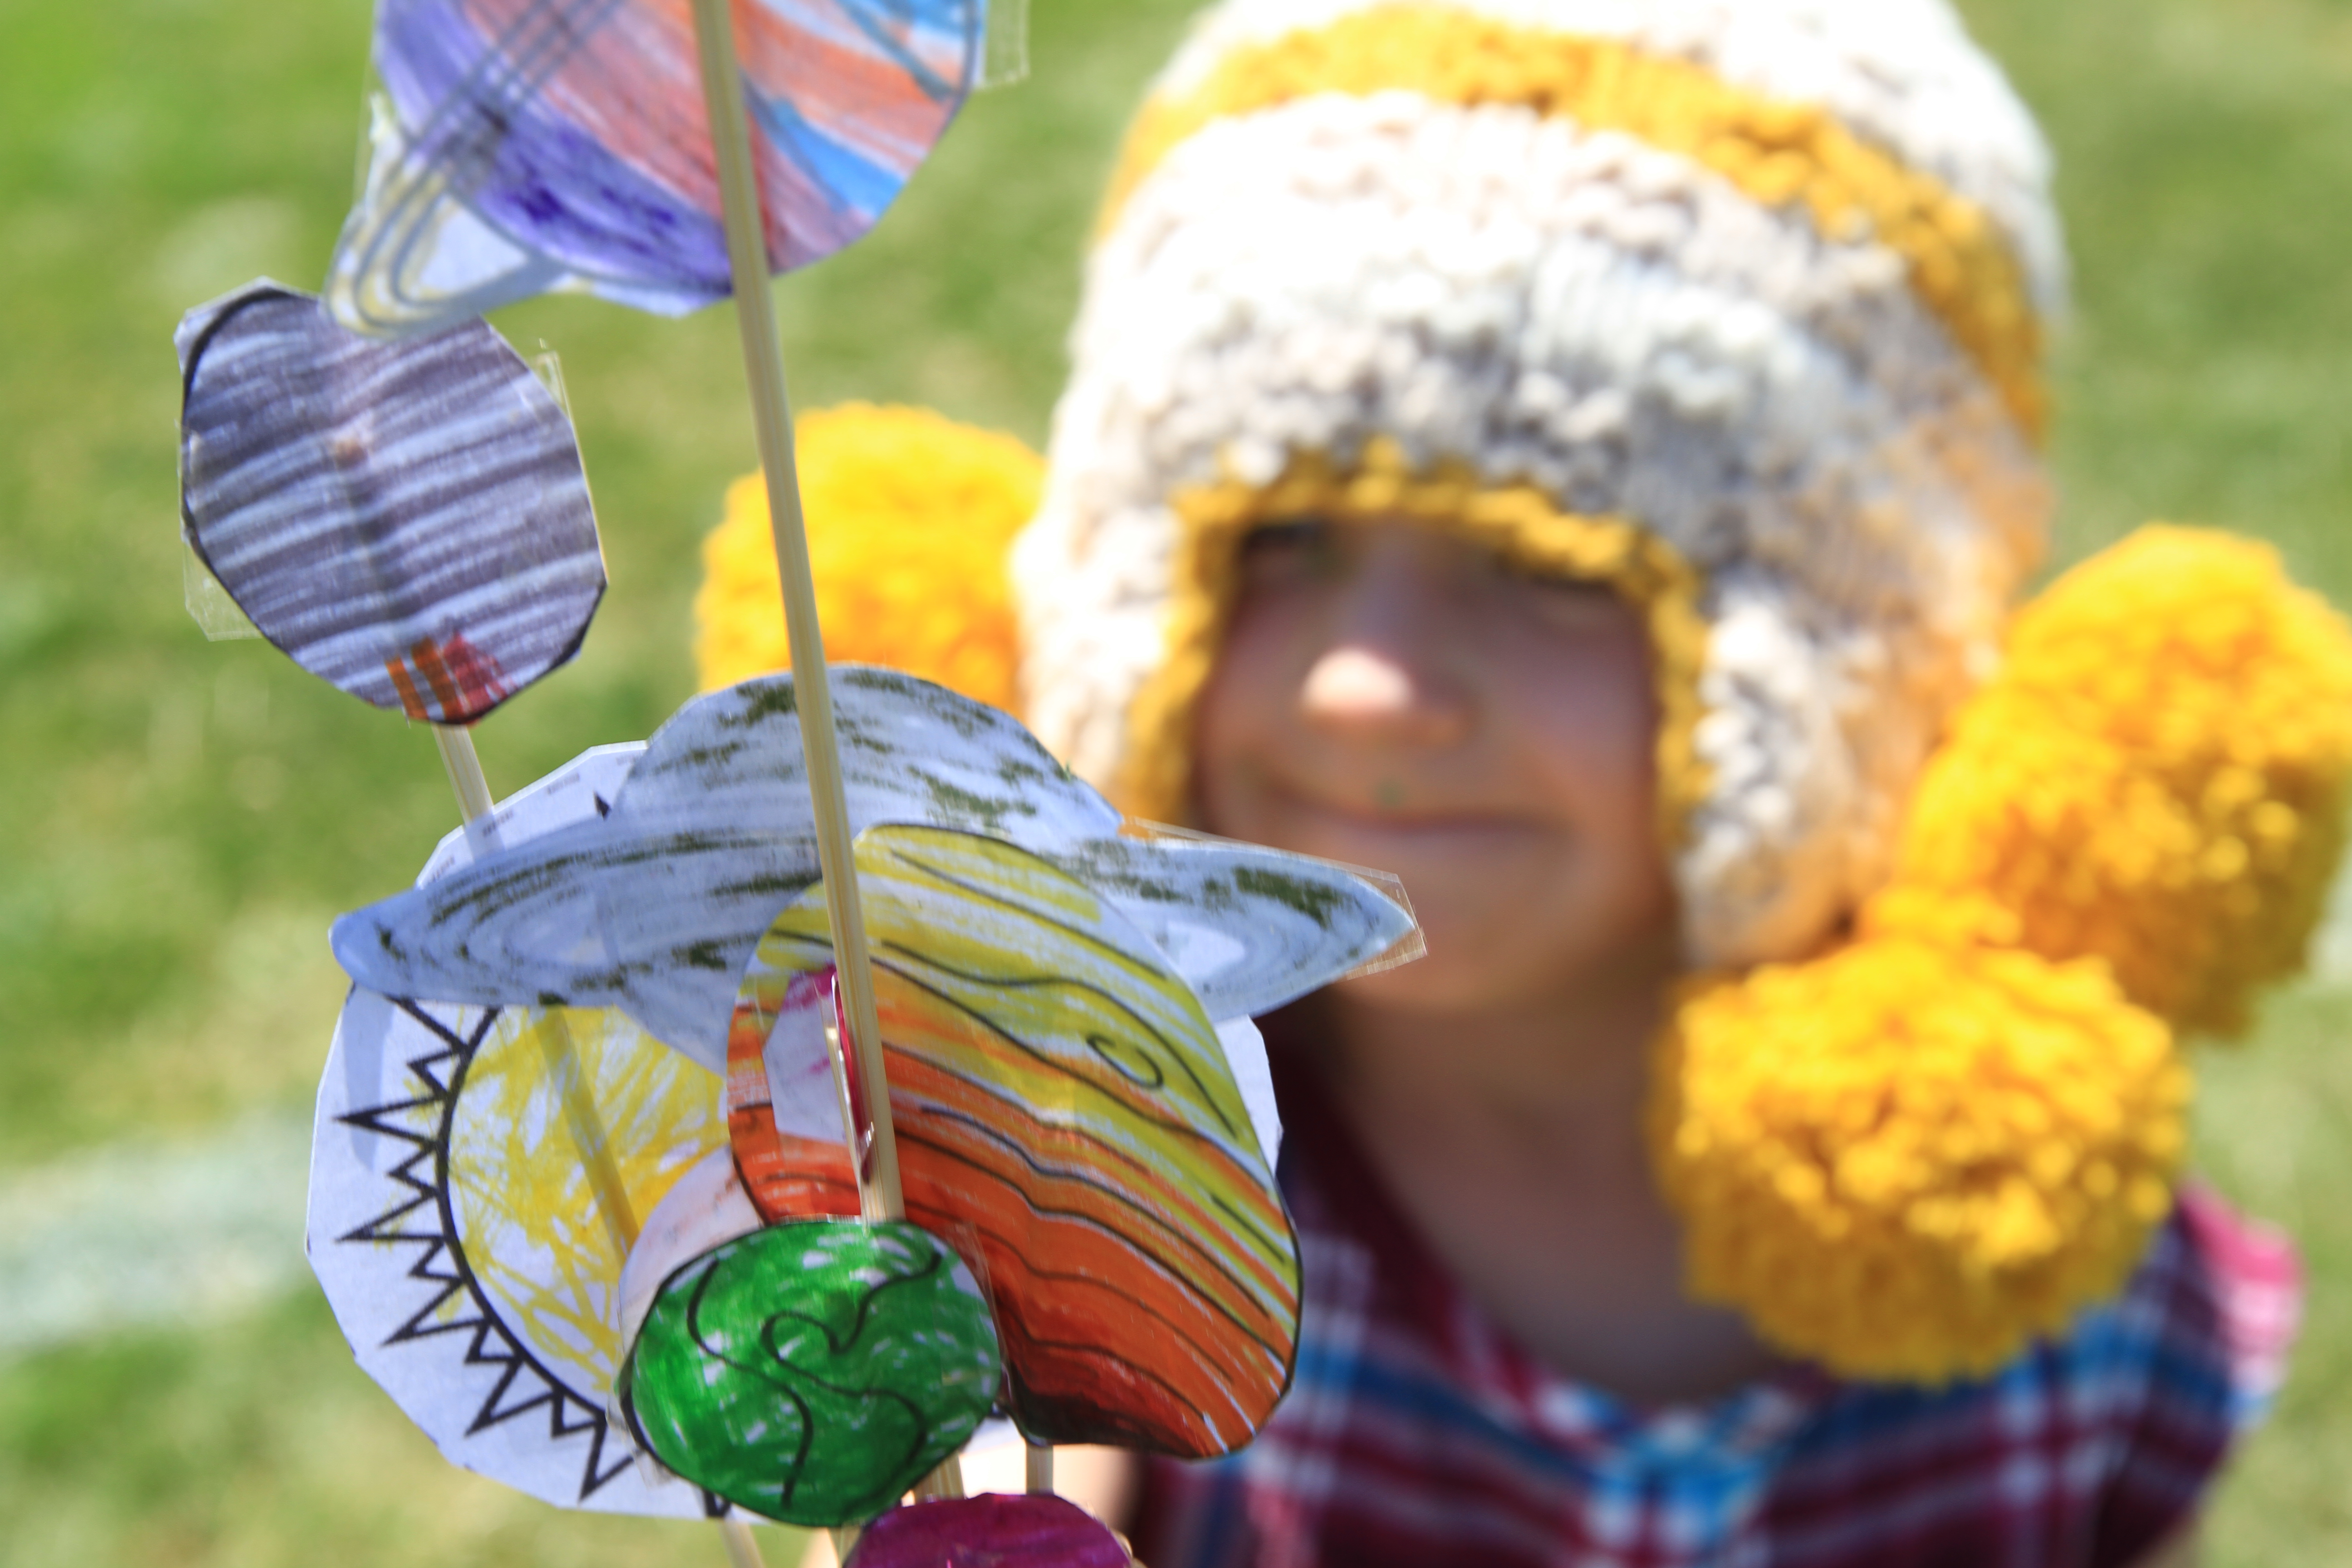
Each time you pace out your planets, place your skewer as a marker. You should end up with a little gathering of planets near your sun, then some so far away that you can barely see them! (Well, 30 large steps away at least!) Before you head out you may like to watch this demonstration that I was delighted to find (after doing ours, but still great to watch!) – he did it on a slightly larger scale but has some great facts about the planets that you might like to include when you are doing it with your young ones. Once all in place have a look at how long it takes to walk around the sun if you were Venus, or perhaps Mars… now how long does it take to you to move around the sun if you were Neptune! (See Neptune (3yo Elka) taking a bit of a shortcut as she orbits the sun (5yo Anica) below) IMG_3052 Depending on your young ones you may like to talk about how our Earth year is determined by a rotation around the sun. (We will be looking at weather a little shortly, so we’ll answer some of those seasons questions in the coming week!) – and make sure you bring your planets home again, they will be useful for our upcoming galaxy play-dough! IMG_3066

EASY ACTIVITIES TO BUILD YOUNG BRAINS: BUILD OUR SOLAR SYSTEM

There are many wonderful ways to represent the solar system but we chose a simple one that will stay with us as a reference point for the rest of the year.

Unless you are a keen stargazer you may want to refresh a few interesting points about the planets before you start. This is a good place to start.

IMG_3036

With research book (or iPad) in hand tell your kids the most interesting things you know about the first planet from the sun. Ask them how best to represent these qualities in their planet and get those paints mixing!

IMG_3039

Repeat this process for each of the planets as you work your way out from the sun. To re-enforce the idea of colour mixing I encouraged the kids to choose at least 2 colours for each planet. (The delight of kids learning red and yellow forms orange never grows old!)

Depending on your kids you may like to mix up your paining technique to ensure each planet is a unique; we started with brushes, moved onto squish painting (where you put dobs of paint, fold the paper and squish to see what happens) and then ended up making hand prints to decorate the last of our planets.

IMG_3027

Once all are dry, cut your planets to scale. I referred to this site, with the diagram below, to get approximate scale, though found that accurate scale was not necessarily practical (I didn’t want to smallest to be the size of a pin head, nor did I want the largest to be the size of an umbrella – we compromised and made them all a little closer in size for practical reasons!)

These planets now decorate our upper walls and we have a small paper rocket (left over from our straw spaceship adventure) that visits a different planet each day, finding facts and reminding us that we are just a tiny part of this huge universe!

IMG_3371

EASY ACTIVITIES TO BUILD YOUNG BRAINS: SPARKLE WRITING.

IMG_2981

Sand writing is a lovely tactile way to learn letter shapes… but sparkle writing is something that is hard not to be excited about starting!

Simply fill a container with glitter (not too thick, you only need a couple of mm deep for the letters to form).

When they want a fresh surface to write on simply shake the container slightly and it will clear the way for more creations.

The 5yo wanted to write words, the 3yo was happy making letters and shapes (all these activities can be supported by showing an example for them to model their own work on)… but by far the most fun was had when the 3yo returned to play on her own; she was consumed for quite some time drawing little pictures by herself. It served not only as a shape recognition and letter forming practice, but also as a quite, meditative time for the kids throughout their day. Quite reflective time (forgive the pun) is essential for processing information, particularly for those with more introvert tendencies, and is as important to learning as the abundance of information and stimulation that we must also provide to their developing minds.

IMG_3023

House tip: We welcome glitter in our world, but I know many sensible people who avoid it because of the excessive cleaning up required after the fact. To my surprise this unmonitored glitter quite area did not spread (like other glitter art experiences do!) and even more astounding was that it lasted an entire week without mess. I believe the heavy container that we put the glitter in helped with this, and because it was seen as something special the kids were happy playing with the magic dust in their own time, and without spreading it!

THINGS TO SEE AND DO: BUILD A GIANT SAND SCULPTURE.

DSCN5918

Summers Bay, sunshine, splashing in the shallows, schools of small fish swimming past our feet, soldier crabs in the sand, and even the guest appearance of a stingray swimming slightly out of reach. We were delighted by the spontaneous S learning that we found at our trip to Sommers Bay (Tasman Peninsula, Tasmania). And while we’re told this is not unusual for this location it’s not something you can usually plan for in an outing. (As much as you’d like to, wildlife just doesn’t run to a predictable booking schedule!)

Sand sculptures on the other hand are something you can create at any beach (or large sand play area). Bring a bucket, spade and an (adult sized) shovel to get digging! The kids (and you!) will be amazed at what you can create in a beach trip.

DSCN5827

First up we chose a location, and the kids told me what to draw as I followed their collective instructions mapping out a big tummy, curly tail, long nose and head on the sand. We then all got our little spades and started to dig a big trench around the shape (piling the sand in the middle of the picture, as you would when making a mote around a sand castle.) Gradually the children tired of digging and got a bit distracted safely splashing in the shallows near us, and generally had a good time in the water. As us adults continued digging (and sharing the few facts we had learnt about seahorses!) the children came back and joined us. By the time we were ready to pat down and sculpt the shape, all the children were involved again. The giant 4m seahorse came together remarkably fast, and then much time was spent as the children decorated it with shells.

DSCN5886

The older children planned and placed and organised themselves on a mission to complete the seahorse (very important work, this seahorse building!) while the younger delighted in sticking shells in the sand.

DSCN5905

Sand play is always a winner for many reasons. It’s the elemental stages of physics, it’s tactile, it’s physical… and when done in a team like this the social development, planning, and problem solving involved is spectacular.

DSCN5895

Plus it’s satisfying. Go build a giant seahorse that will be washed away at the next tide. It’s brilliant.